How to get Rocket Chat on Azure
This section describes how to launch and connect to Rocket Chat in Azure.
Note: The default configuration comes with 30GB of storage. Please Create a vm with 100GB or greater storage depending on the team size who will be using the server. 100GB is enough for a team of 10-15 users and you can add 10GB per user if the anticipated team is bigger than 15.
- Open Rocket Chat by Techlatest.net VM listing on Azure Marketplace
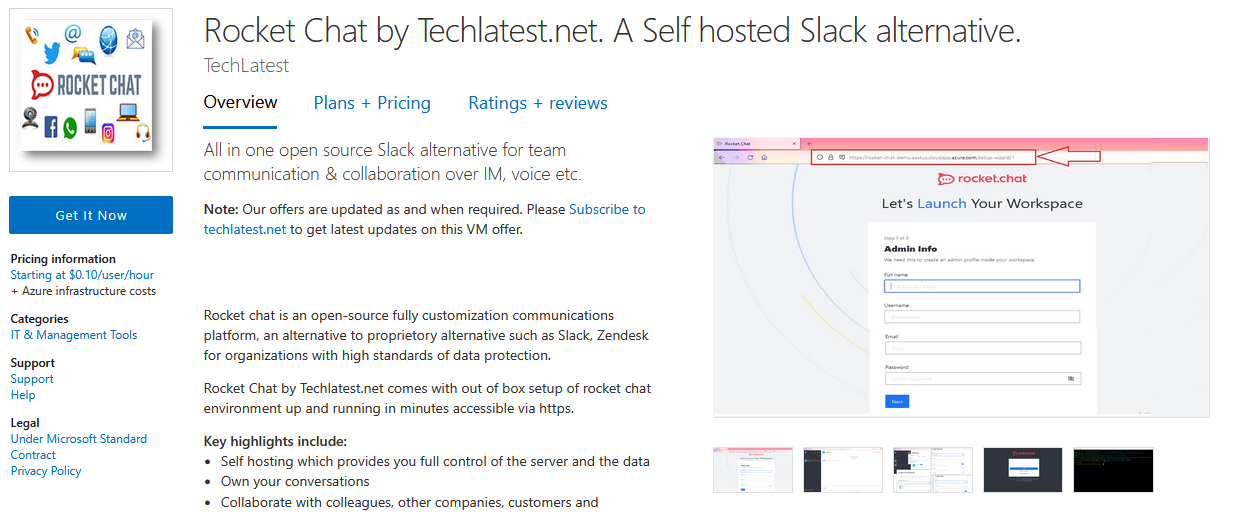
- Click on Get It Now
- Select a Resource group for your virtual machine
- Select a Region where you want to launch the VM(such as East US)

- Optionally change the number of cores and amount of memory.
Select the Authentication type as Password and enter Username as ubuntu and Password of your choice.
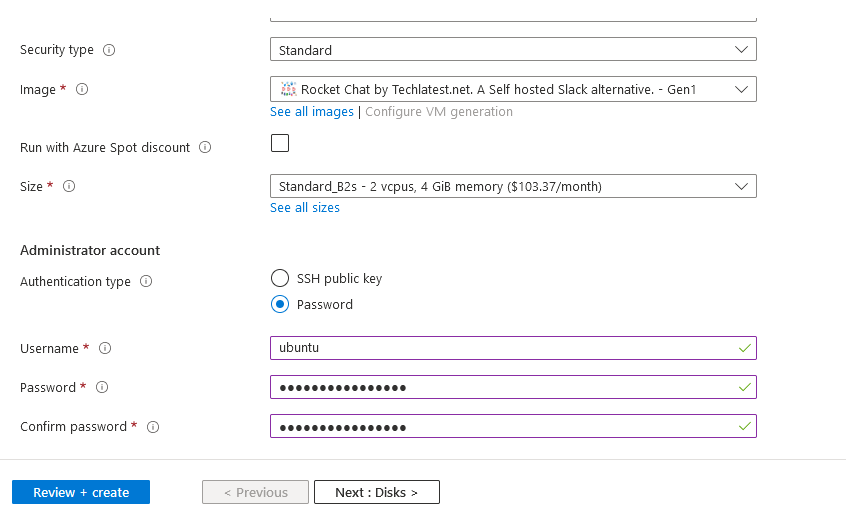
- Optionally change the OS disk type.

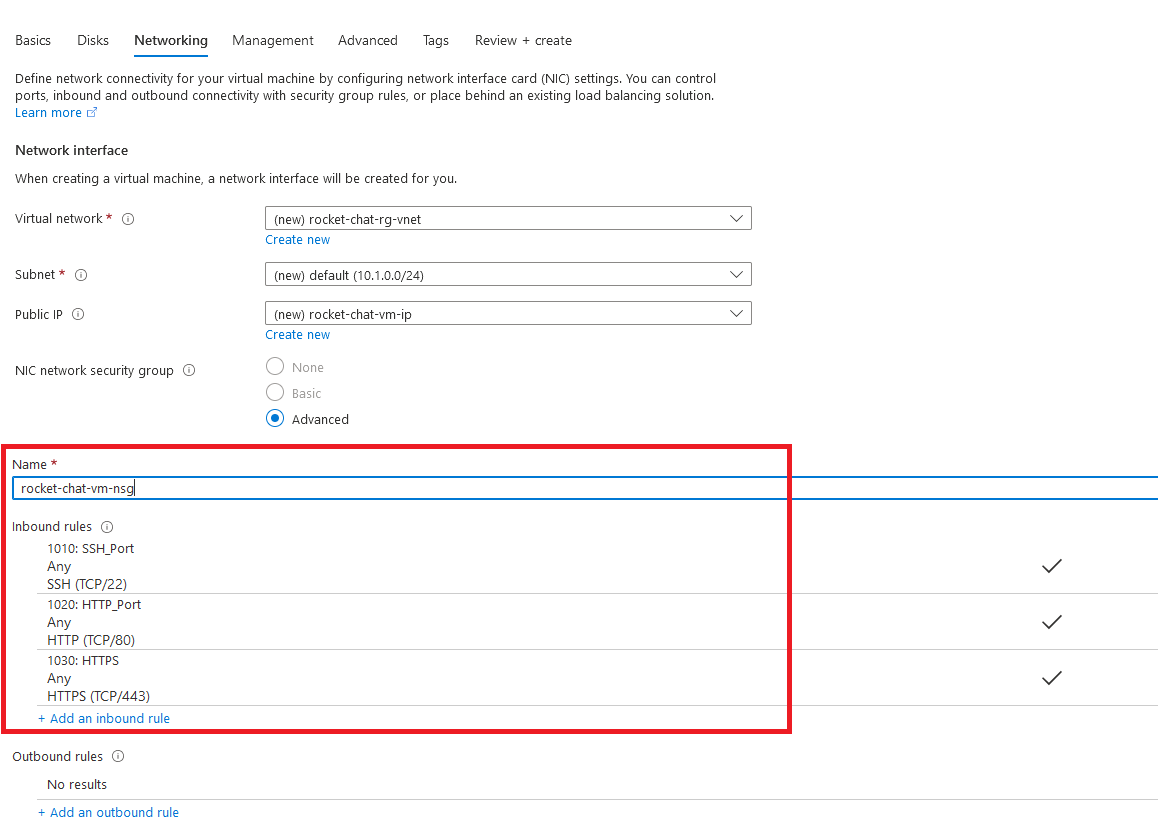
- Optionally change the network and subnetwork names.Be sure that whichever network you specify has “ports 22 (for ssh), 80 (for http)and 443 (for https)” exposed.
- Optionally go to the Management, Advanced and Tags tabs for any advance settings you want for the VM.
- Click on Review + create and then click on Create when you are done.
Virtual Machine will begin deploying.
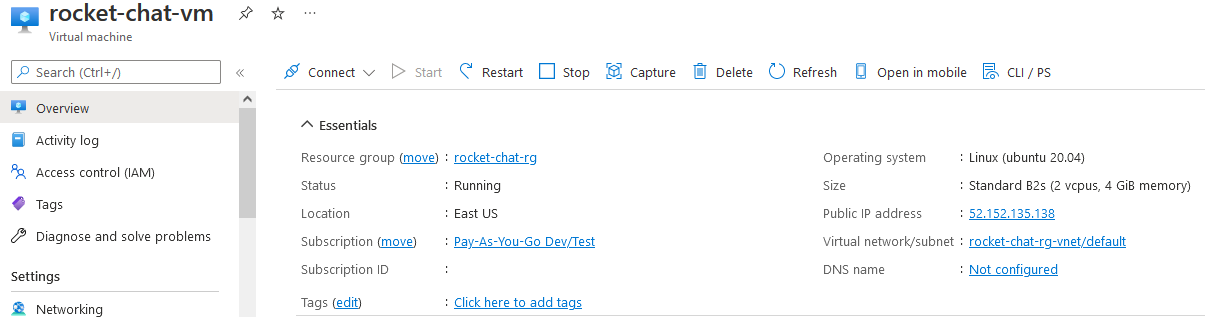
- A summary page displays when the virtual machine is successfully created. Click on Go to resource link to go to the resource page. It will open an overview page of virtual machine.
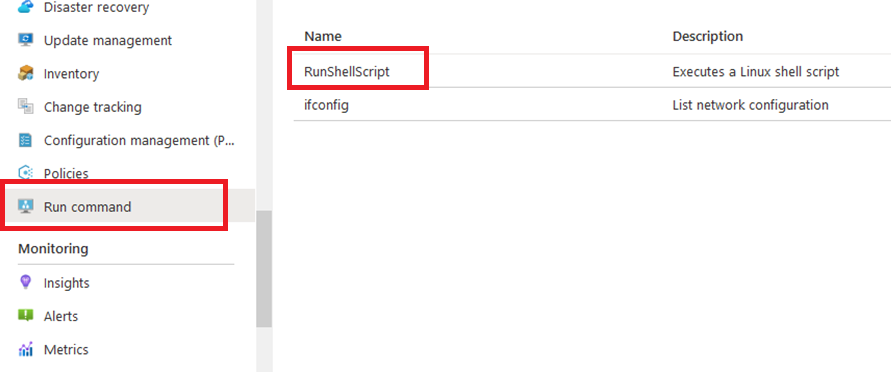
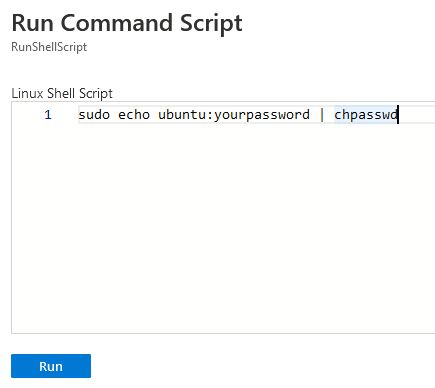
- In the left navigation pane, select Run command, select RunShellScript and enter following command to change the password of the vm .
sudo echo ubuntu:yourpassword | chpasswd
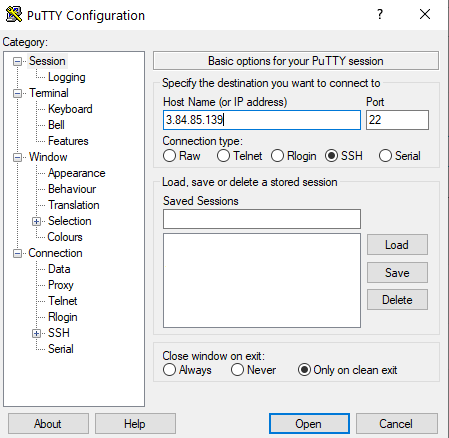
- Now the password for ubuntu user is set, you can SSH to the VM -
- Open putty, paste the IP address and click on Open.
- login as ubuntu and provide the password for ‘ubuntu’ user

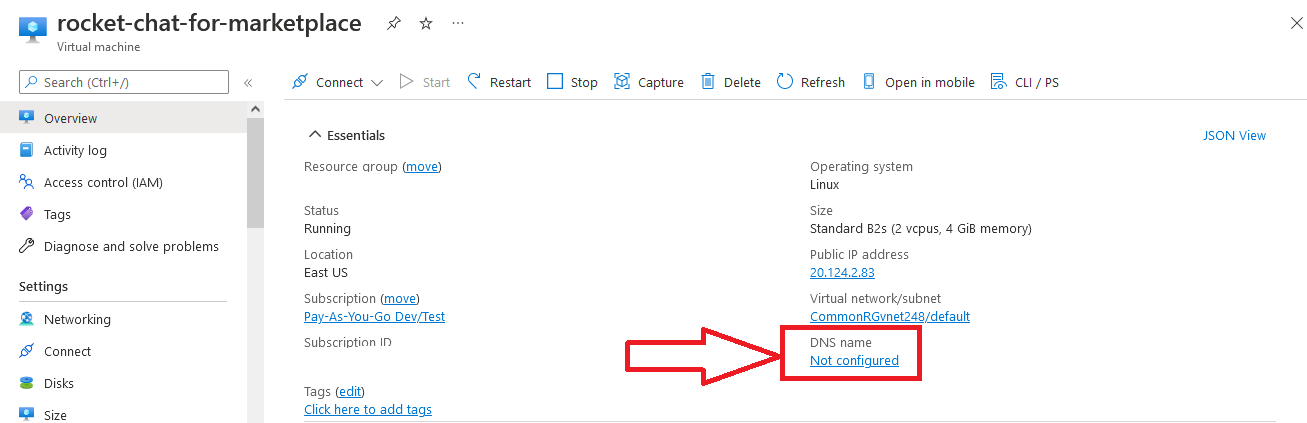
- Once vm is created, goto vm overview page on azure portal and configure DNS name by following below steps:
- On VM Overview page, click on Not configured link as shown below. It will navigate you to the DNS page.
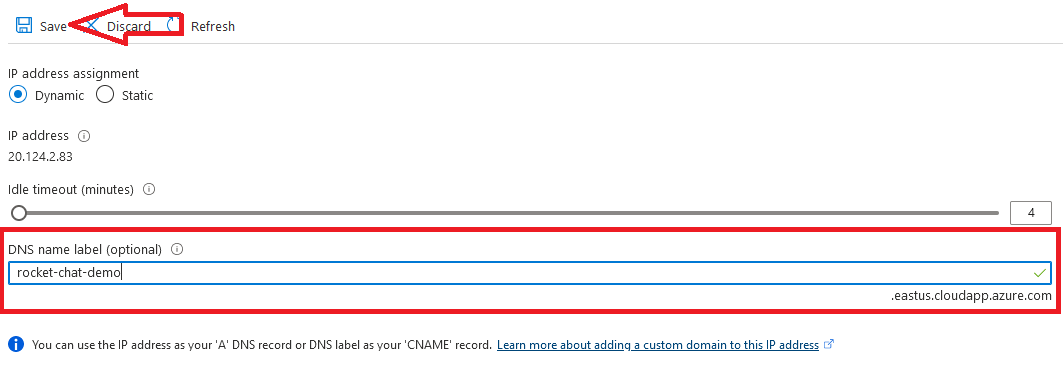
- Provide a unique DNS name here and save your changes. You can also configure the Static IP address on this page by selecting static radio button.
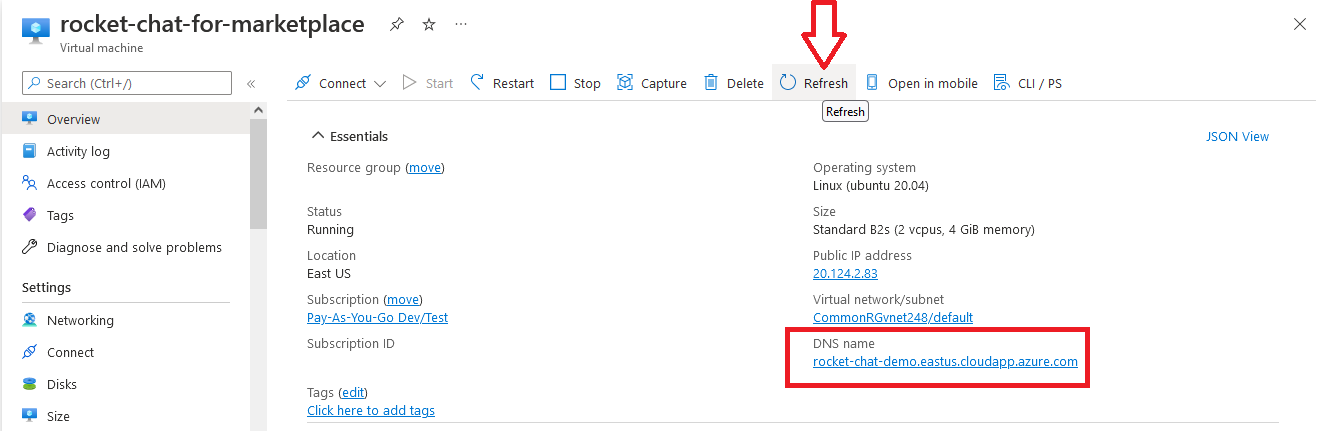
- Once your changes are saved you can see DNS Name on VM Overview page. If its not reflecting for you, simply refresh it.
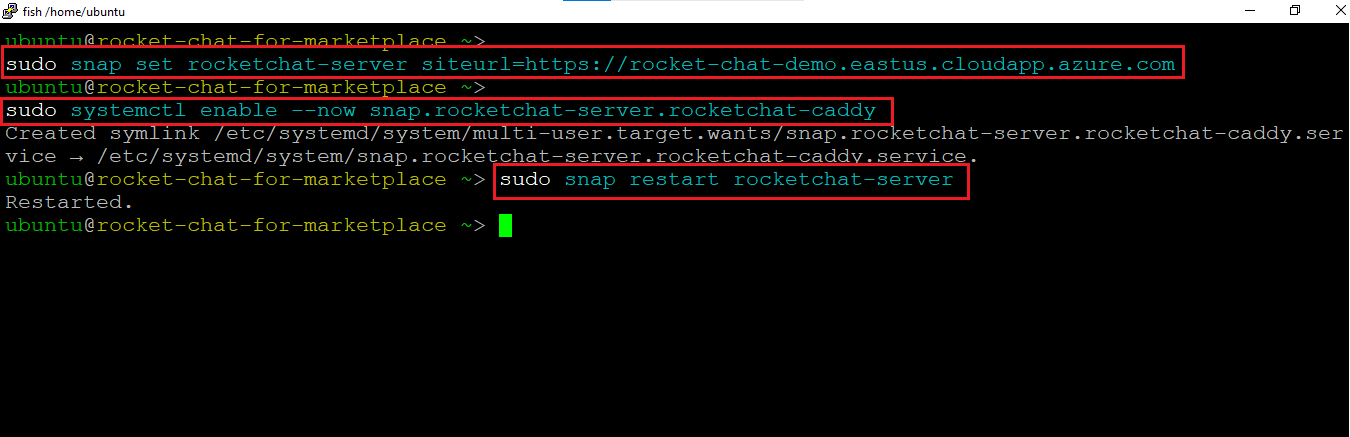
- Then open terminal as shown above in putty step and run below three commands:
sudo snap set rocketchat-server siteurl= **https://vmdnsnamehere**
sudo systemctl enable --now snap.rocketchat-server.rocketchat-caddy
sudo snap restart rocketchat-server
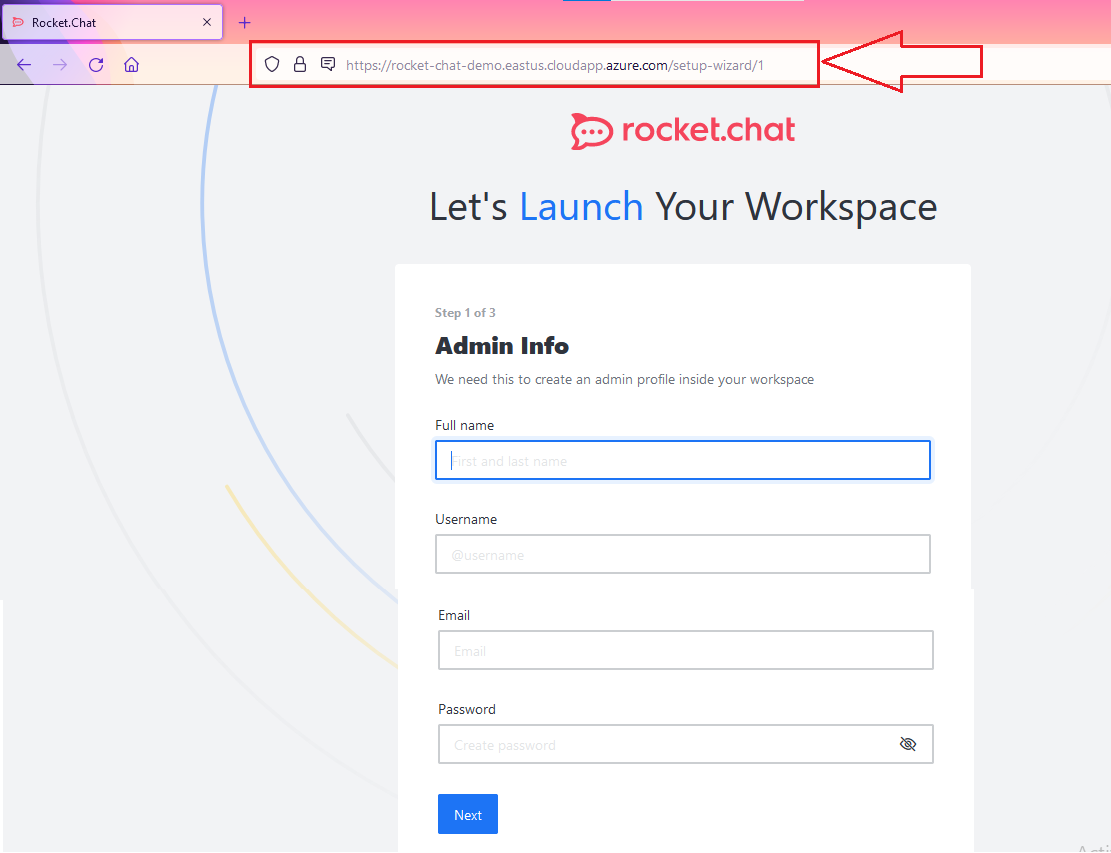
- Now open http://vmdnsname page in browser, it should redirect to https page with rocket-chat setup page. Fill up the details here for admin user and click Next.
Follow the instructions and complete the setup of Rocket Chat Server.
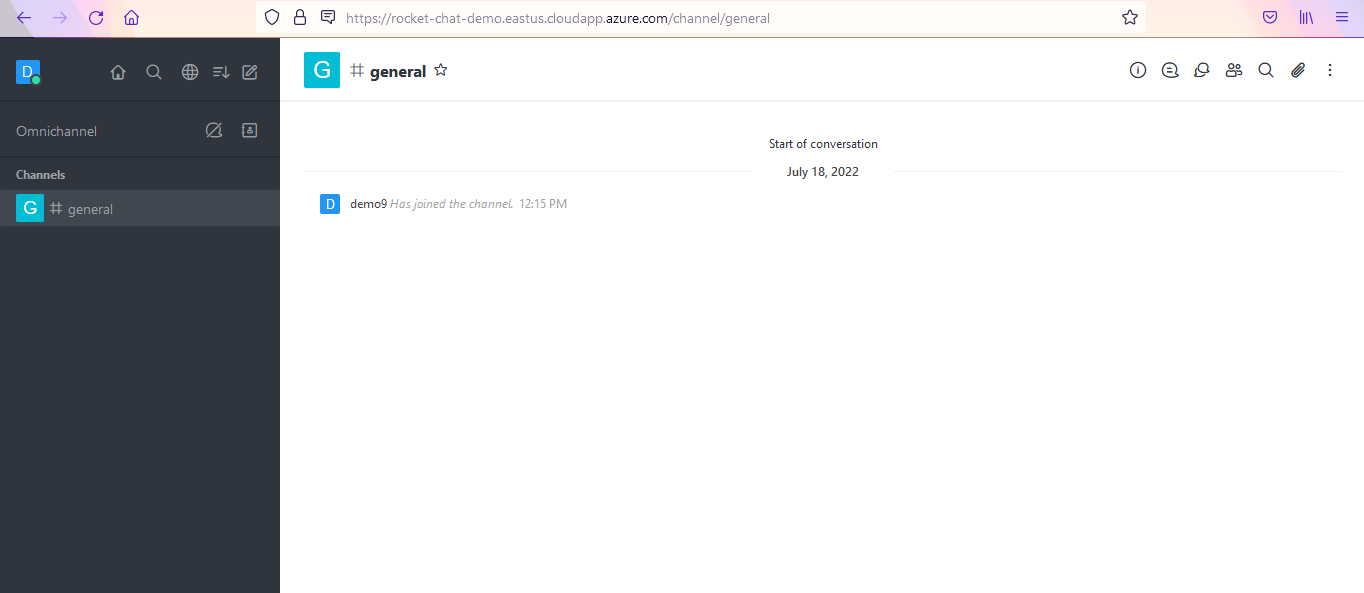
- Now You are logged in to the server.
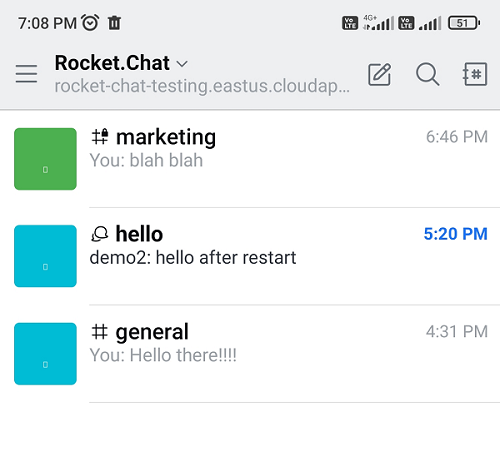
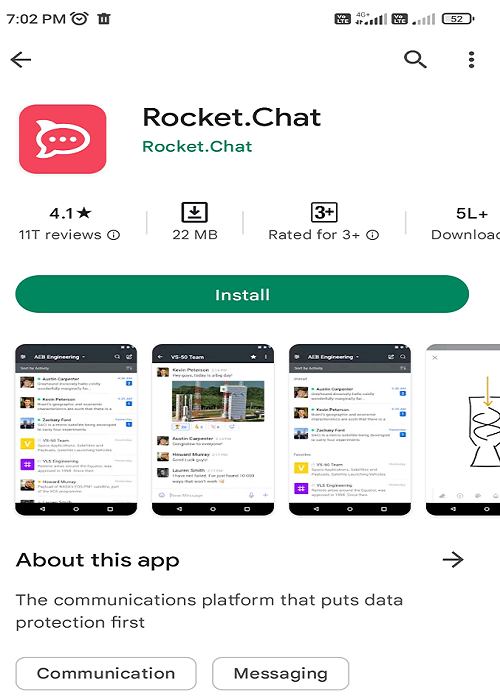
- Similarlly, Mobile app for Rocket.Chat (available for Android and iOS) enables you to browse conversations, reply to messages and collaborate with the team.
- Follow below steps to connect to the server from mobile app:
- Search and install rocket.chat mobile app as per your mobile configuration for Android or iOS.
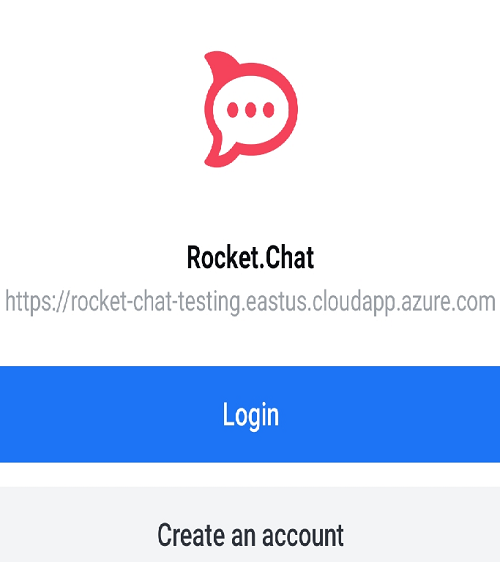
- Once app is installed, open it and enter the DNS Name of your server as shown below and clik connect :
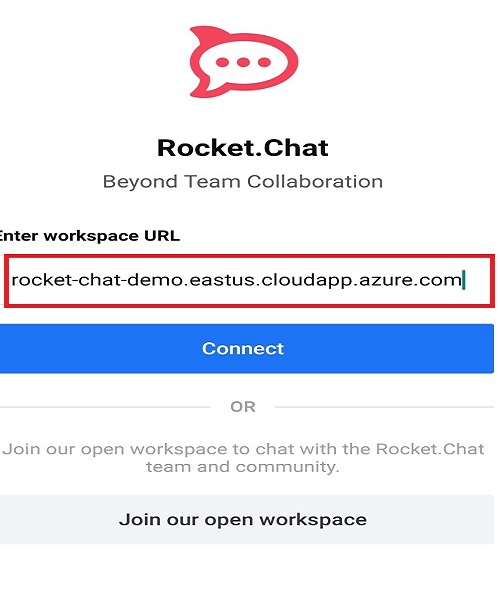
- You can login with the admin user by clicking login or create a new user by clicking Create an account

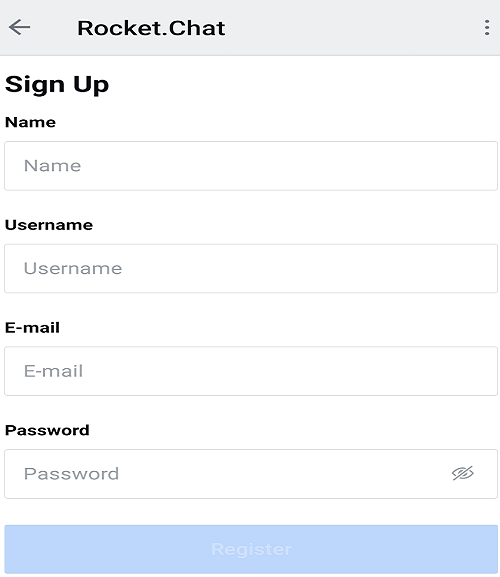
- Now you are logged-in to the server with new user.