This section describes how to launch and connect to Ethereum Full Node with PoS in a Google Compute environment using the available Cloud Launcher offering.
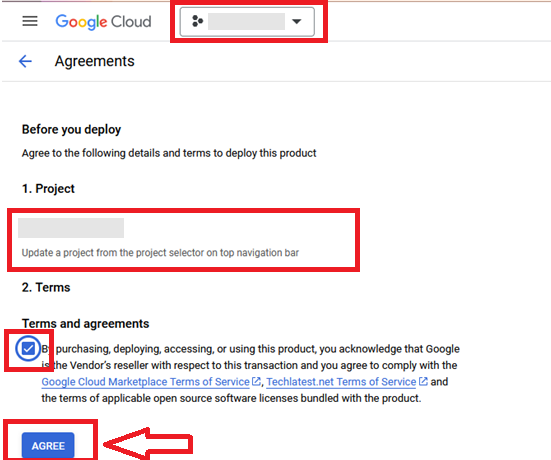
It will take you to the agreement page. On this page, you can change the project from the project selector on top navigator bar as shown in the below screenshot.
Accept the Terms and agreements by ticking the checkbox and clicking on the AGREE button.
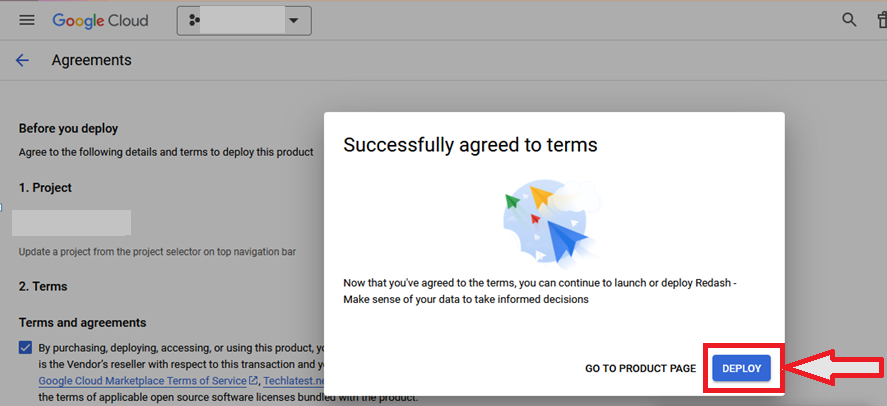
It will show you the successfully agreed popup page. Click on Deploy.
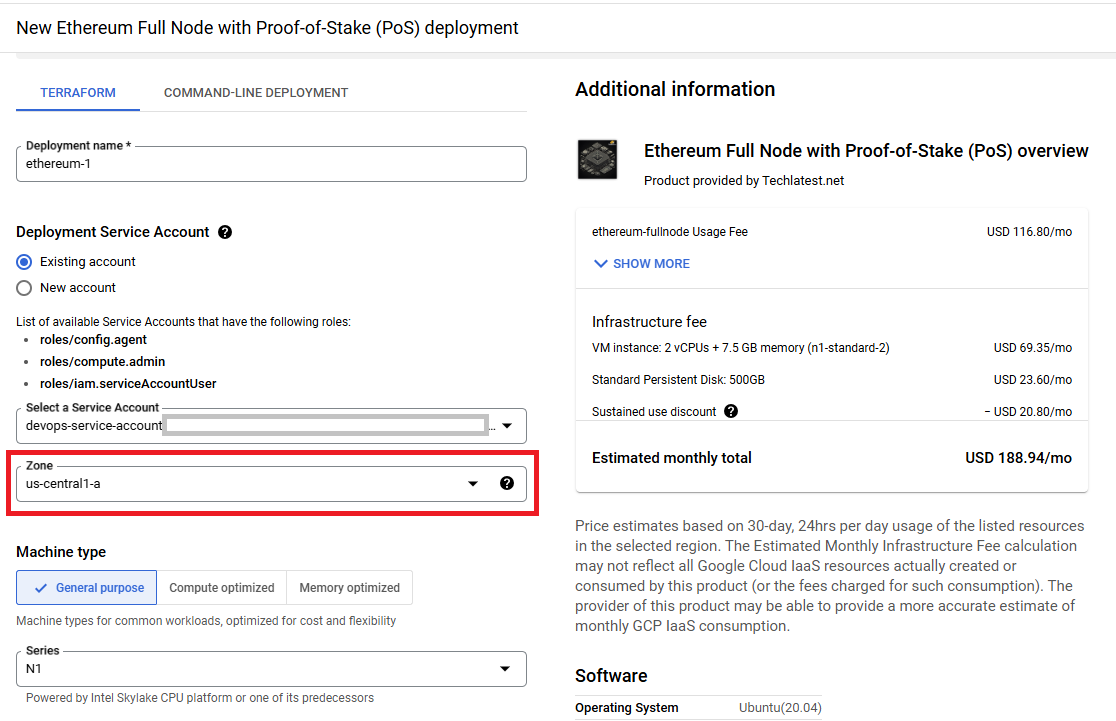
On deployment page, give a name to your deployment.
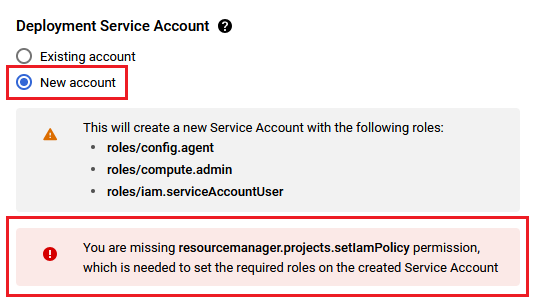
You are missing resourcemanager.projects.setIamPolicy permission, which is needed to set the required roles on the created Service Account
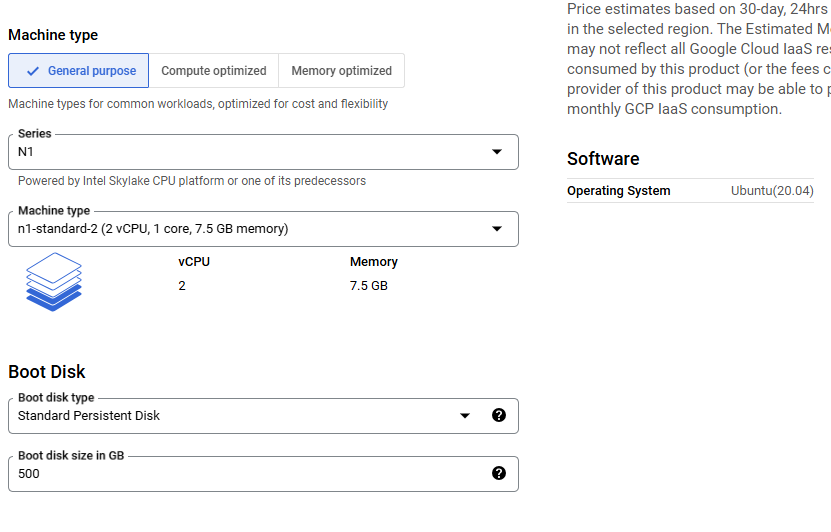
Optionally change the network name and subnetwork names. Be sure that whichever network you specify has ports 22 (for ssh) and 3389 (for RDP) exposed.
Make sure to enable Google API access by checking the “Allow full access to all of Google Cloud Platforms APIs on the VM” checkbox to work the VM properly as shown in below screenshot.

A summary page displays when the compute engine is successfully deployed. Click on the Instance link to go to the instance page .
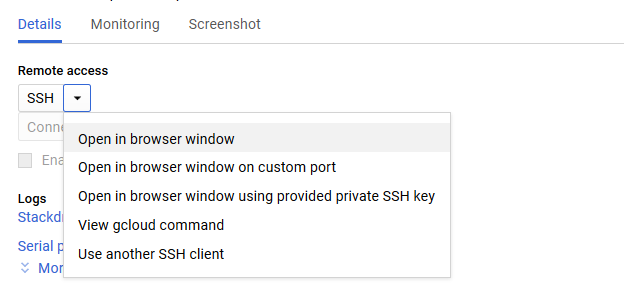
On the instance page, click on the “SSH” button, select “Open in browser window”.
sudo passwd ubuntu
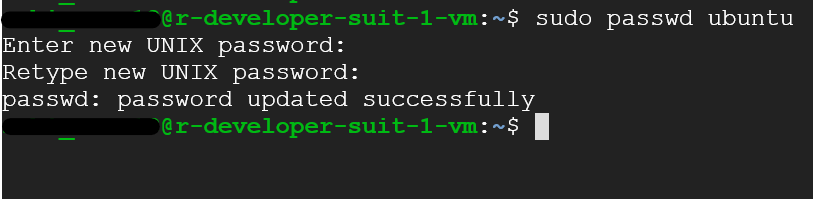
Now the password for ubuntu user is set, you can connect to the VM’s desktop environment from any local windows machine using RDP or linux machine using Remmina.
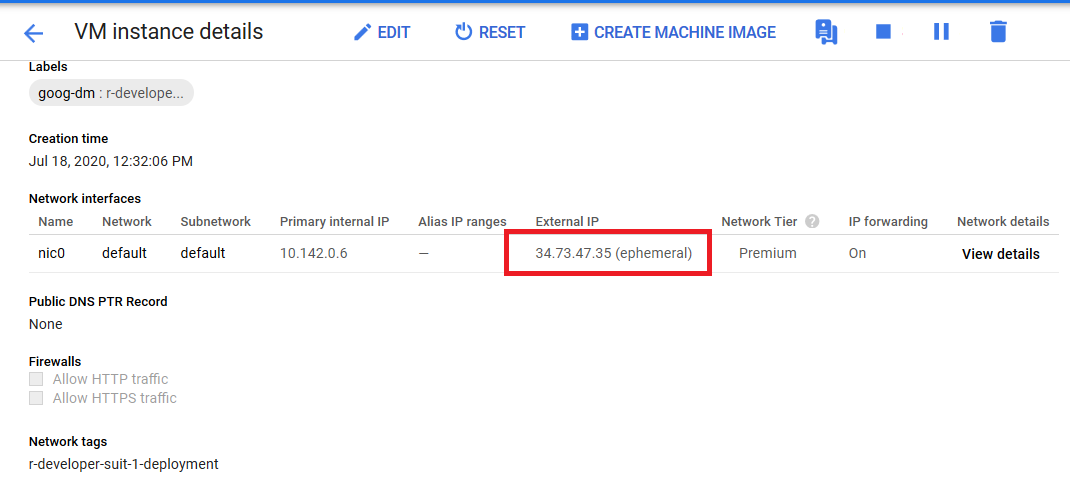
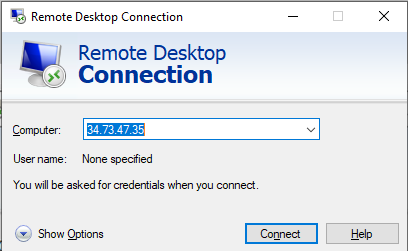
To connect using RDP via Windows machine, first note the external IP of the VM from VM details page as highlighted below
Then From your local windows machine, goto “start” menu, in the search box type and select “Remote desktop connection”
In the “Remote Desktop connection” wizard, paste the external ip and click connect
Note: If you don’t have Remmina installed on your Linux machine, firstInstall Remmina as per your linux distribution.
 14. In the “Remmina Remote Desktop Client” wizard, select the RDP option from dropdown and paste the external ip and click enter.
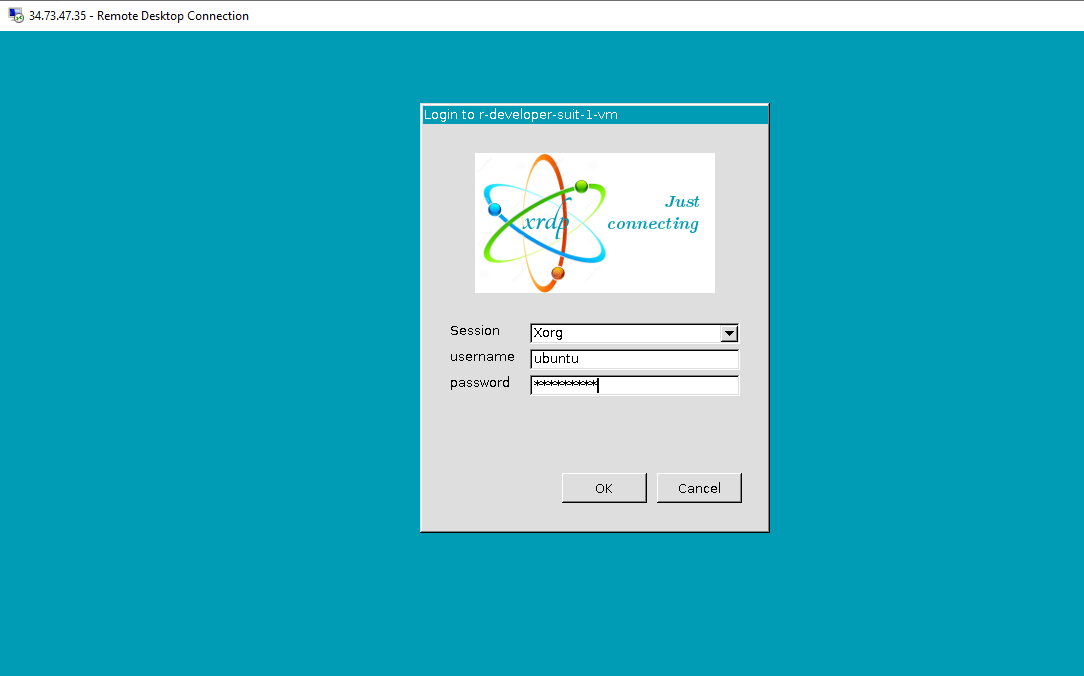
 15. This will connect you to the VM’s desktop environment. Provide “ubuntu” as the userid and the password set in step 6 to authenticate. Click OK
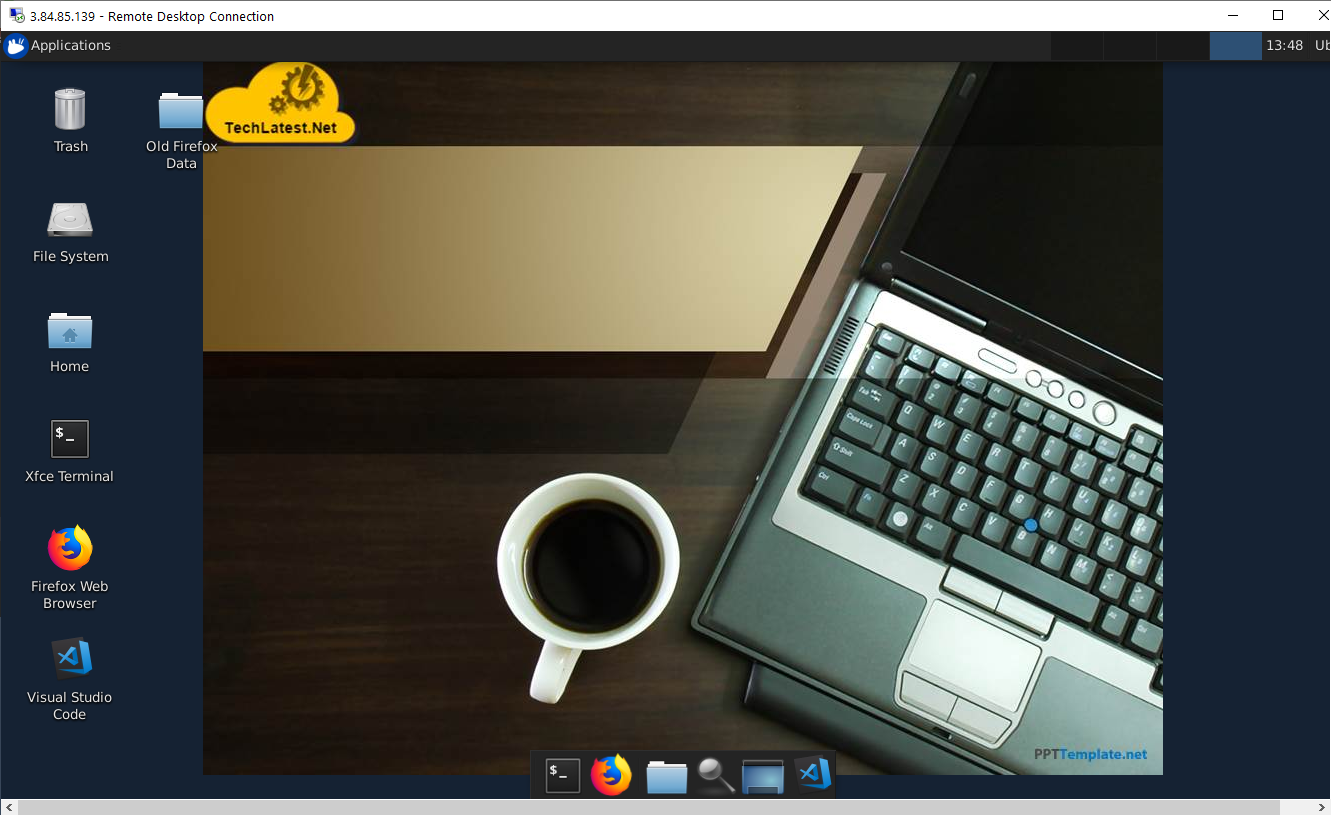
 16. Now you are connected to out of box Ethereum Full Node with PoS environment via Linux machine.
Ethereum home directory location is /home/ubuntu/ethereum
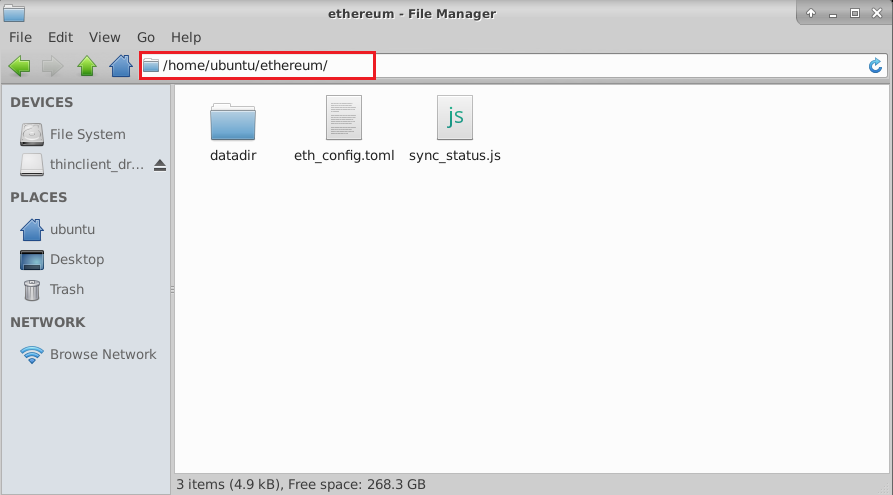
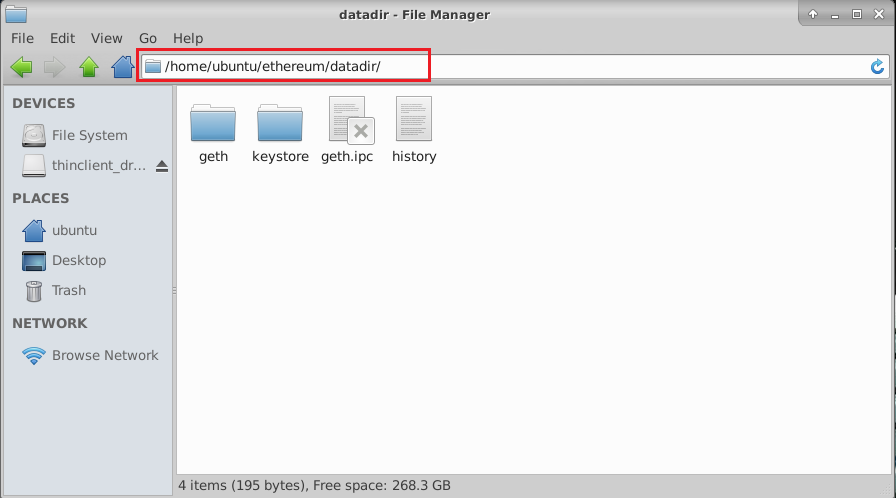
Data directory location is /home/ubuntu/ethereum/datadir
The VM automatically starts the sync process on startup. To verify if the sync is in progress, run below commands
ps -ef|grep geth
If sync is in progress, you will see the below highlighted process running

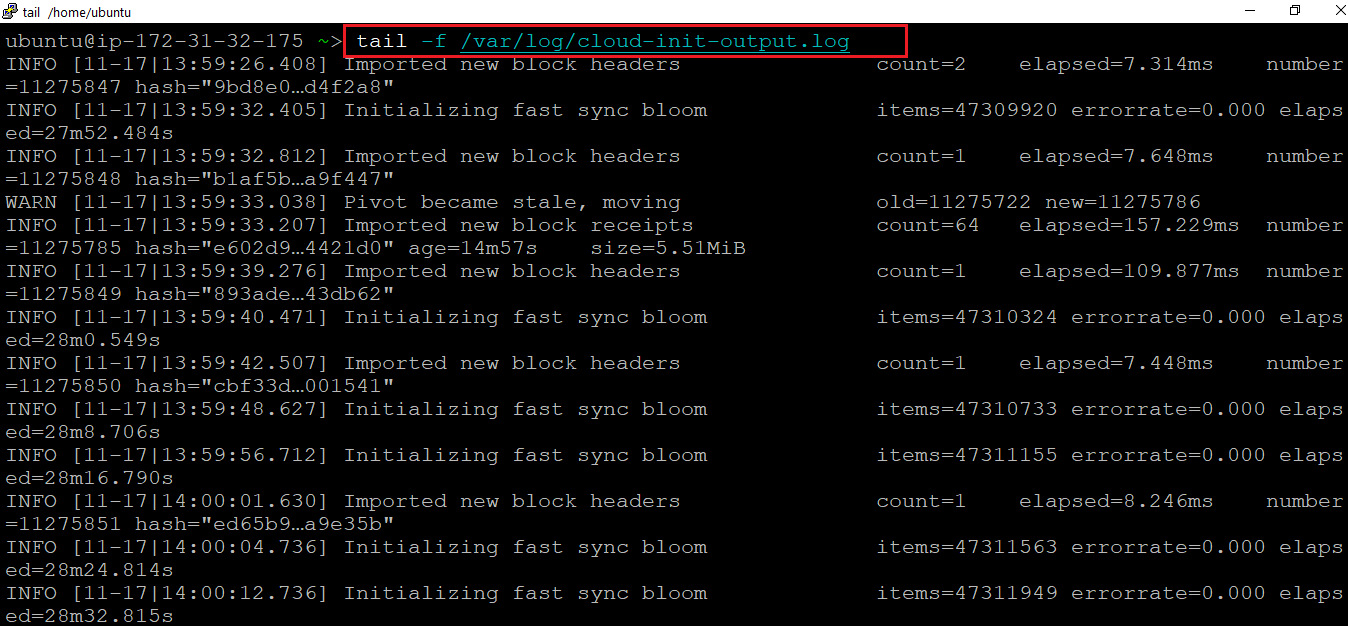
You can also verify the sync process by monitoring the sync log as shown below
tail -f /var/log/cloud-init-output.log
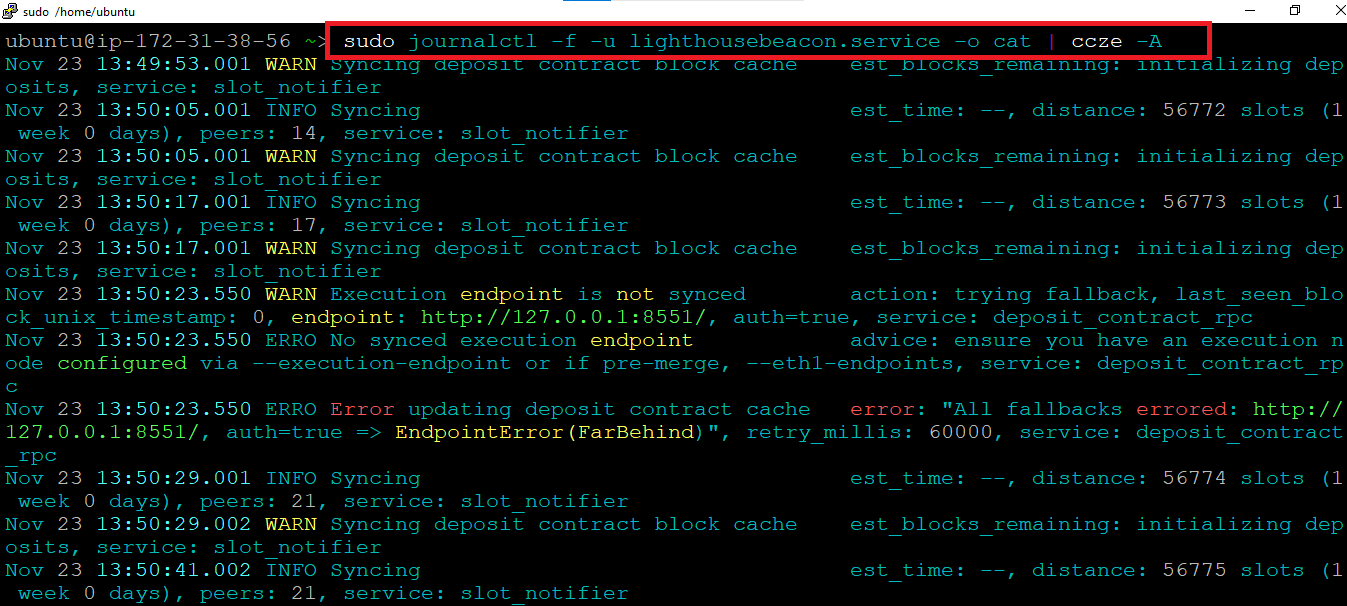
You can monitor the lighthouse logs by running -
Note: If you encounter JWT authorization error or connection refused error while running the below command, please follow Lighthouse Troubleshooting Guide. to fix them.
sudo journalctl -f -u lighthousebeacon.service -o cat | ccze -A
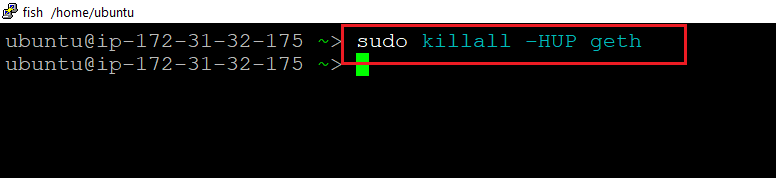
To stop the sync process, simply run below command :
sudo killall -HUP geth
To restart the sync process, run below command .
Note: Make sure below command is executed from terminal inside Remote desktop GUI to avoid process termination
sudo nohup geth --http --http.addr "0.0.0.0" --http.port "8545" --http.corsdomain "*" --config /home/ubuntu/ethereum/eth_config.toml >> /var/log/cloud-init-output.log 2>&1 &

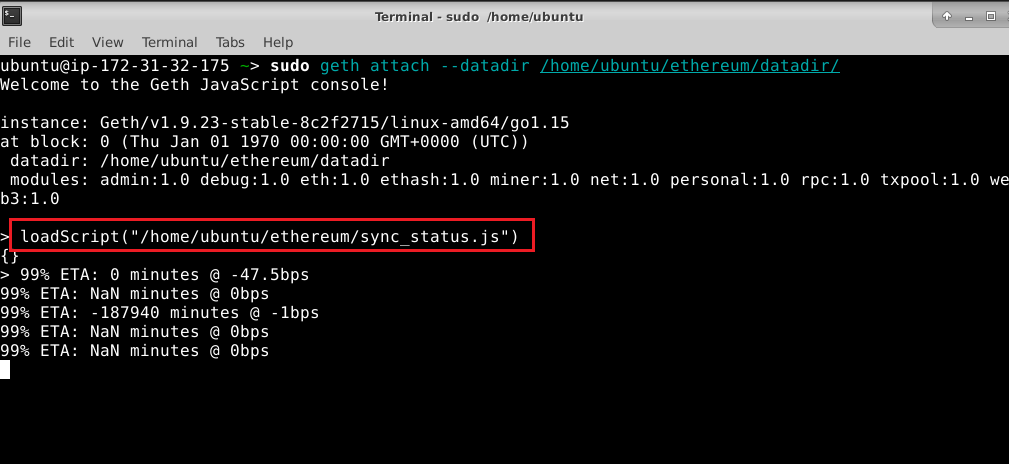
You can track the sync progress by attaching to the running geth console and running the monitoring script as shown below . Note that if the progress is shown 99% then the node is mostly synced:
sudo geth attach --datadir /home/ubuntu/ethereum/datadir/
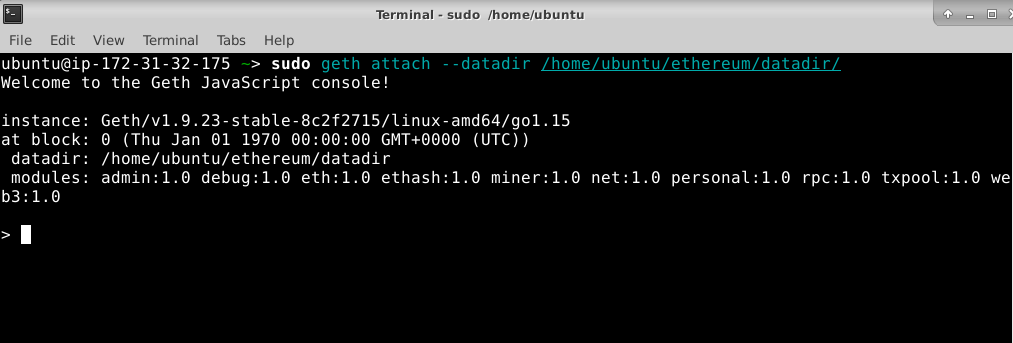
this will connect to the console, then run
loadScript("/home/ubuntu/ethereum/sync_status.js")
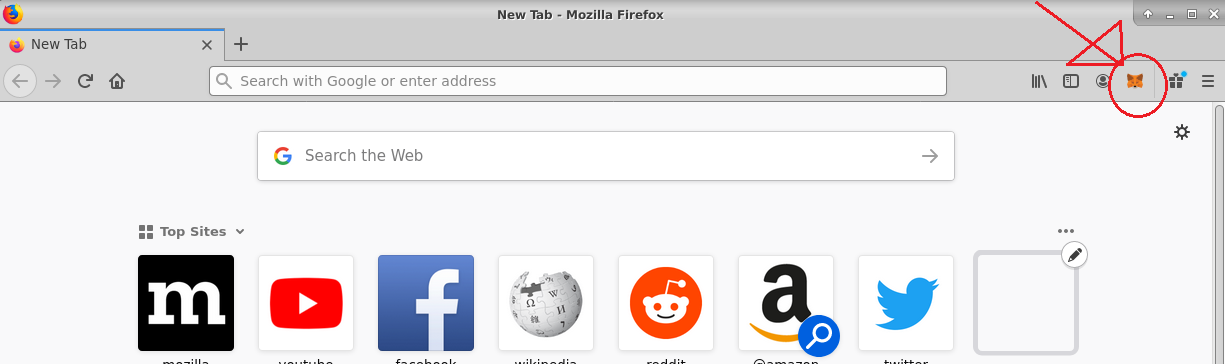
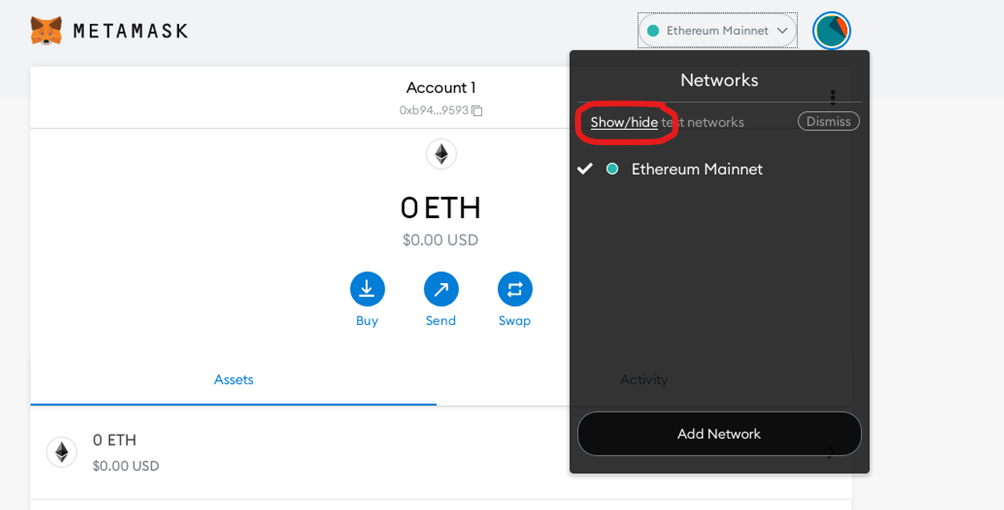
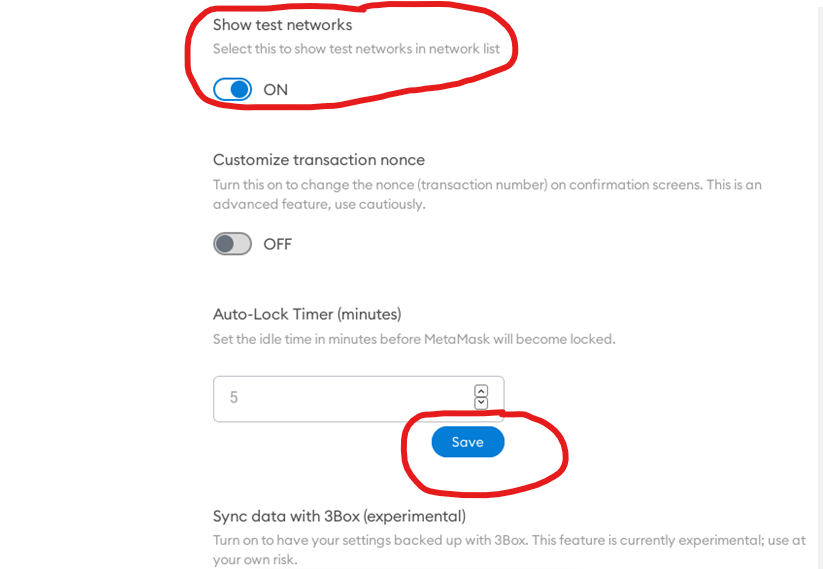
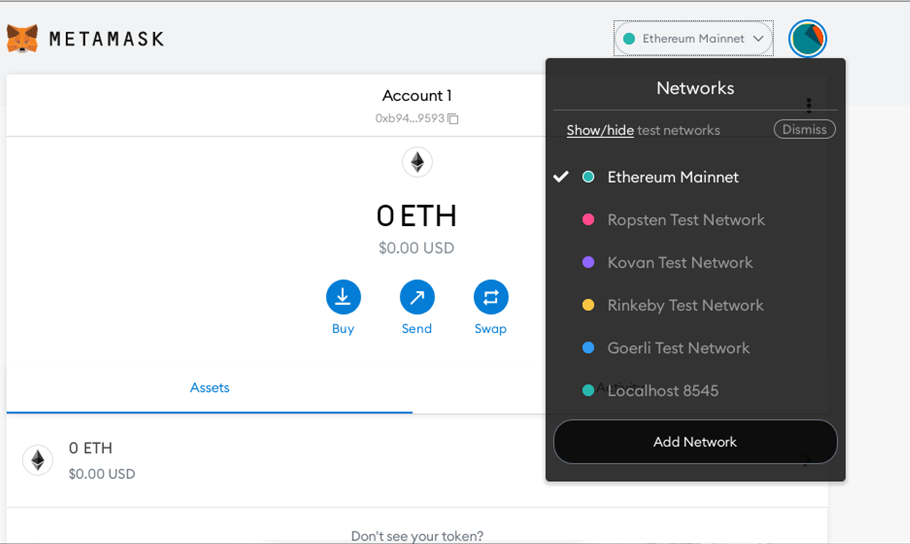
The VM comes with Metamask the most popular Ethereum wallet, preinstalled in Firefox browser.
Connect to the VM via Remote desktop, open the Firefox Browser and you will see metamask plugin in the browser

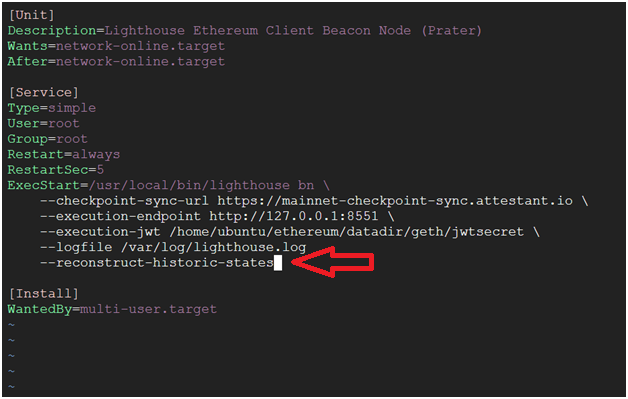
This offer now comes with Checkpoint Sync enabled by default. Checkpoint sync prioritises syncing to the head of the chain quickly so that the node can perform its duties. If you need genesis sync then please add –allow-insecure-genesis-sync in lighthousebeacon service file located at /etc/systemd/system/lighthousebeacon.service.
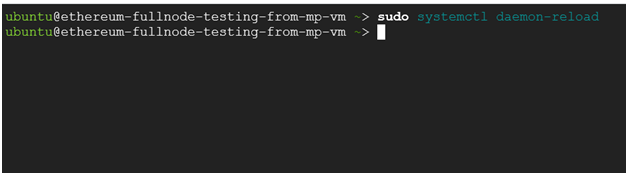
The Checkpoint sync doesn’t come with archival node. If you want to run archival node for analysis purpose then follow below steps:
sudo vi /etc/systemd/system/lighthousebeacon.service
![]()
For more information on Checkpoint Sync and Accessing historical blocks please refer to Official Checkpoint Sync documentation