This section describes how to launch and connect to Tails Linux in a Google Compute environment using the available Cloud Launcher offering.

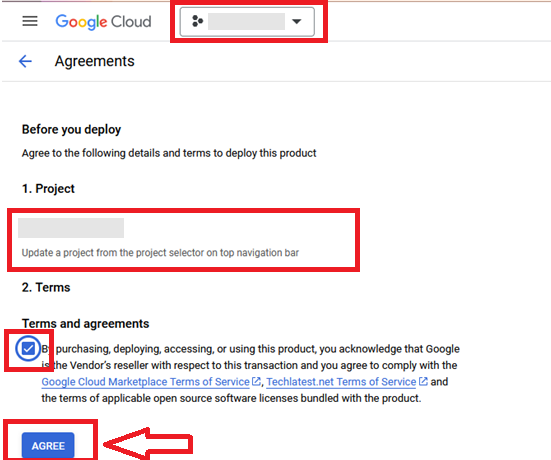
It will take you to the agreement page. On this page, you can change the project from the project selector on top navigator bar as shown in the below screenshot.
Accept the Terms and agreements by ticking the checkbox and clicking on the AGREE button.
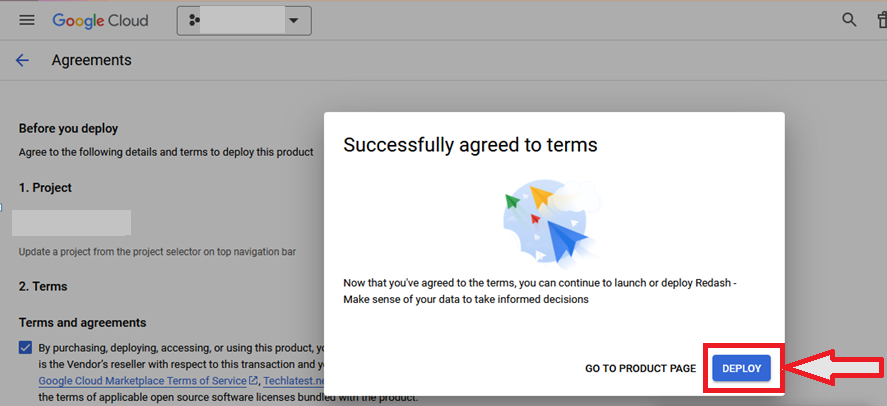
It will show you the successfully agreed popup page. Click on Deploy.
On deployment page, give a name to your deployment.
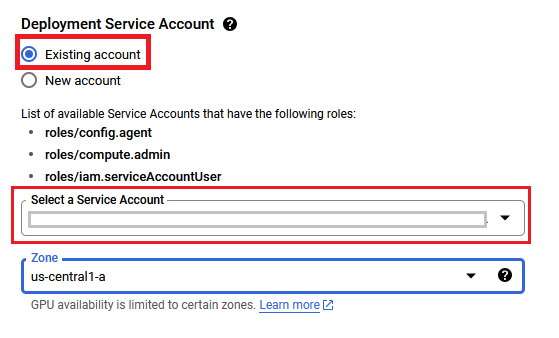
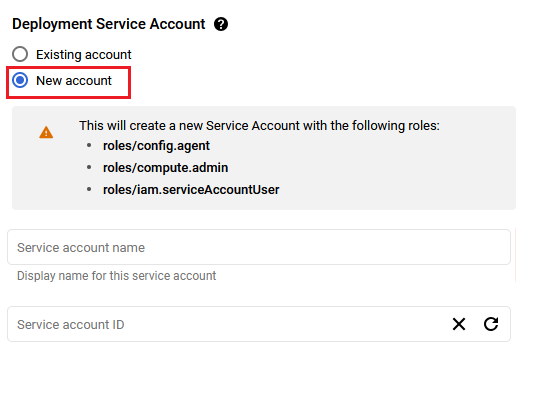
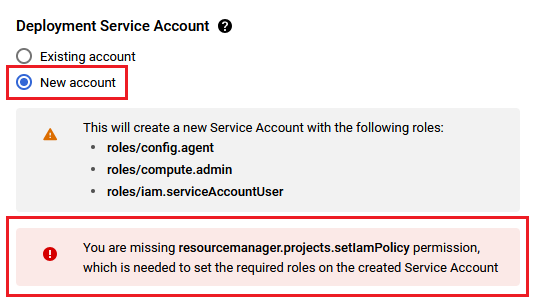
You are missing resourcemanager.projects.setIamPolicy permission, which is needed to set the required roles on the created Service Account
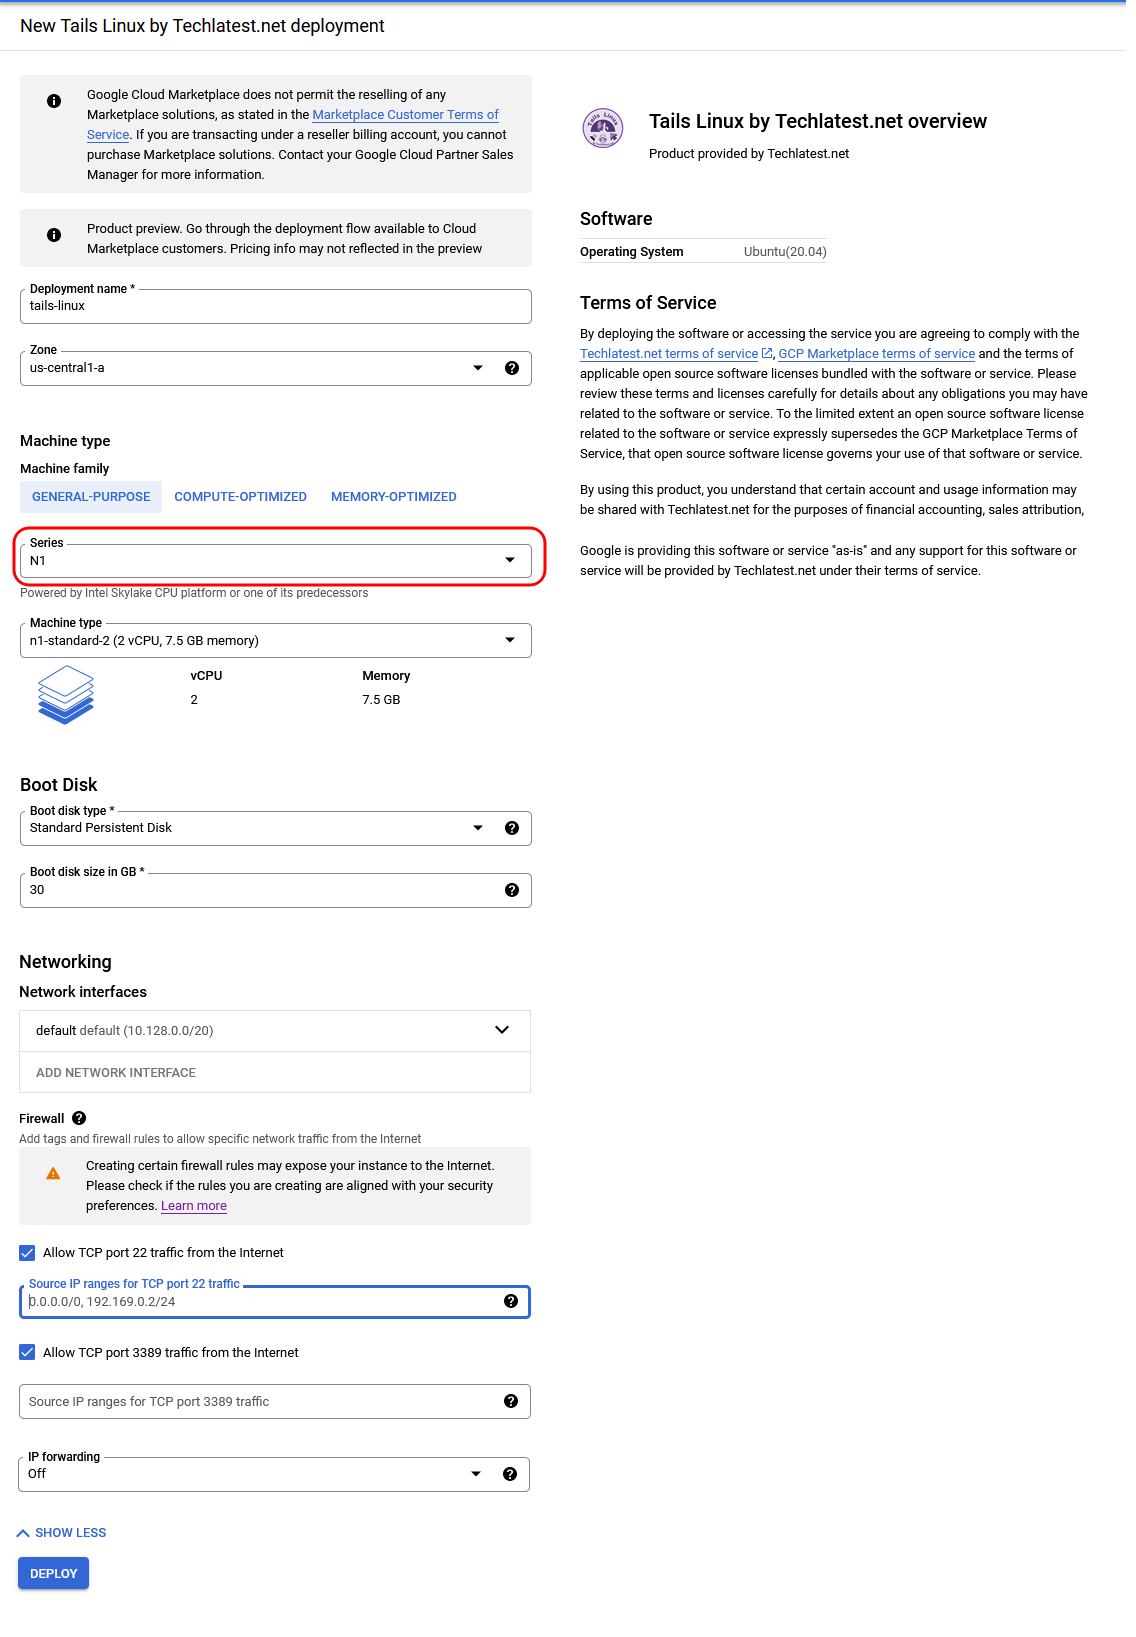
A summary page displays when the compute engine is successfully deployed. Click on the Instance link to go to the instance page .
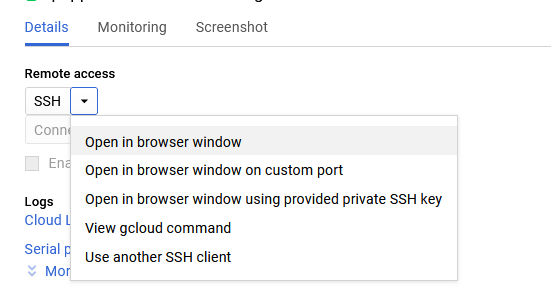
On the instance page, click on the “SSH” button, select “Open in browser window”.
sudo passwd ubuntu

Now the password for ubuntu user is set, you can connect to the VM’s desktop environment from any local windows machine using RDP or linux machine using Remmina.
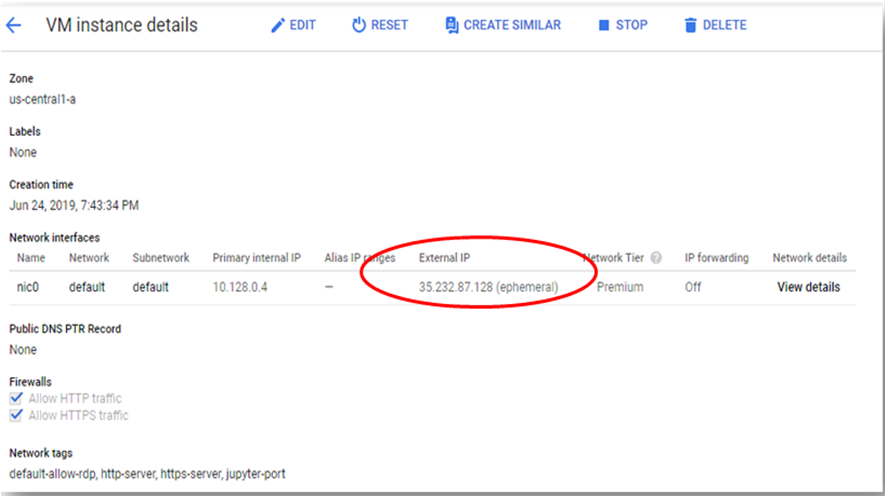
To connect using RDP via Windows machine, first note the external IP of the VM from VM details page as highlighted below
Then From your local windows machine, goto “start” menu, in the search box type and select “Remote desktop connection”
In the “Remote Desktop connection” wizard, paste the external ip and click connect

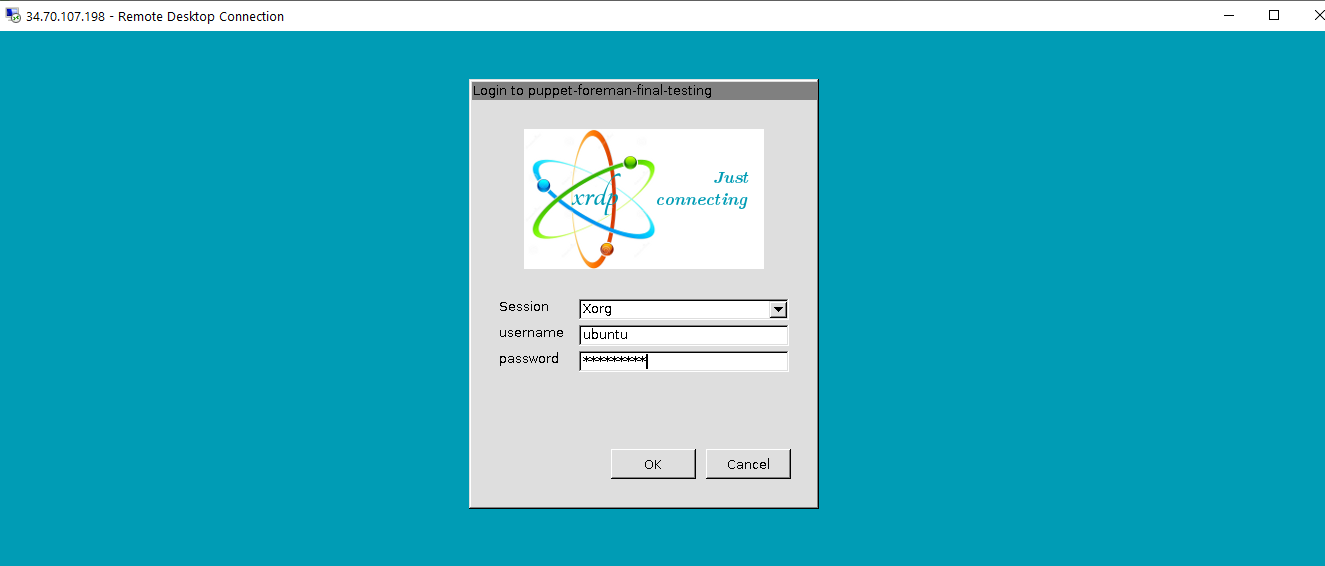
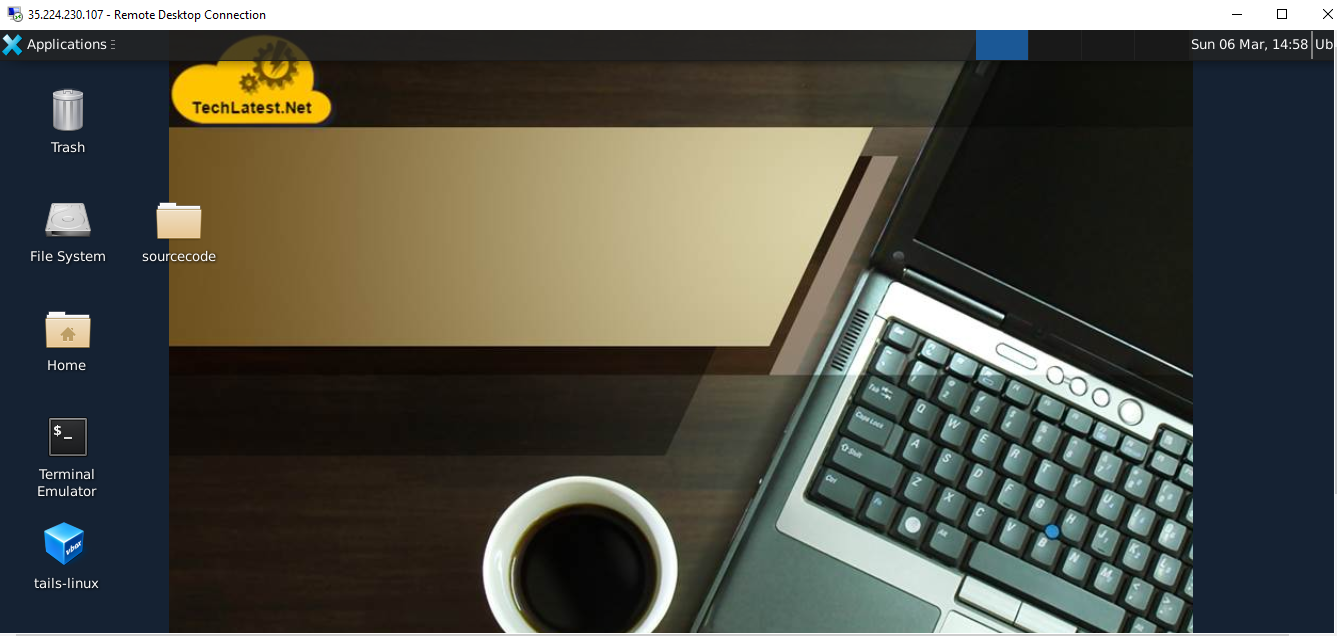
Note: If you don’t have Remmina installed on your Linux machine, firstInstall Remmina as per your linux distribution.
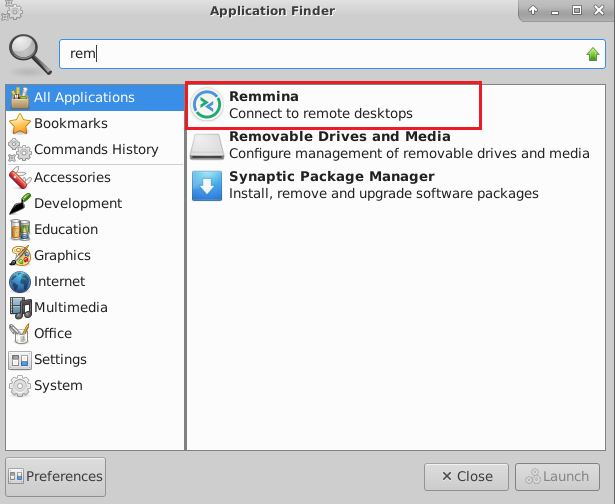 14. In the “Remmina Remote Desktop Client” wizard, select the RDP option from dropdown and paste the external ip and click enter.
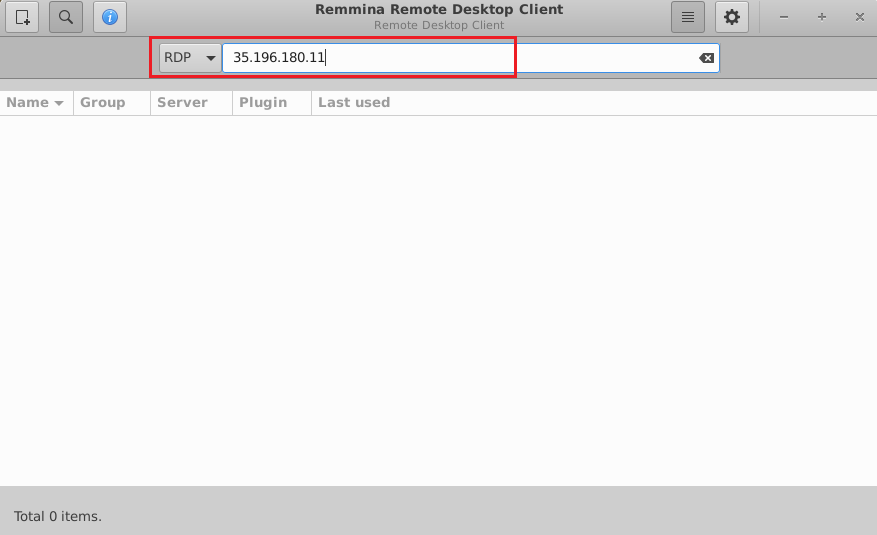 15. This will connect you to the VM’s desktop environment. Provide “ubuntu” as the userid and the password set in step 6 to authenticate. Click OK
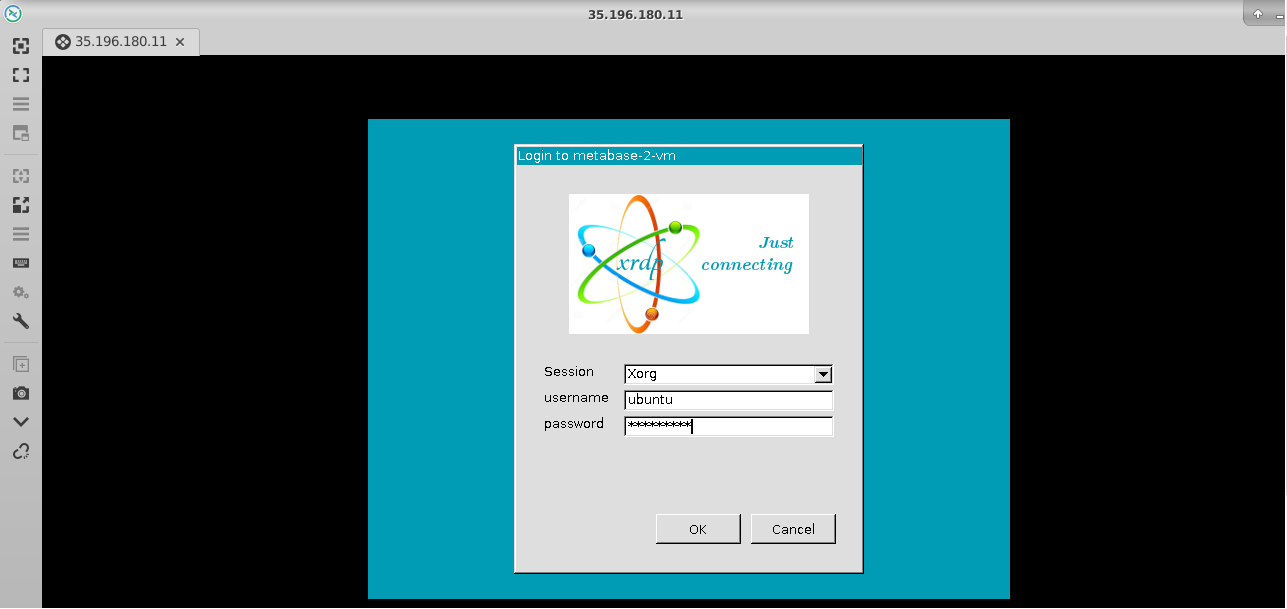 16. Now you are connected to out of box Tails Linux environment via Linux machine.

Once you are connected to GUI, click on the tails-linux VM icon on the desktop, this will start the tails vm inside ubuntu vm. Wait for 4-5 minutes for tails startup. In case you encountered a blank screen on clicking the VM, please check the Troubleshooting Guide to fix the issue and the continue with below steps:
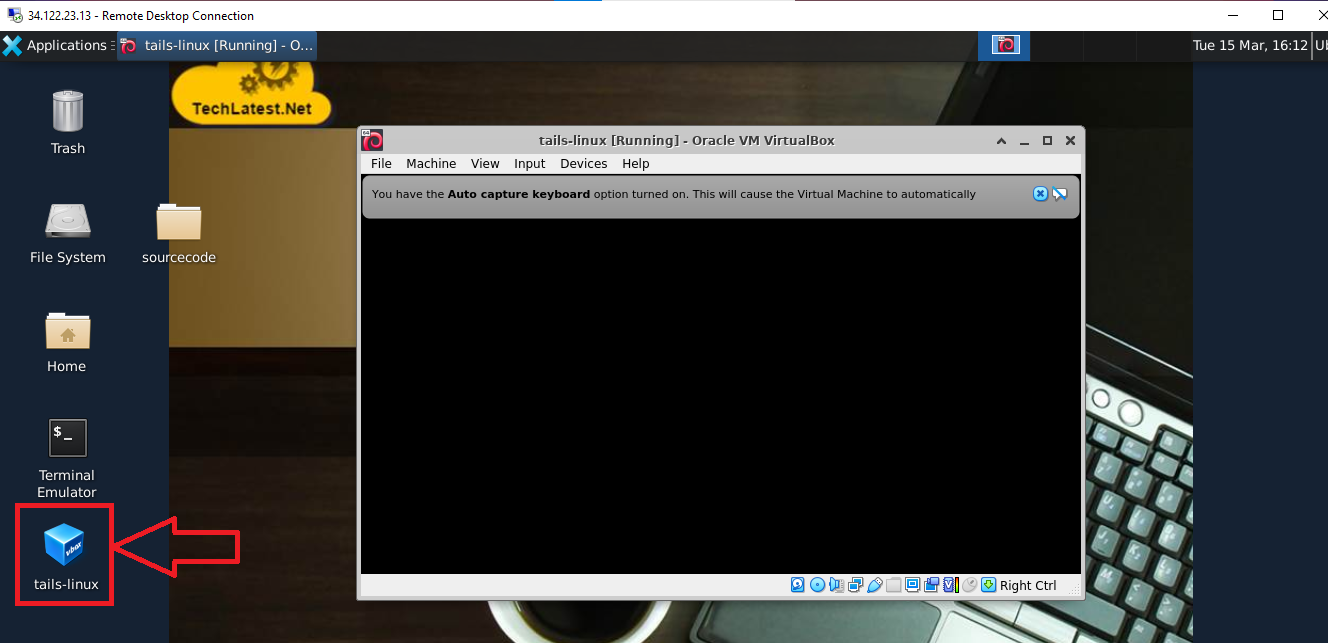
Setting up root password :
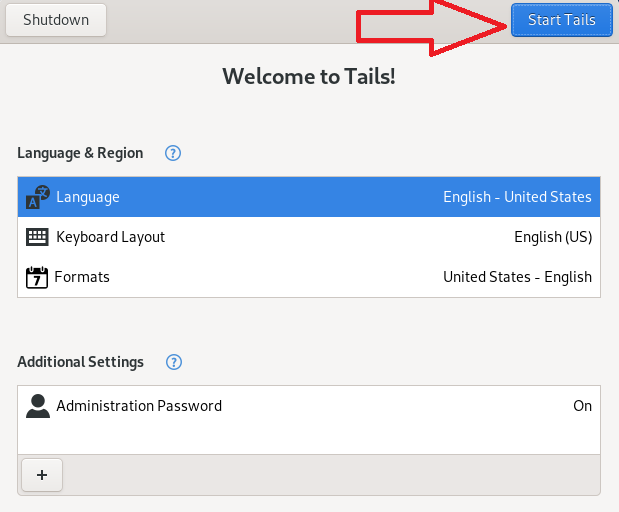
After 4-5 minutes, below welcome screen will come, click on the "+" sign in the bottom which will open additional settings menu. Select Administration Password and enter the password for admin user and click on Add button on top right.
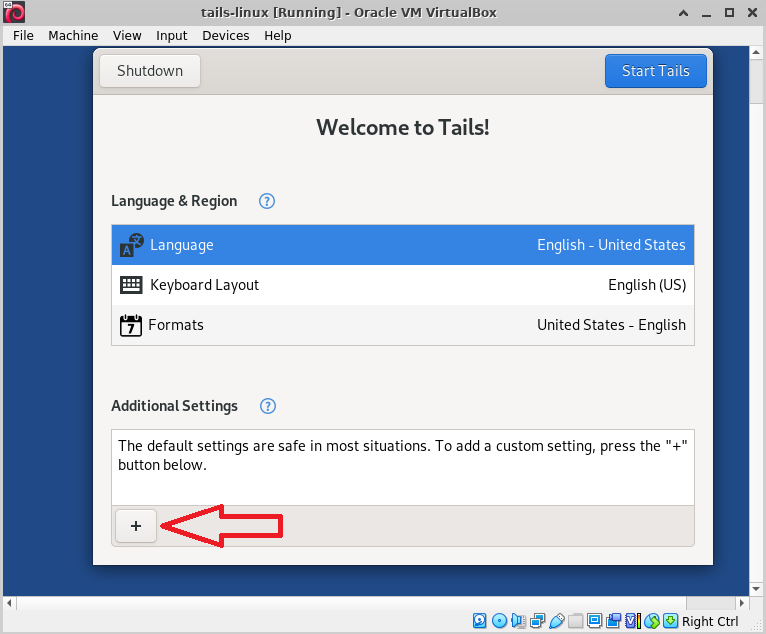
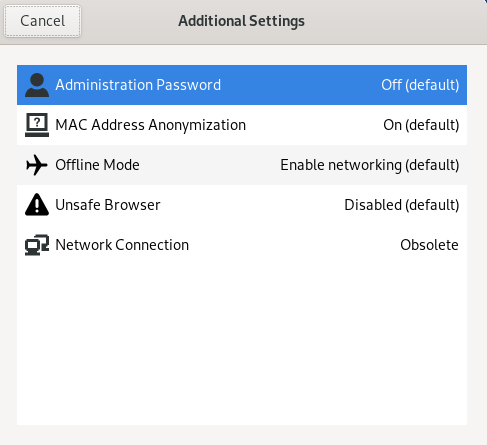
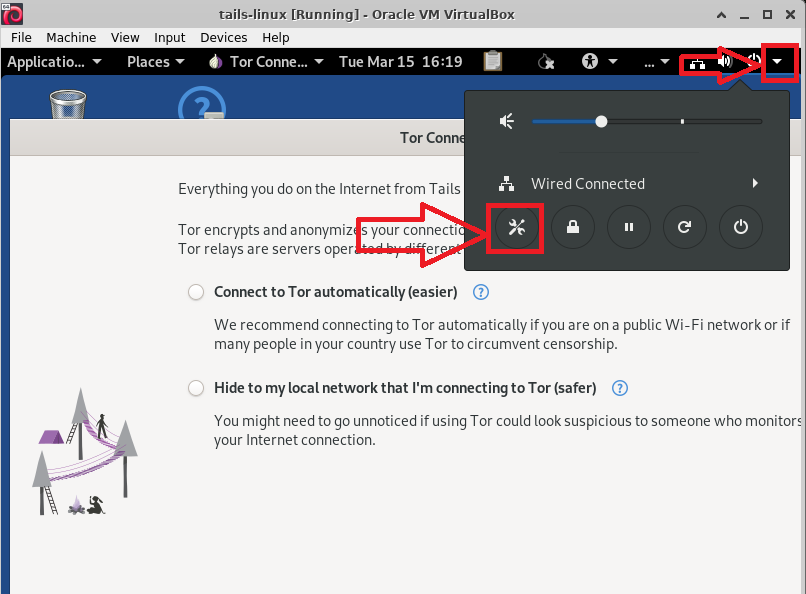
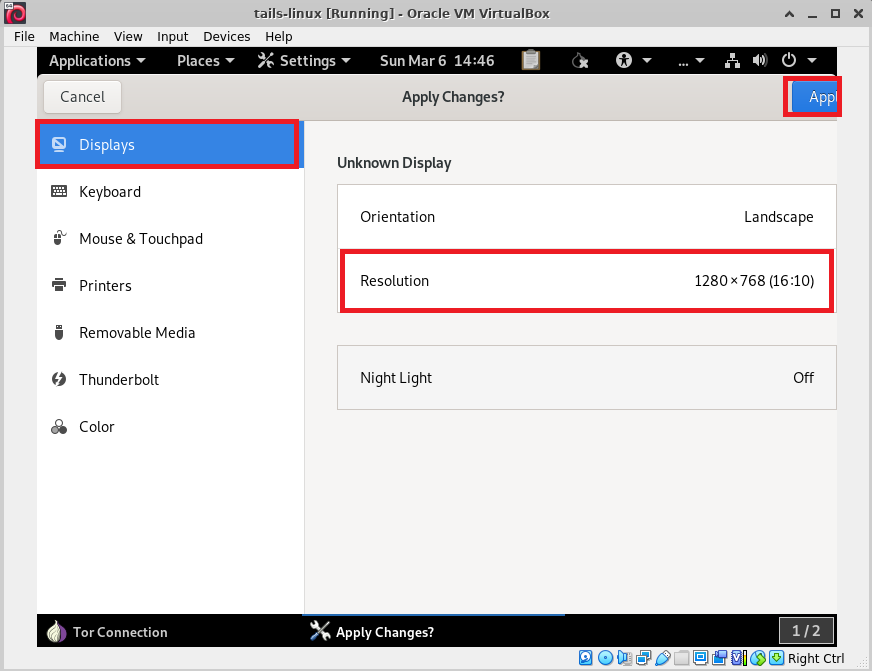
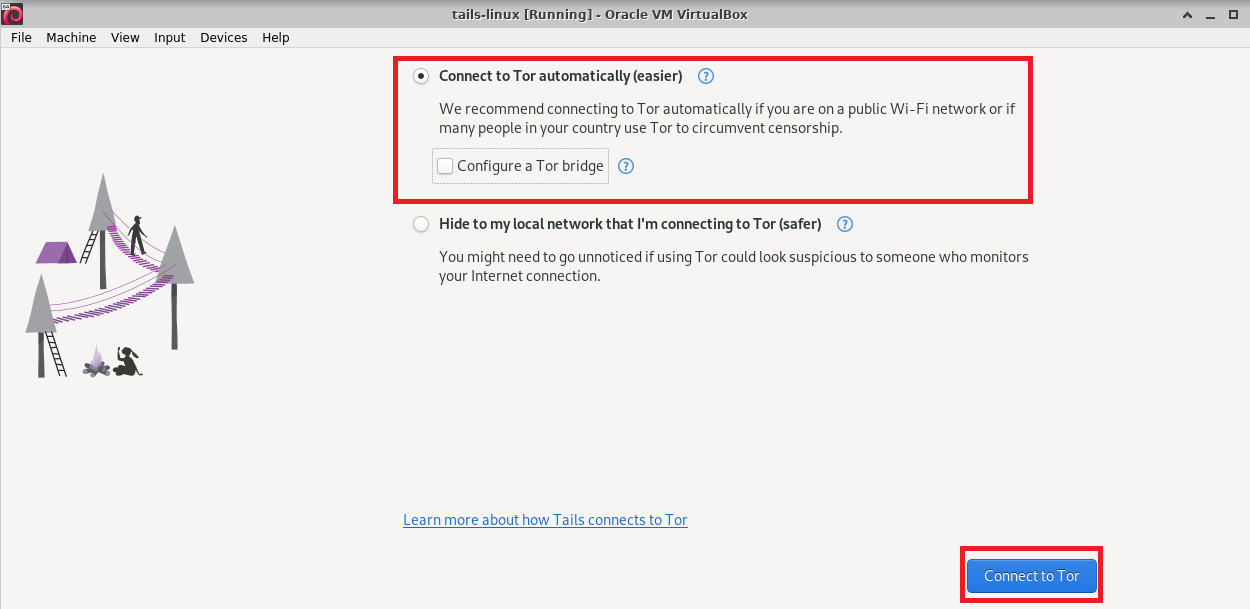
Now you are connected to Tor Browser. Explore the internet freely and securely.
Tails Application:
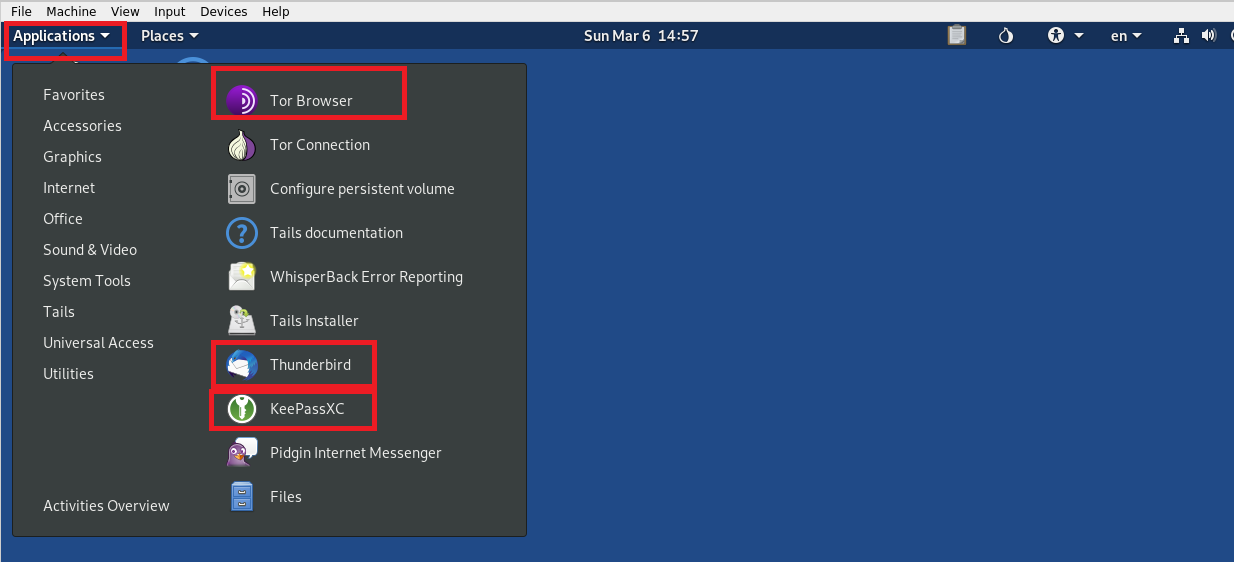
You can use different applications from the application menu of Tails.Tails comes with lots of open-source tools and software to operate and communicate securely. You can use The Tor Browser with uBlock ad blocker built in, Thunderbird which is an email client that encrypts emails, KeePassXC which is a password manager and OnionShare to share files over Tor among others.
The default tails vm will come with 4GB RAM. If you are experiencing latency or performance issue with VM, please follow How to increase VM performance guide.