Step by step guide to setup Stable Diffusion on GCP
This section describes how to launch and connect to Techlatest Stable Diffusion with API and AUTOMATIC1111 Web Interface in a Google Compute environment using the available Cloud Launcher offering.
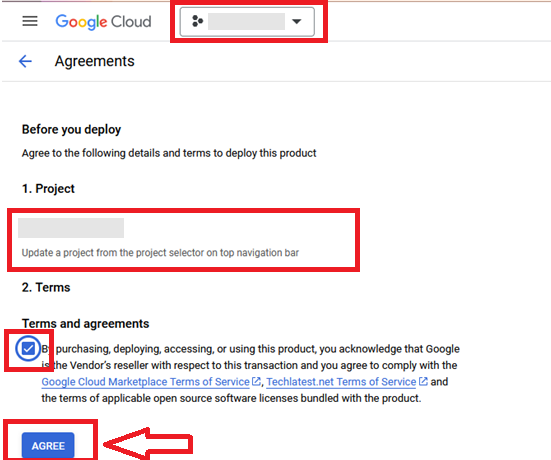
It will take you to the agreement page. On this page, you can change the project from the project selector on top navigator bar as shown in the below screenshot.
Accept the Terms and agreements by ticking the checkbox and clicking on the AGREE button.
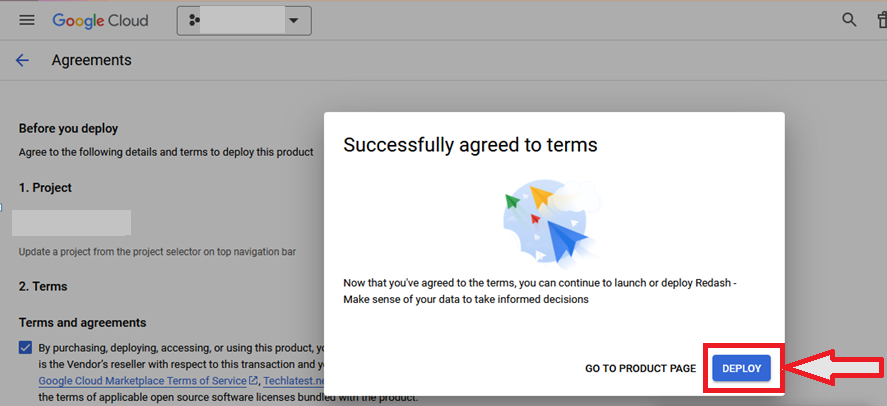
It will show you the successfully agreed popup page. Click on Deploy.
On deployment page, give a name to your deployment.
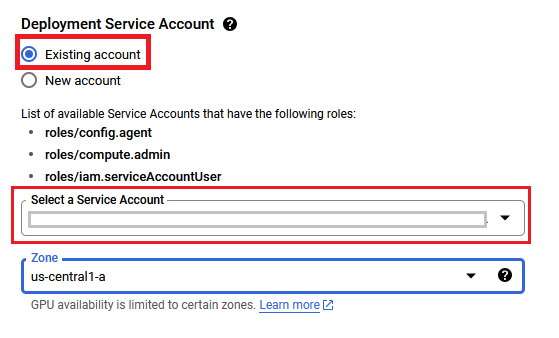
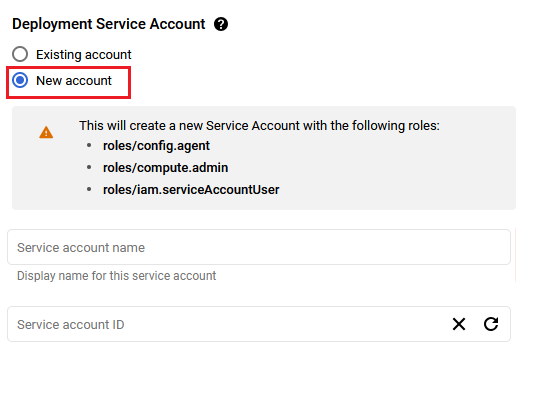
In Deployment Service Account section, click on Existing radio button and Choose a service account from the Select a Service Account dropdown.
If you don't see any service account in dropdown, then change the radio button to New Account and create the new service account here.
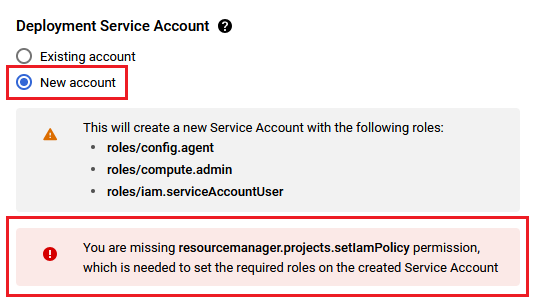
If after selecting New Account option, you get below permission error message then please reach out to your GCP admin to create service account by following Step by step guide to create GCP Service Account and then refresh this deployment page once the service account is created, it should be available in the dropdown.
You are missing resourcemanager.projects.setIamPolicy permission, which is needed to set the required roles on the created Service Account
Select a zone where you want to launch the VM. (such as us-east1-)
Optionally change the number of cores and amount of memory. ( This defaults to 8 vCPUs and 30 GB ram)
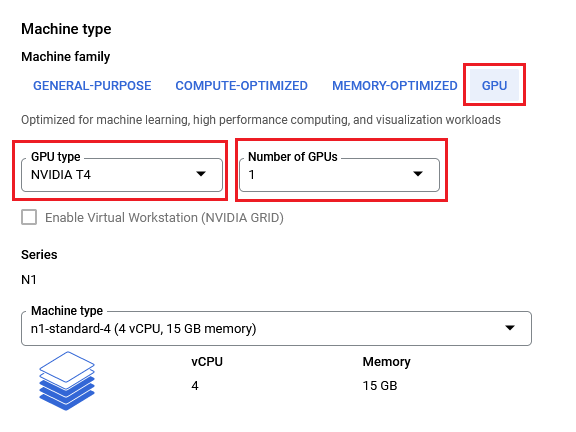
For optimal performance, Stable Diffusion requires significant processing power, which is best achieved with a GPU instance. However, if the cost of a GPU instance is prohibitive, a CPU instance with higher processing capacity may be used as an alternative.
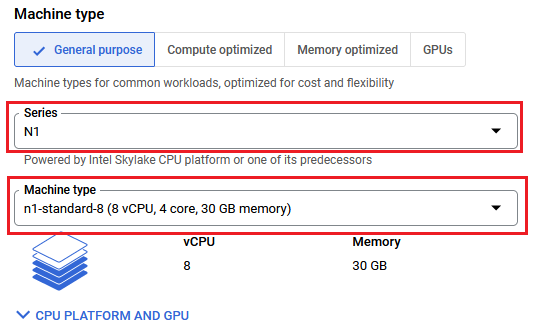
Below are the recommended VM configuration:
GPU VM : NVIDIA T4 with 1 GPU with n1-standard-4 (4 vcpu 15GB memory) configuration
CPU VM : n1-standard-8 (8vcpu, 30gb ram)
For CPU, its the minimum spec but more cpu is preferred.
NOTE: While deploying the instance on GPU, if you encounter the quota exhaust error or you are unable to deploy the instance on GPU VM then please refer to our Request Quota on Google Cloud Platform
Optionally change the boot disk type and size. (This defaults to ‘Standard Persistent Disk’ and 80 GB respectively)
Select the default Networking configuration. Default Networking configuration comes with the ports 22 (for ssh), 3389 (for RDP), 443 (for HTTPS) and 80 (for HTTP) exposed.
Click Deploy when you are done.
Techlatest Stable Diffusion with API and AUTOMATIC1111 Web Interface will begin deploying.
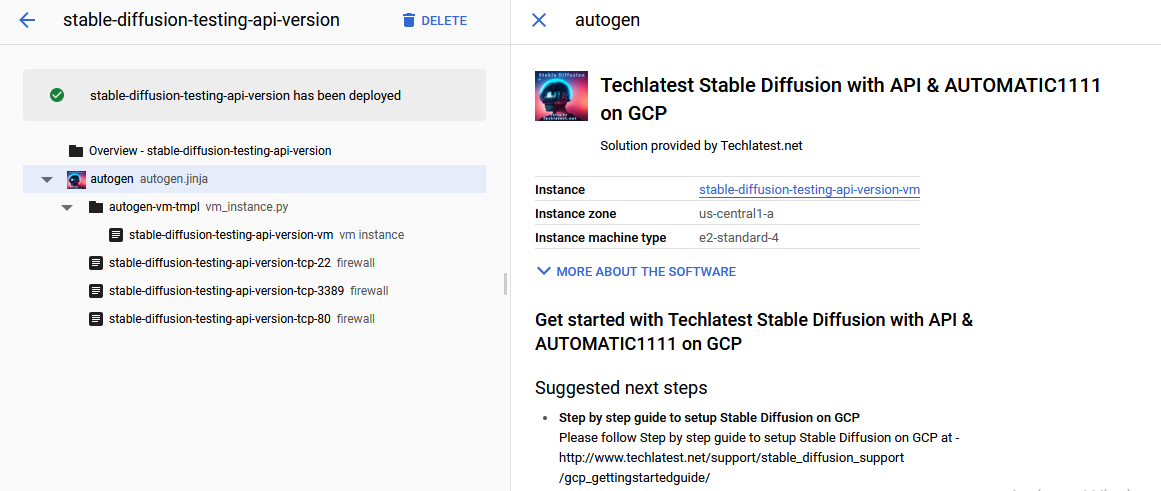
A summary page displays when the compute engine is successfully deployed. Click on the Instance link. It will open an overview page of virtual machine. .
After VM launch for the first time, GPU instances will take 5-10 minutes and CPU instances will take 15-30 minutes to launch the app in the browser.
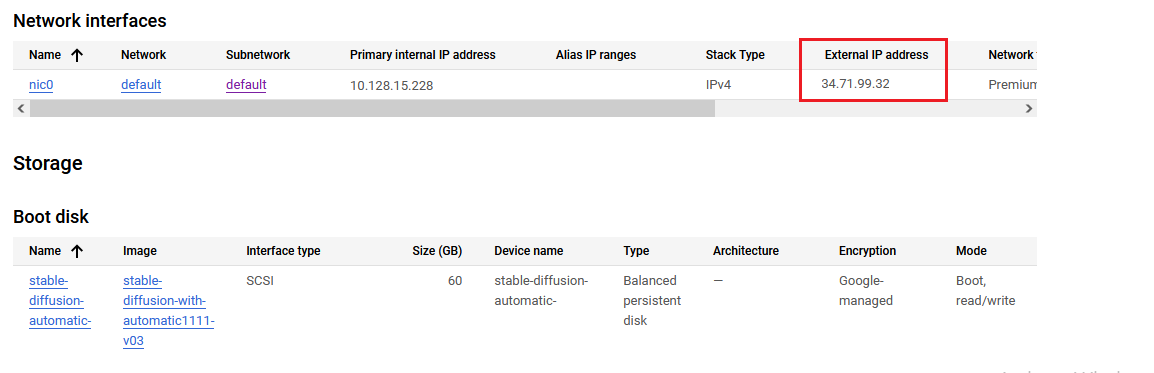
Wait for 5-10 or 15-30 minutes depending on if your VM is GPU or CPU based and then access the Stable Diffusion GUI via browser by copying the public IP of the VM from the VM’s overview page and paste it in the browser and then hit enter. If SD WebUI does not appear even after 30 minutes, then please reboot the VM and check again.
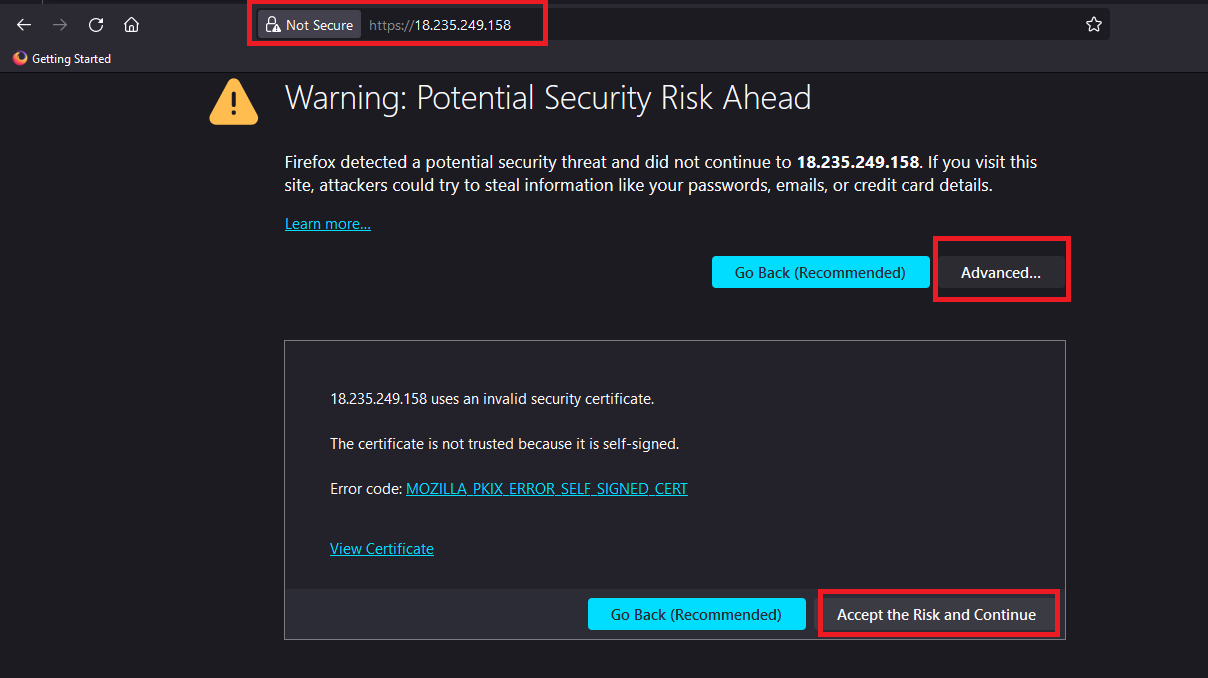
You can access the SD WebUI using http://VM_Public_IP or https://VM_Public_IP.
Note: If you are using https in the URL when accessing AUTOMATIC1111 interface in browser, for eg. https://VM_Public_IP , then your browser will show the certificate warning. Accept the certificate warning and Continue.
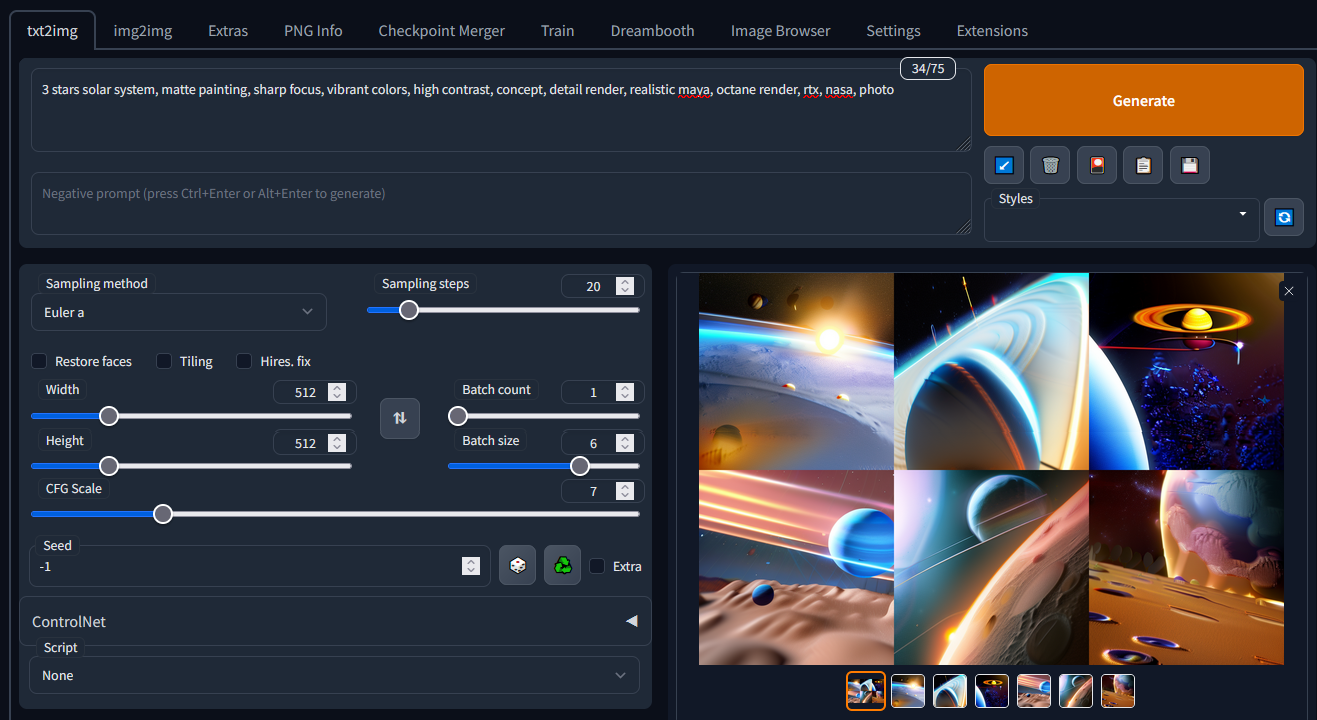
The Stable Diffusion GUI comes with lots of options and settings. The first window shows text to image page. Provide the Prompt and click on Generate button and wait till it finishes.
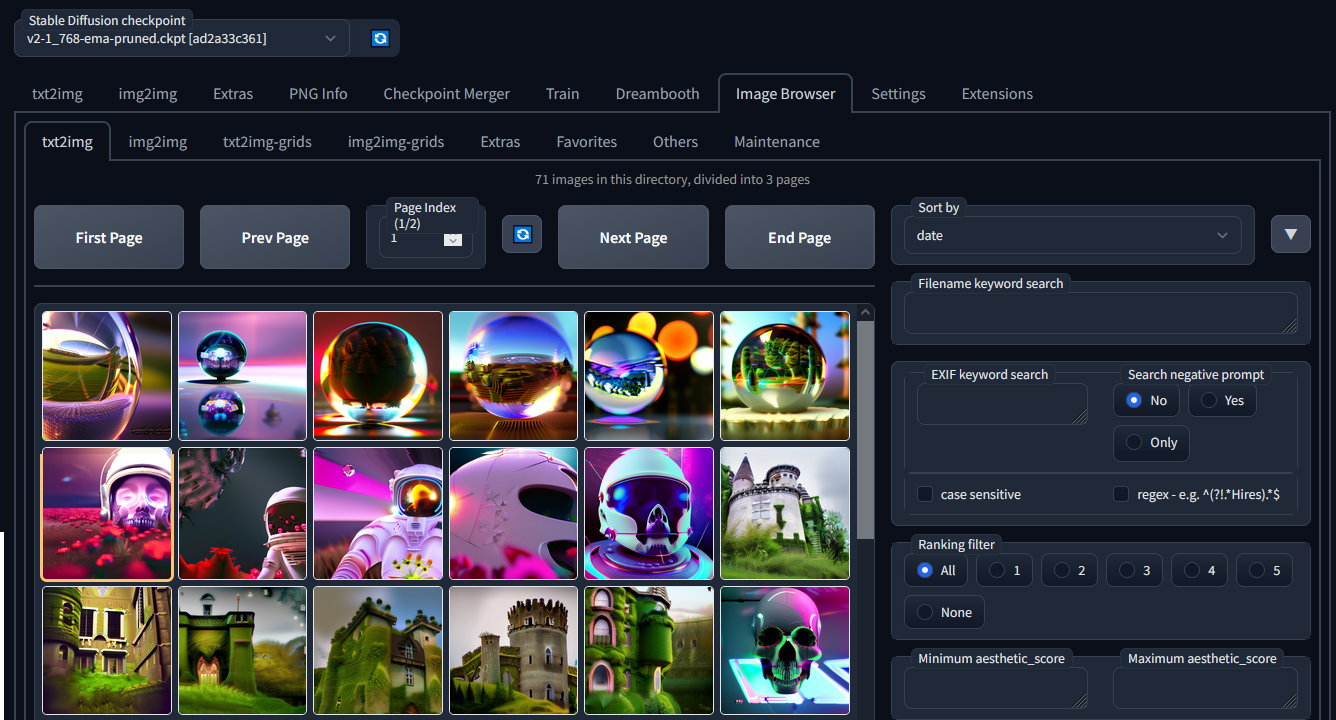
Output Images can be seen in the Image Browser tab. Click on Image browser and click on first page to load the images.
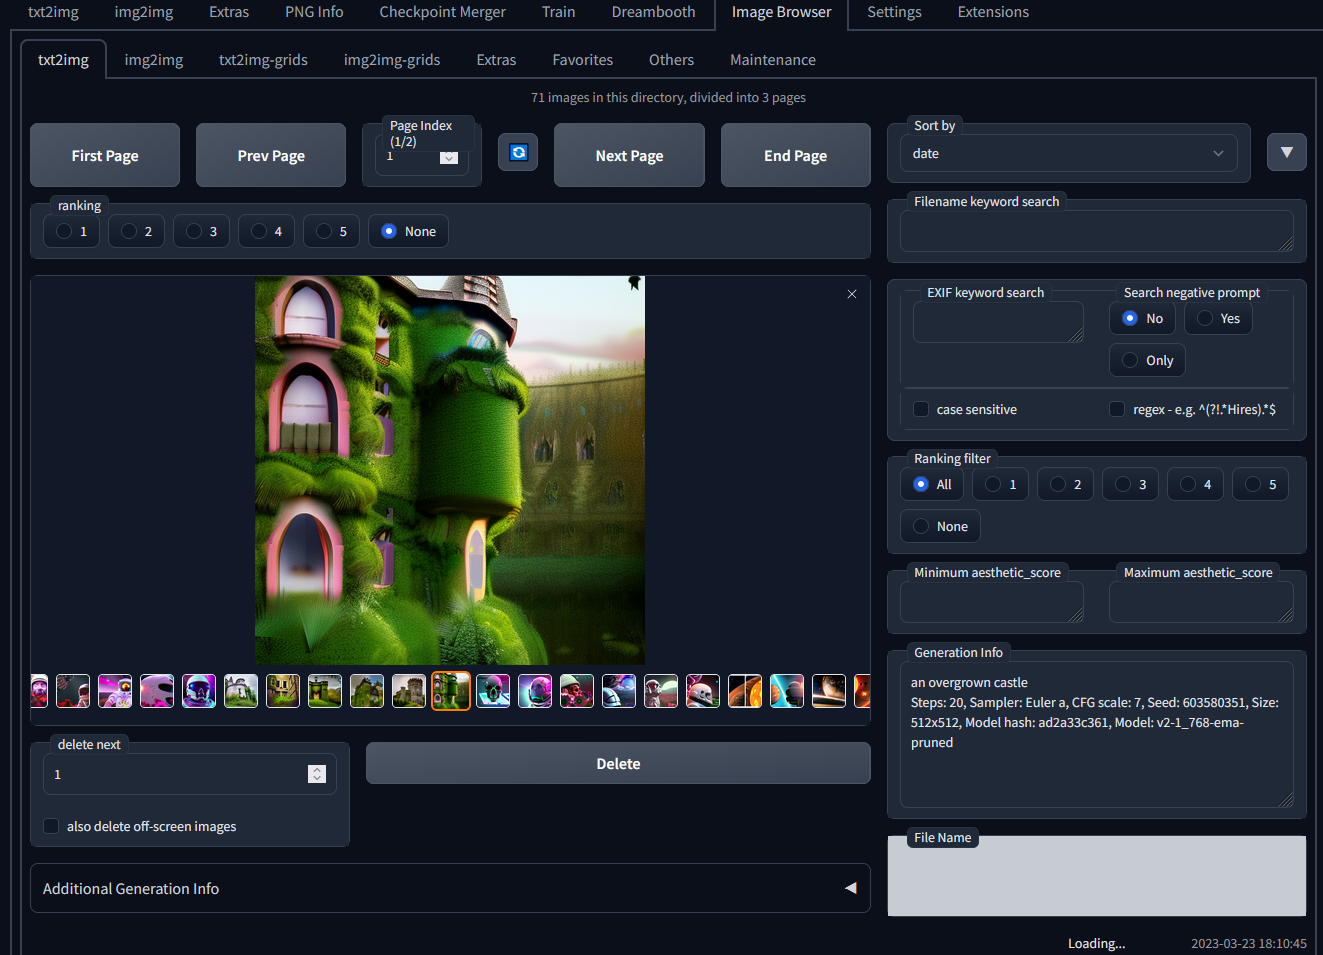
In Image Browser, click on any image to see the details of it.
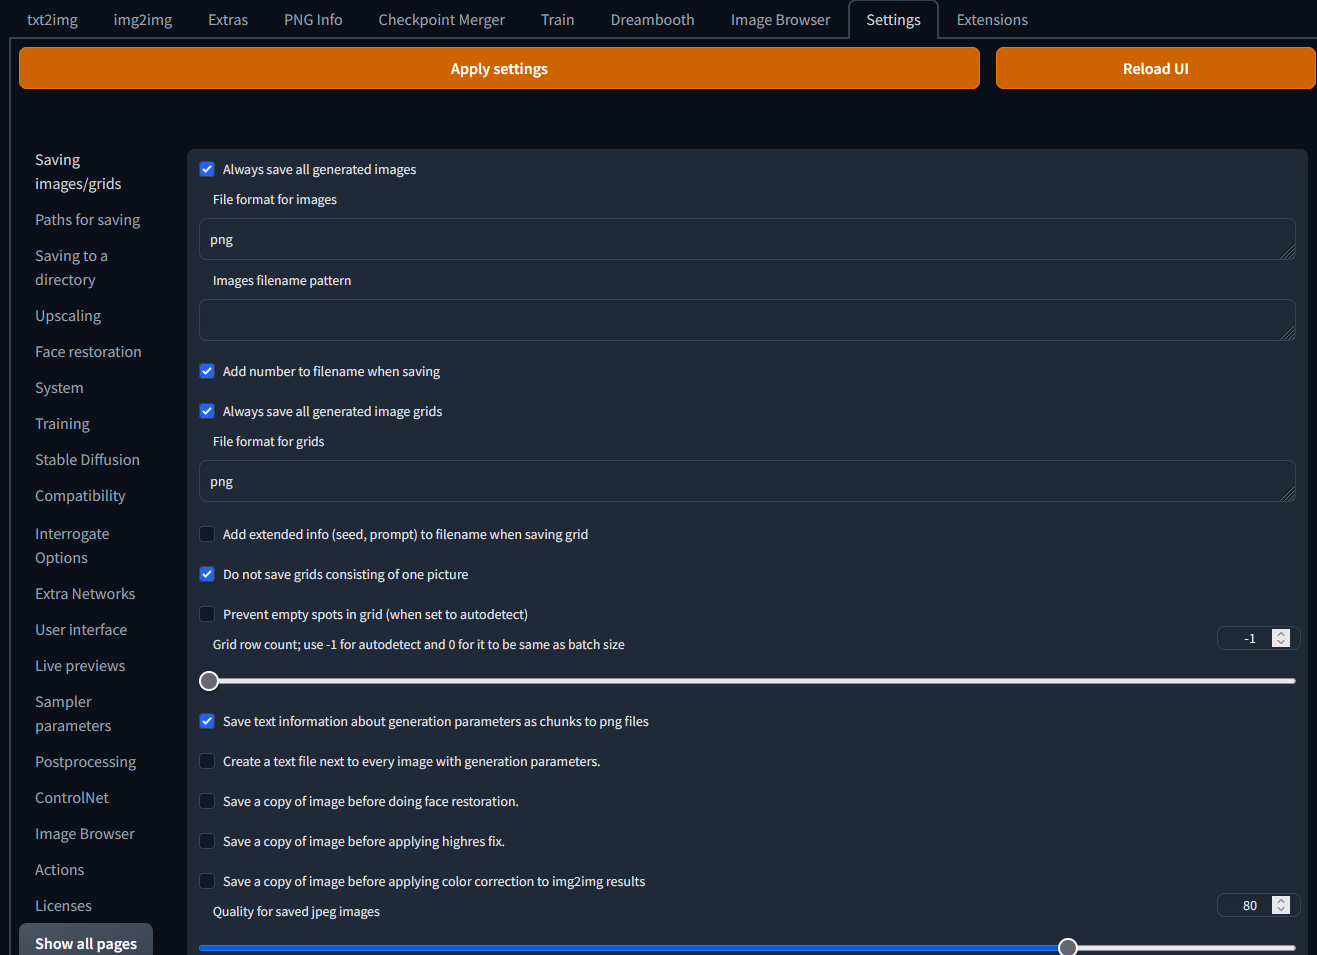
To change any settings, go to Settings tab.
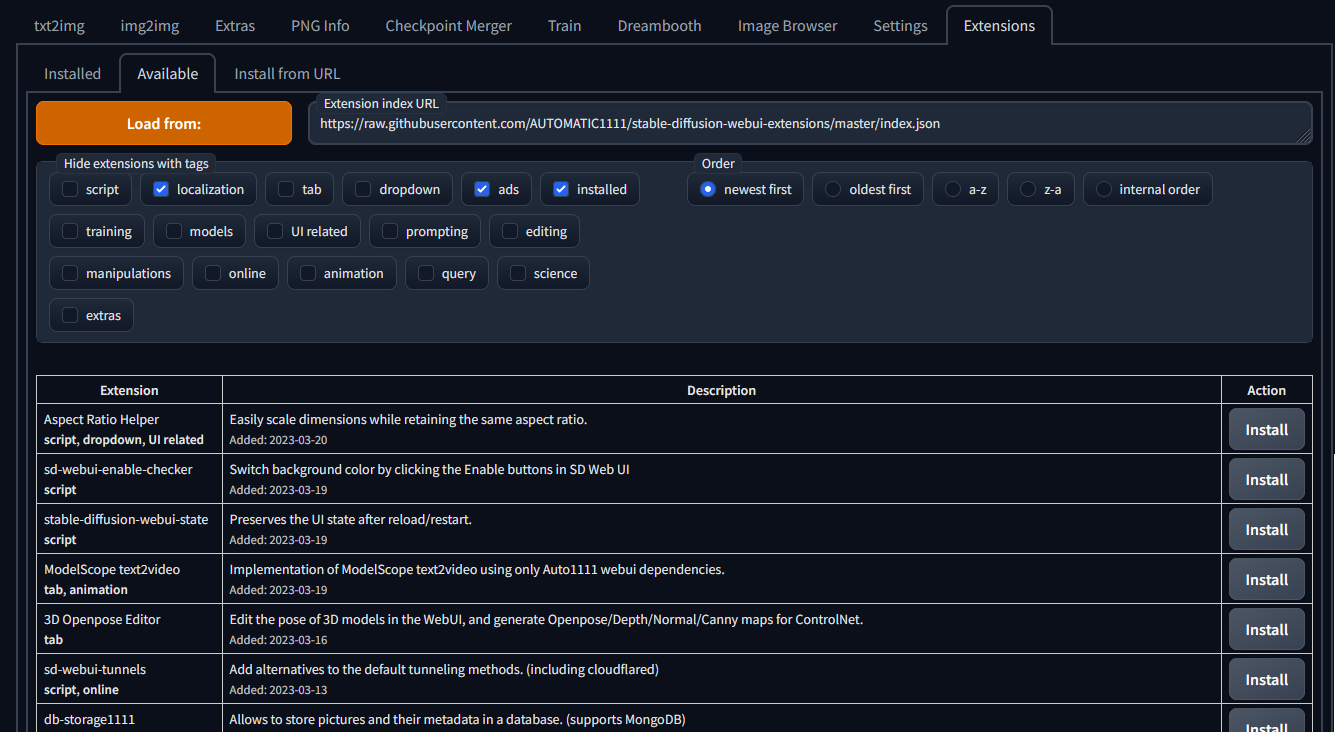
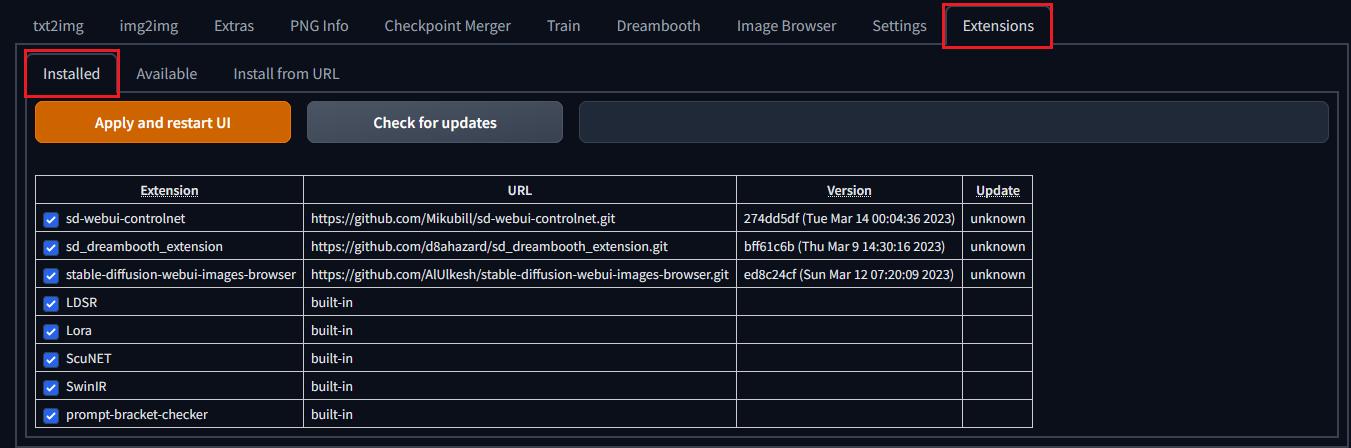
Web UI also provides you the option to add extensions. Navigate to extensions tab, go to available and select load from URL. It will list all the available extensions.
You can also see the list of installed extensions under installed tab.
The images created from GUI are stored under /home/ubuntu/stable-diffusion/output/ directory on the VM. To access this directory, follow below steps:
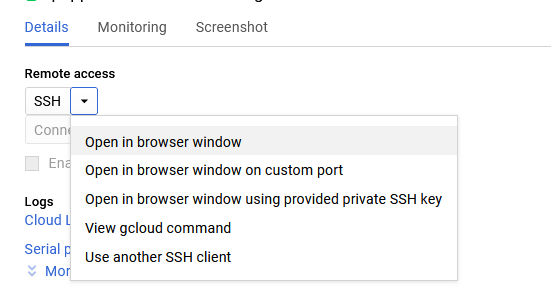
To access the VM’s Desktop environment, first you need to SSH to this instance. For that, On the instance page, click on the “SSH” button, select “Open in browser window”
This will open SSH window in a browser.
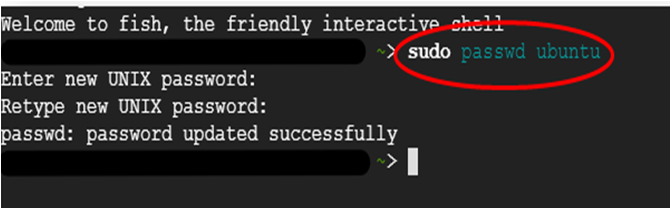
Run below command to set the password for “ubuntu” user
sudo passwd ubuntu
Now the password for ubuntu user is set, you can connect to the VM’s desktop environment from any local windows machine using RDP or linux machine using Remmina.
To connect using RDP via Windows machine, first note the external IP of the VM from VM details page
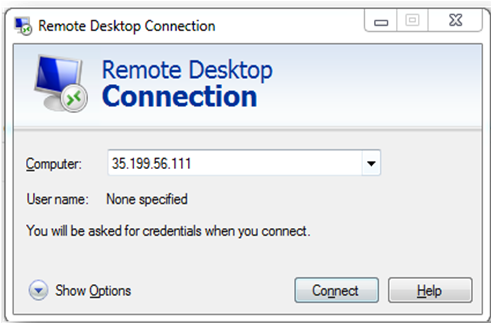
In the “Remote Desktop connection” wizard, paste the external ip and click connect
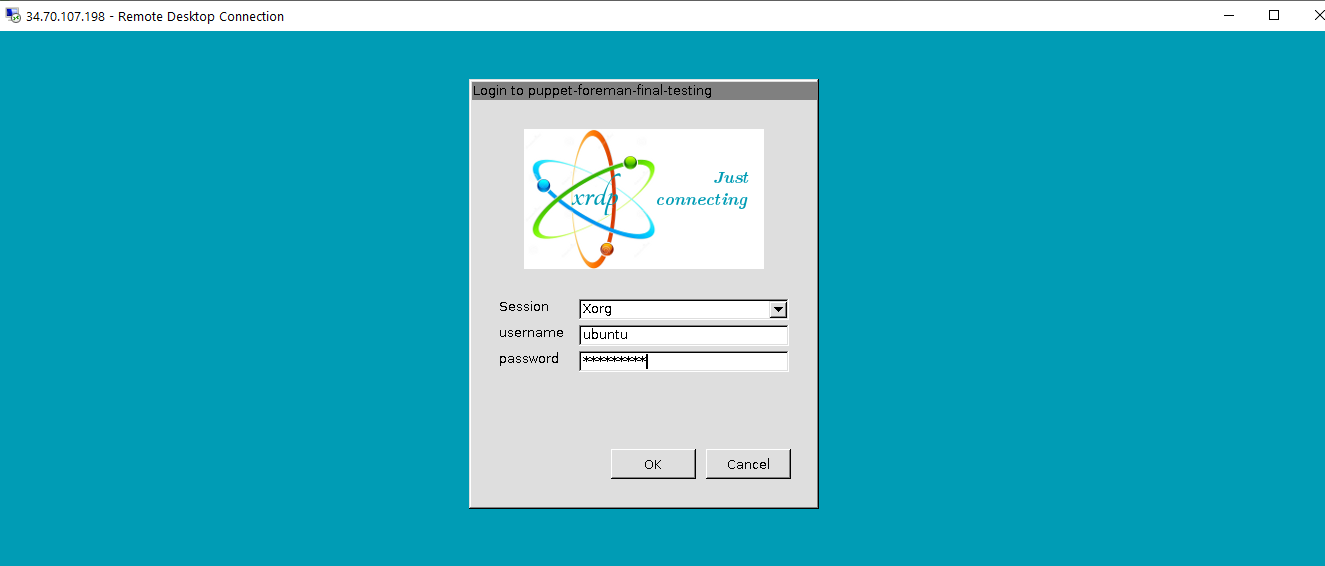
This will connect you to the VM’s desktop environment. Provide “ubuntu” as the userid and the password set in the above step to authenticate. Click OK
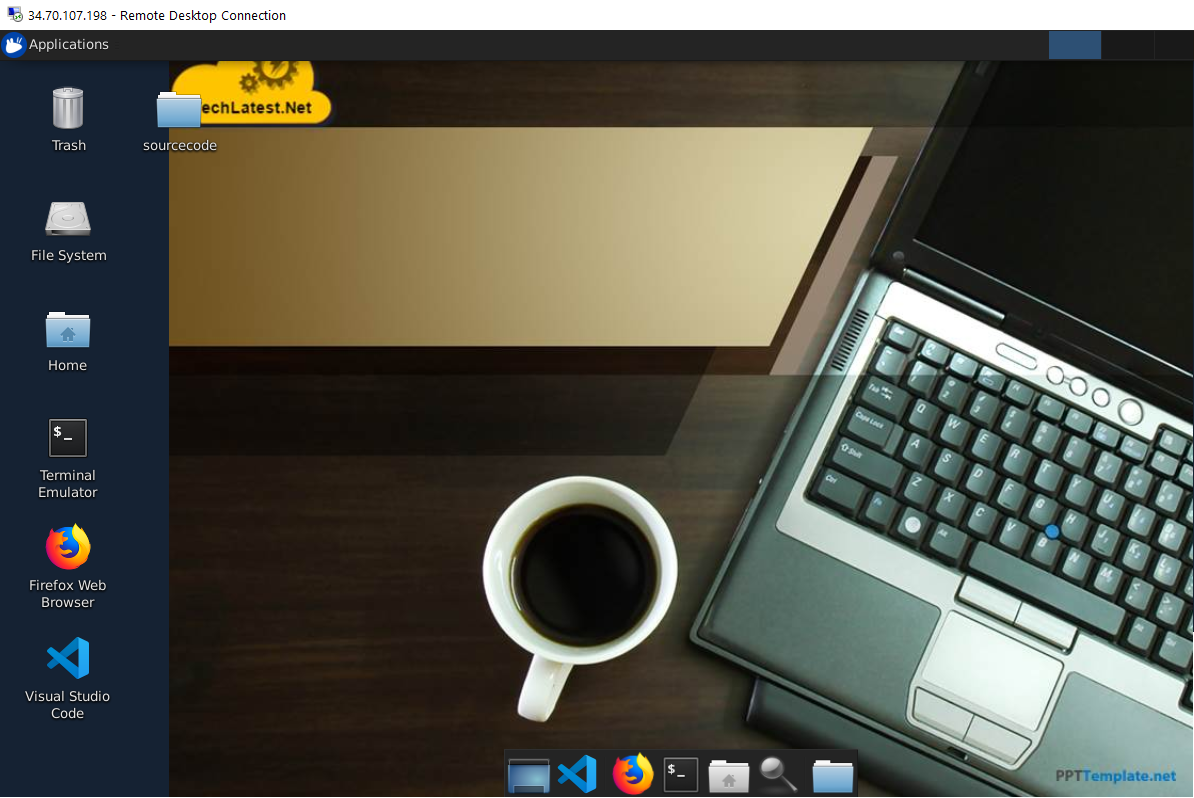
Now you are connected to out of box Techlatest Stable Diffusion with API & AUTOMATIC1111 environment via Windows machines.
To connect using RDP via Linux machine, first note the external IP of the VM from VM details page,then from your local Linux machine, goto menu, in the search box type and select “Remmina”.
Note: If you don’t have Remmina installed on your Linux machine, firstInstall Remmina as per your linux distribution.
In the “Remmina Remote Desktop Client” wizard, select the RDP option from dropdown and paste the external ip and click enter.
This will connect you to the VM’s desktop environment. Provide “ubuntu” as the userid and the password set in the above steps to authenticate. Click OK
Now you are connected to out of box Techlatest Stable Diffusion with API & AUTOMATIC1111 environment via Linux machine.
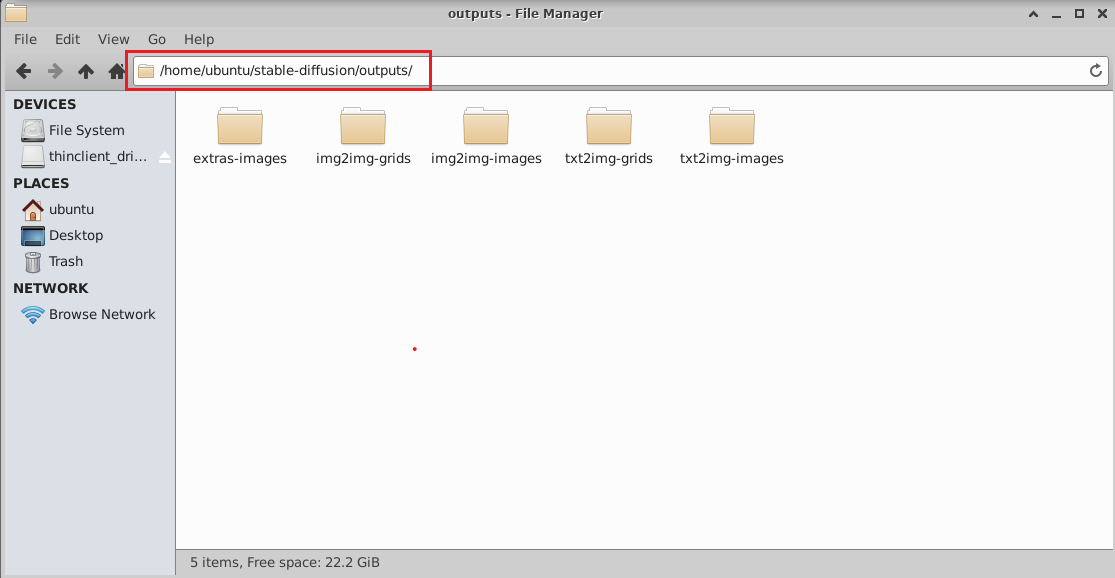
From VM’s Desktop, you can access the Output Images by navigating to /home/ubuntu/stable-diffusion/outputs/ directory.
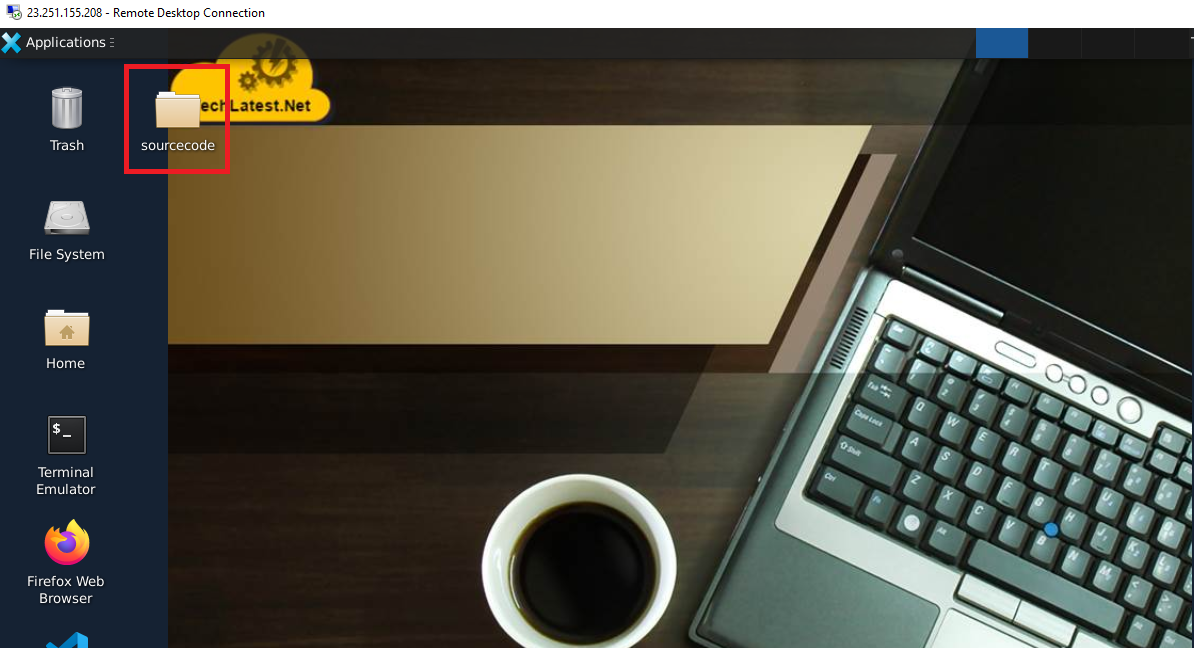
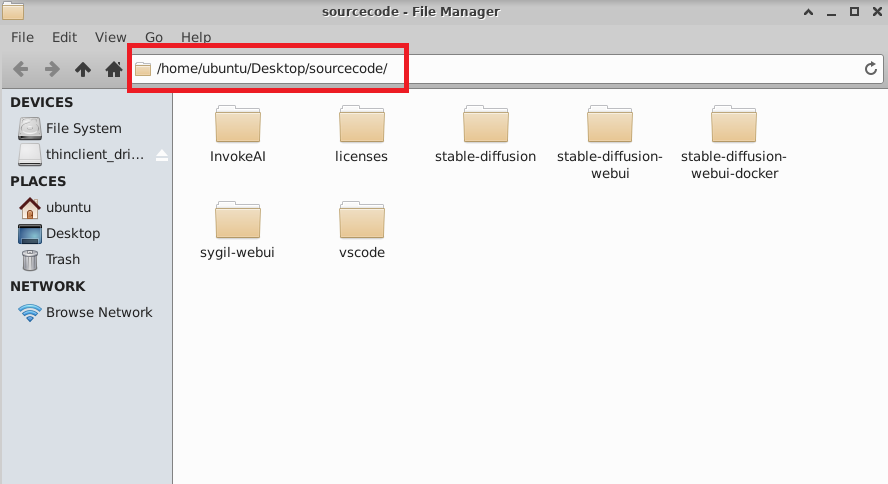
You can also access the sourcecode of the Stable Diffusion. It is available under sourcecode folder on Desktop.
This VM is pre-configured for Stable Diffusion with an enabled API (Application Programming Interface). To access the preinstalled API’s, follow below steps:
open VM’s url using http://vmip/docs. Here you can find the list of API’s.
Note: Please use http://vmip/docs and not https://vmip/docs to access the API page
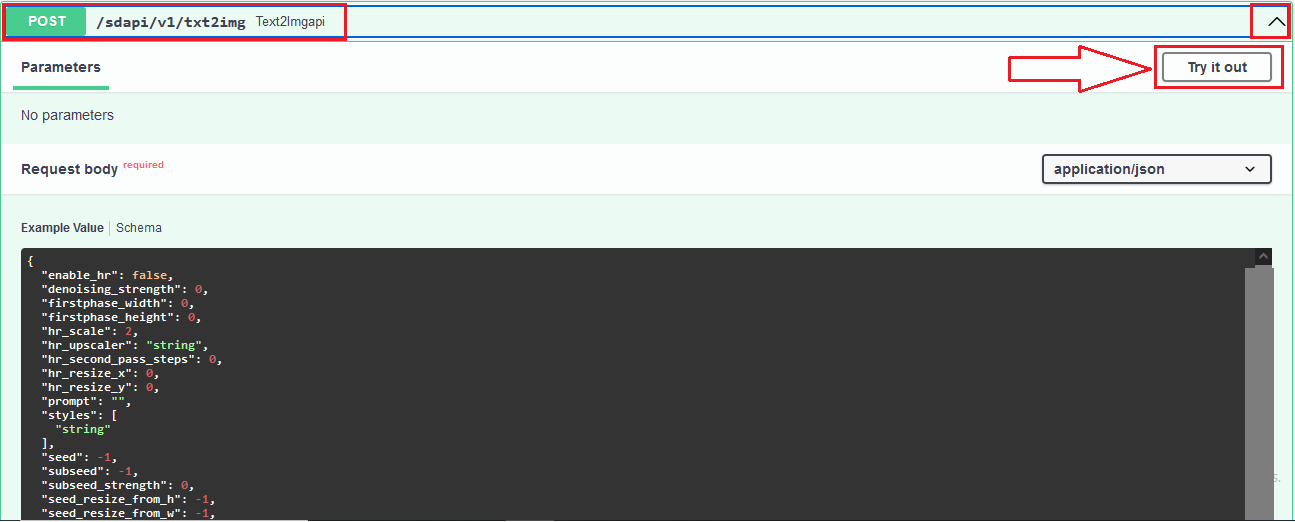
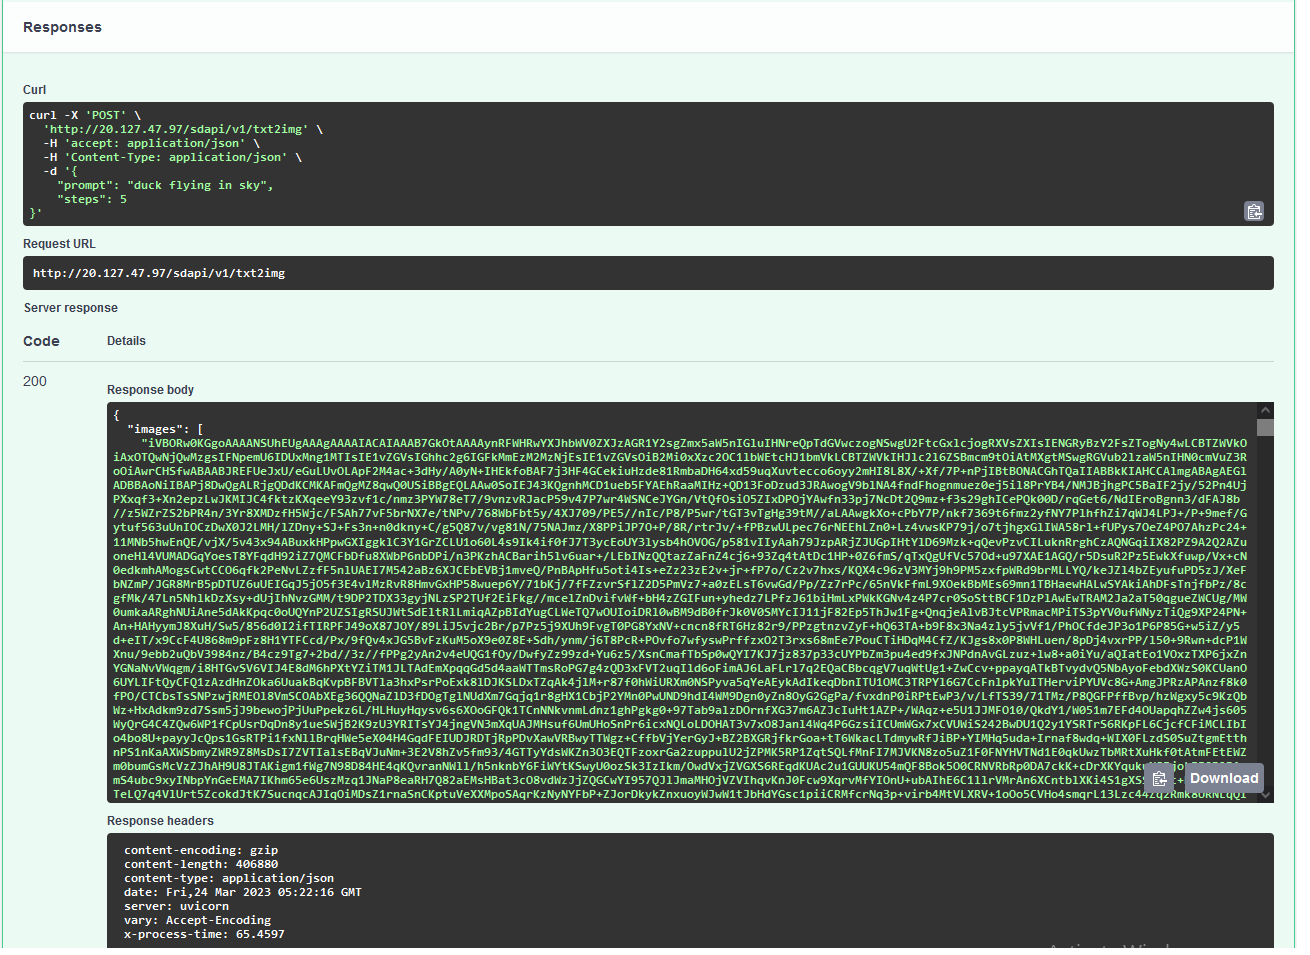
Search for txt2img API, then click on the arrow at the right end of the searched api line, it gives an example of a payload to send to the API. Click on the try it out button.
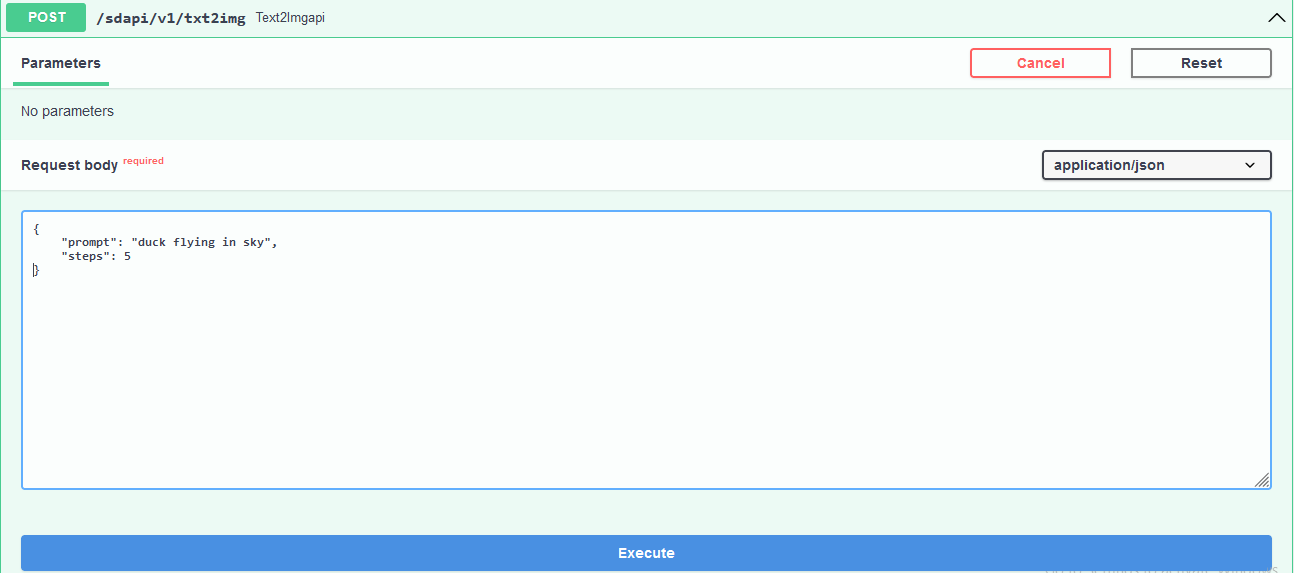
This will enable the Request Body and Execute button. Try with the below code snippet in request body and click on Execute button.
e.g
{
“prompt”: “duck flying in sky”,
“steps”: 5
}
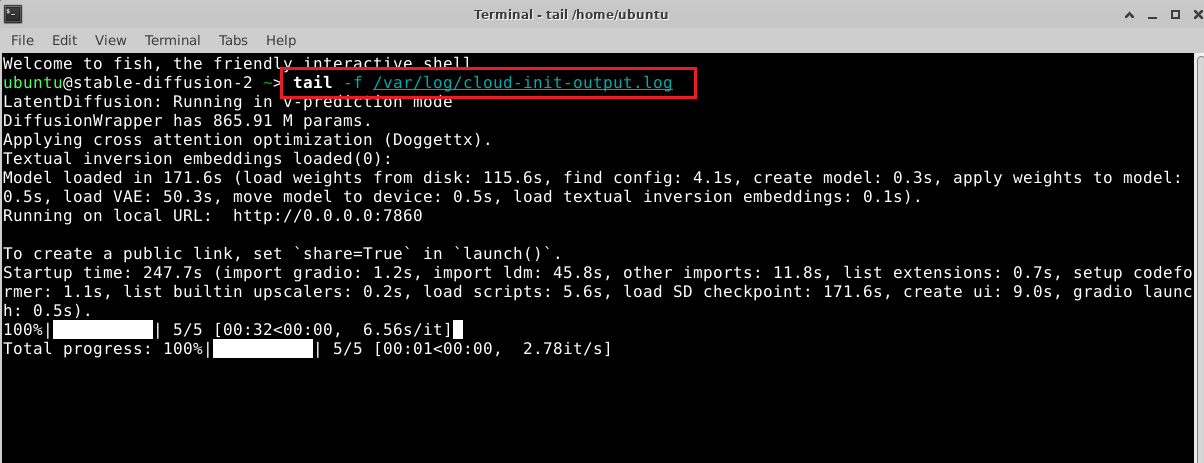
After clicing on “Execute” button, You can observe the progress in the terminal by running-
tail -f /var/log/cloud-init-output.log
Once image processing is complete, in the API webconsole, it will show “200” as response code and the response field will have response in json format with image in “images:” field of json.
Please note that APIs are exposed on public internet and you must add necessary security controls to secure the API.
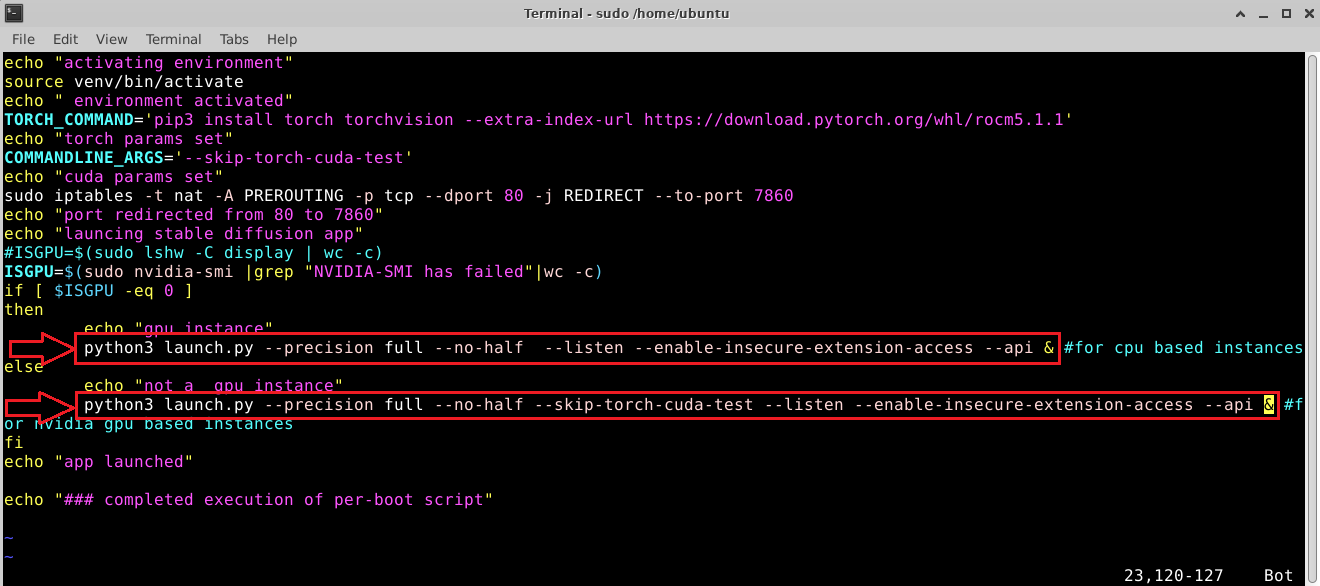
If you want to disable the API or want to make any further configuration changes then please update line 20 and line 23 of /var/lib/cloud/scripts/per-boot/sd-per-boot.sh file as per the Stable Diffusion Wiki documentation.
sudo vi /var/lib/cloud/scripts/per-boot/sd-per-boot.sh