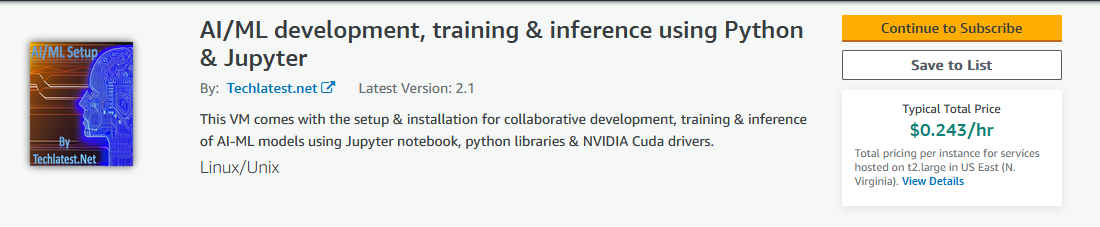
How to get AI/ML development, training & inference using Python & Jupyter Kit on AWS(Amazon Web Services)
This section describes how to launch and connect to AI/ML development, training & inference using Python & Jupyter Kit in Amazon Web Services (AWS).
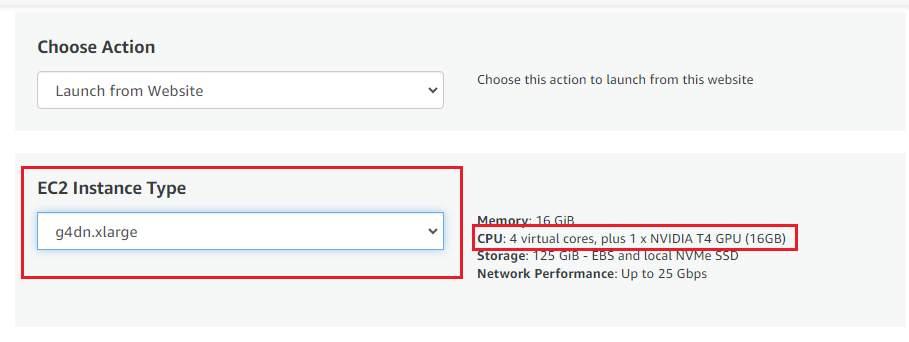
Note: Now the AI/ML development, training & inference using Python & Jupyter kit is available Jupyter AI and GPU Acceleration support. To provision this VM with the GPU instance, please select the instance from g4dn family available on configuration page (Please see below configuration screenshot in step 2.).
NOTE: While deploying the instance on GPU, if you encounter the quota exhaust error or you are unable to deploy the instance on GPU VM then please refer to our Request Quota on AWS Cloud Platform
Login with your credentials and follow the instruction.
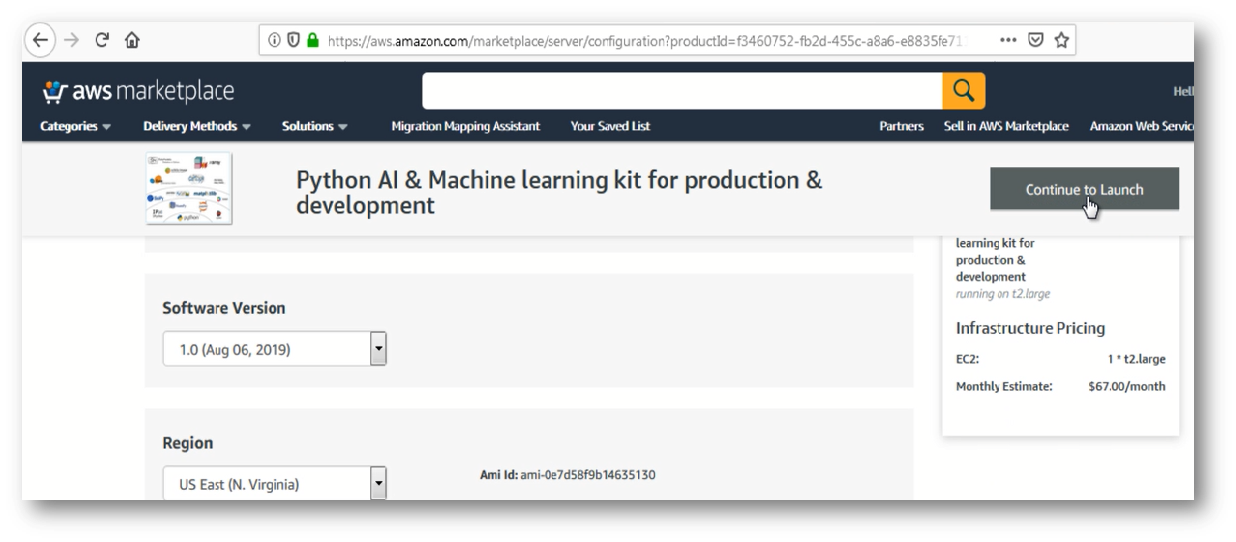
Subscribe to the product and click on Continue to configuration button.
Select a Region where you want to launch the VM(such as US East (N.Virginia))
Click on Continue to Launch Button.
Choose Action: You can launch it through EC2 or from Website.(Let’s choose Launch from website)
Optionally change the EC2 instance type. (This defaults to t2.large instance type, 2 vCPUs and 8 GB ram.)
Optionally change the network name and subnetwork names. Be sure that whichever network you specify has ports 22 (for ssh), 3389 (for RDP) and 80 (for http) exposed.
be sure to download the key-pair which is available by default, or you can create the new key-pair and download it.
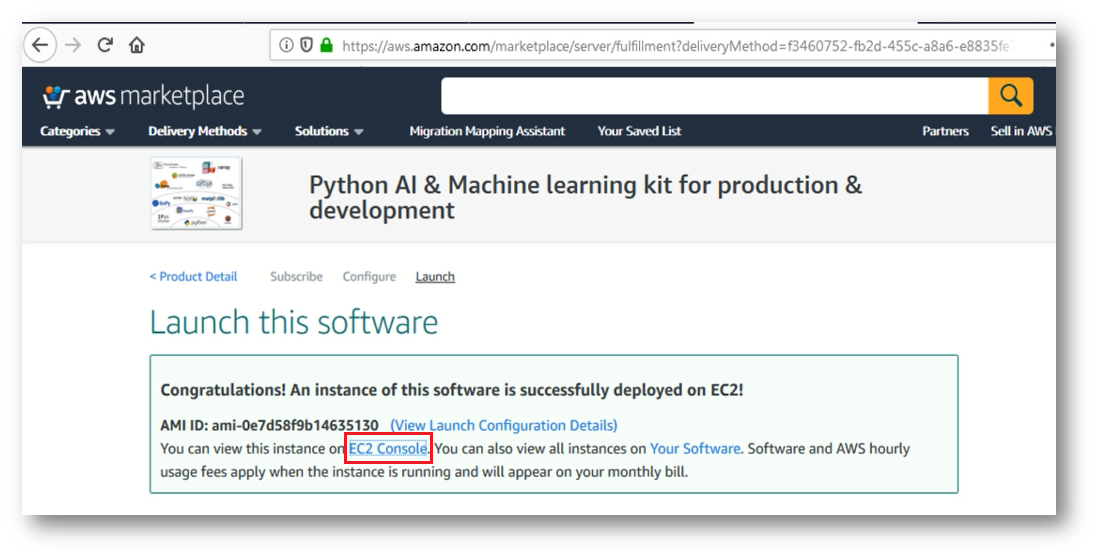
Click on Launch. **Python AI & Machine learning Suit **will begin deploying.
A summary page displays.To see this instance on EC2 Console click on EC2 Console link.
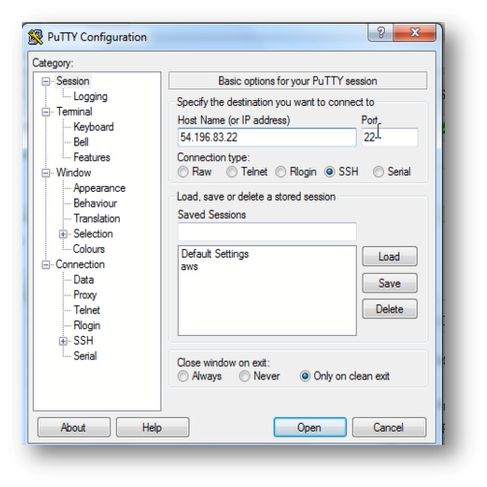
On the EC2 Console page, instance is up and running. To connect to this instance through putty via Windows Machine, copy the IPv4 Public IP Address
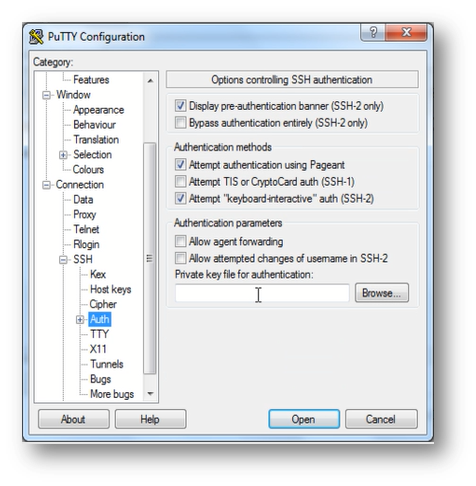
Open putty, paste the IP address and browse your private key you downloaded while deploying the VM, by going to SSH- >Auth, click on Connect
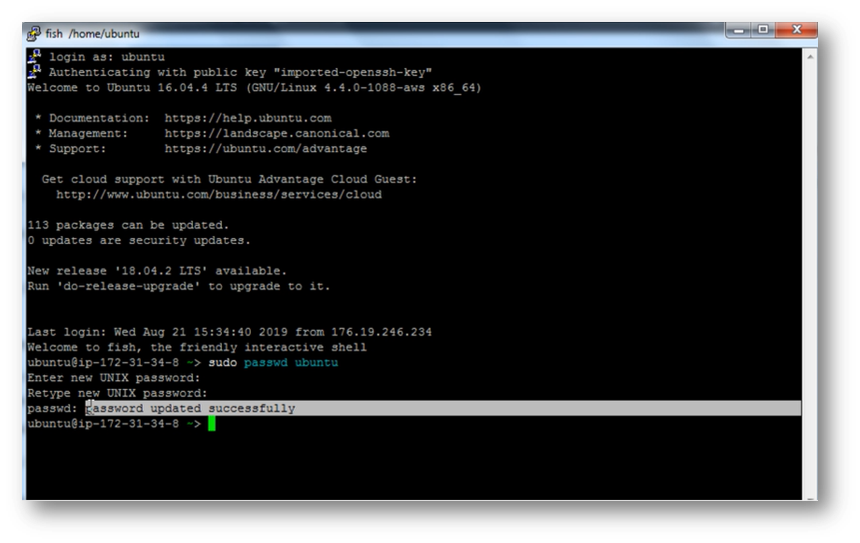
Once connected, change the password for ubuntu user using below command -
sudo passwd ubuntu
Now the password for ubuntu user is set, you can connect to the VM’s desktop environment from any local windows machine using RDP protocol or linux machine using Remmina.
From your local windows machine, goto “start” menu, in the search box type and select “Remote desktop connection”
In the “Remote Desktop connection” wizard, copy the public IP address and click connect
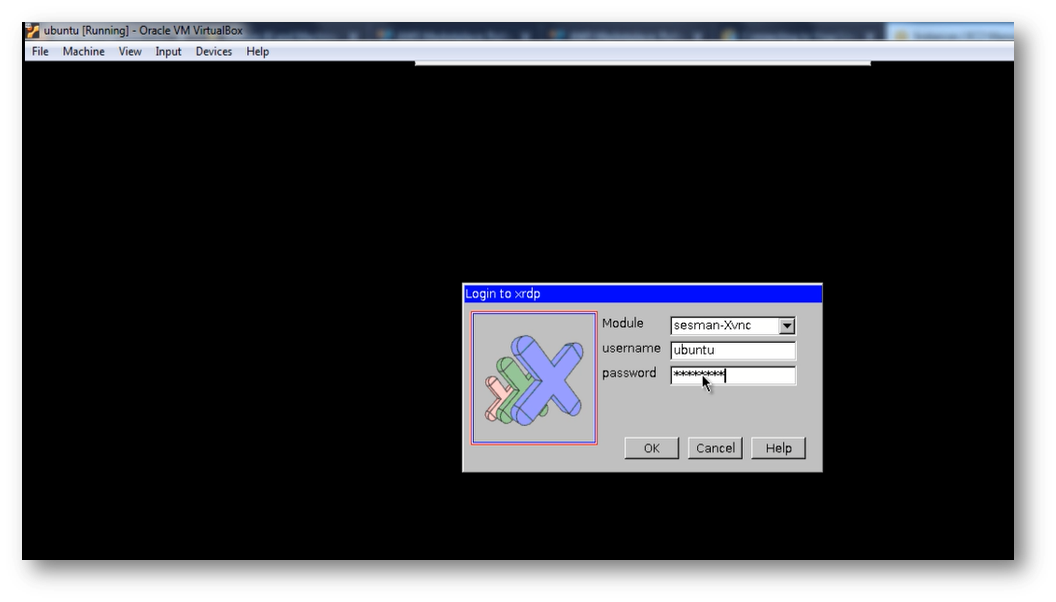
This will connect you to the VM’s desktop environment. Provide the username (e.g “ubuntu”) and the password set in the above “Reset password” step to authenticate. Click OK
Now you are connected to out of box MUJEFA environment via Windows Machine.
To connect using RDP via Linux machine, first note the external IP of the VM from VM details page,then from your local Linux machine, goto menu, in the search box type and select “Remmina”.
Note: If you don’t have Remmina installed on your Linux machine, first Install Remmina as per your linux distribution.
In the “Remmina Remote Desktop Client” wizard, select the RDP option from dropdown and paste the external ip and click enter.
This will connect you to the VM’s desktop environment. Provide “ubuntu” as the userid and the password set in step 6 to authenticate. Click OK
Now you are connected to out of box MUJEFA environment via Linux machine.
You can use the remote desktop you connected in above step for using the VM, however, more convenient and better method is to use the Jupyter/Ipython notebook which comes with the VM .
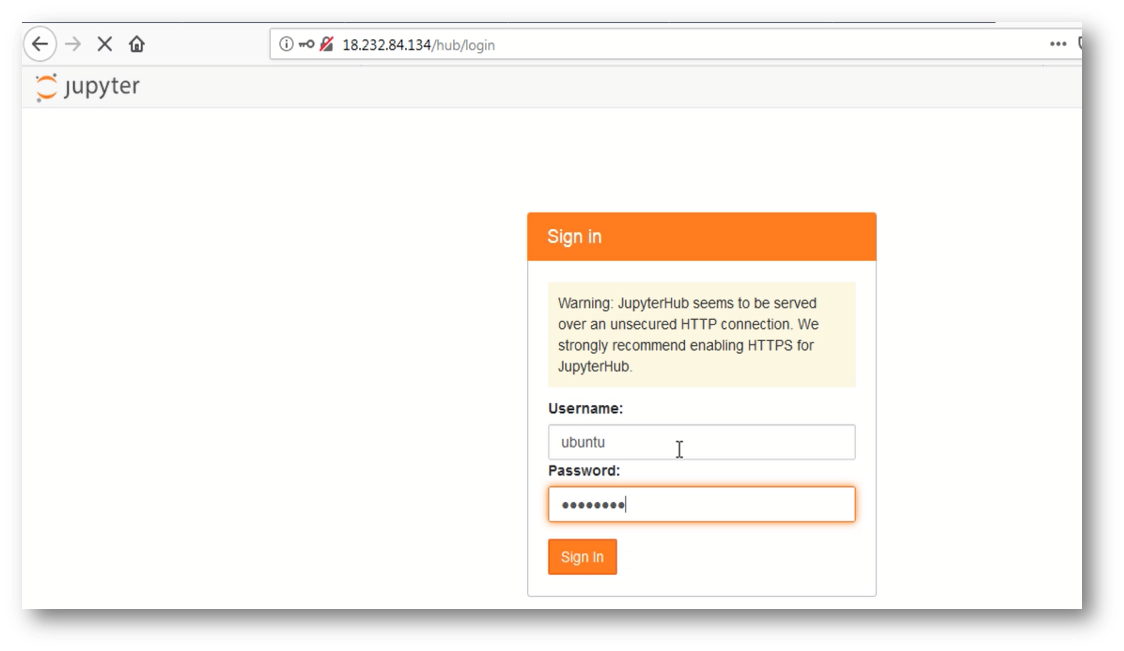
The Notebook is available on the same public IP you used for remote desktop and accessible via any browser. Just open the browser and type the public IP address and you will get below screen for login.
The Jupyter Notebook is configured with the ubuntu as an admin user. Login with ubuntu as username and use a ubuntu user password set in the above step 6.
Note: Make sure you use “http” and not “https” in the url
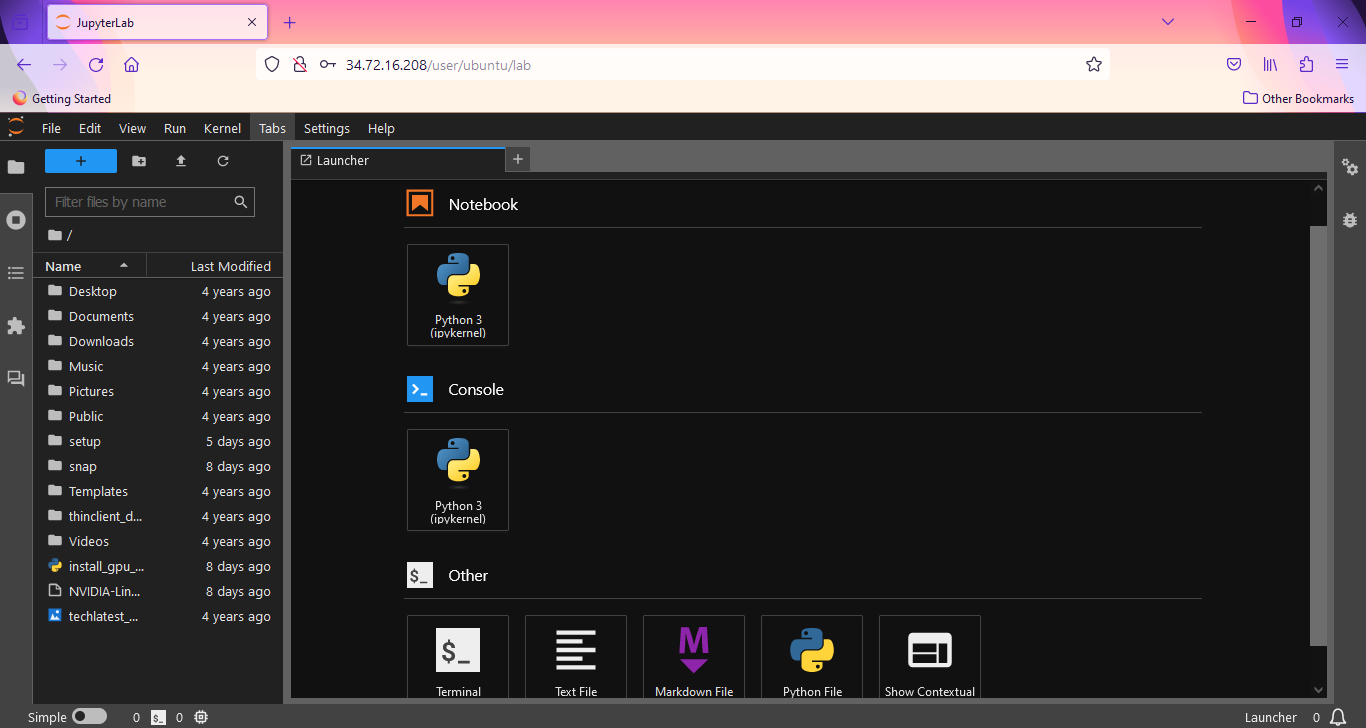
After Login , you will see below screen. This is JupyterLab. You will find various options here. You can Access Jupyter Notebook, Console, Files and Folders, etc.
This VM comes with the JuputerAI plugin installed out of the box which allow you to access Chat UI in the JupyterLab. This can be used for AI-conversation with lots of LLMs via APIs. It has support for chatgpt and lots of other LLMs.
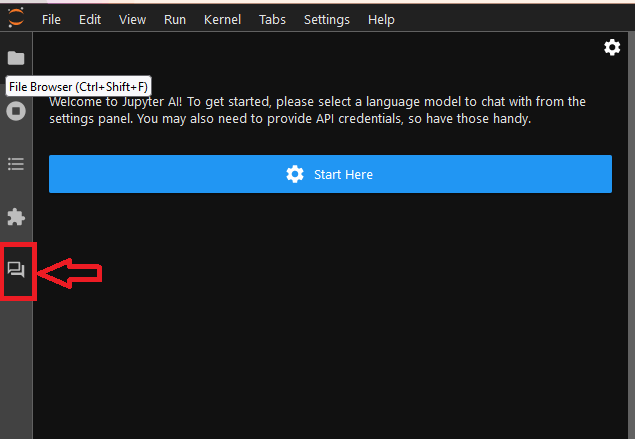
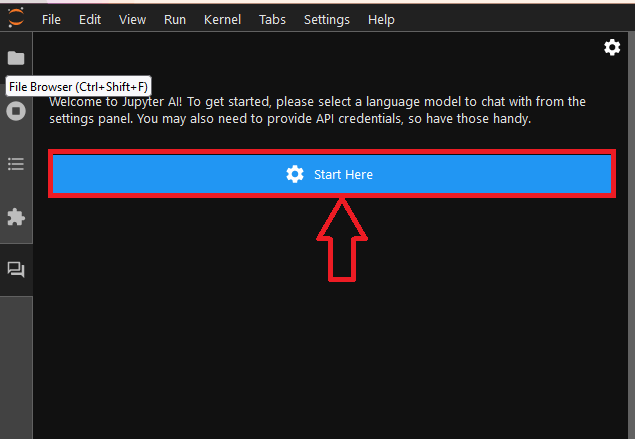
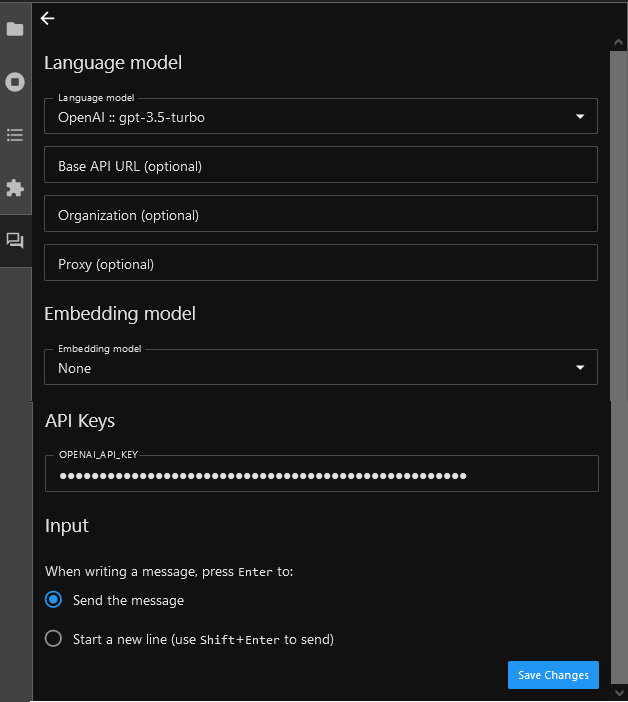
To configure your Jupyternaut(ChatUI official name), You need to select a language model and an embedding model to chat. Once you have made your selections, the UI may display text boxes for one or more settings keys. So keep your keys ready with you. click on Start Here.
Select a Language Model and Embedding model from the dropdown. If your selected model needs API keys, provide the API Keys. You need to get the API keys from the selected model providers.
For example, for OpenAI provider you can get the API keys as explained here.
Select the Input Type.
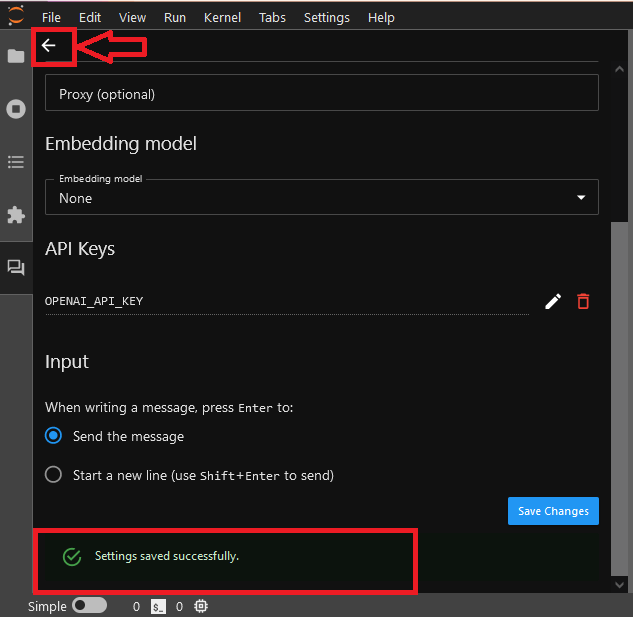
Click on Save Changes. Once settings are saved successfully, click the “back” (left arrow) button in the upper-left corner of the Jupyter AI side panel. The chat interface now appears.
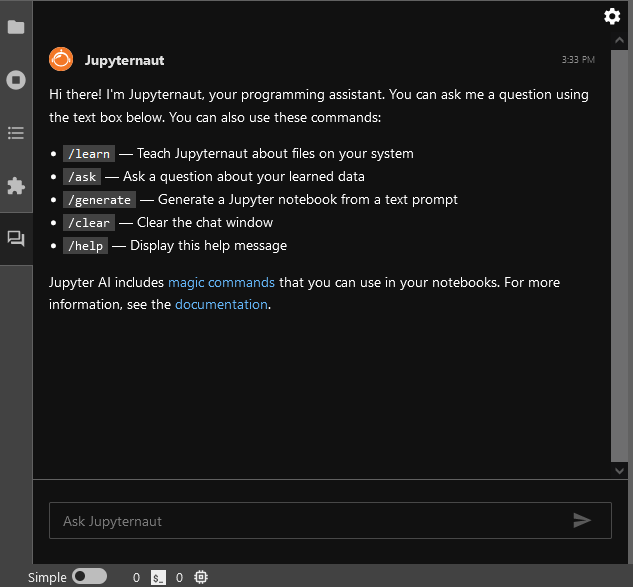
Now your personal assistance is ready. Seek code suggestions, debugging tips, or even have code snippets generated for you by interacting with the chat UI.
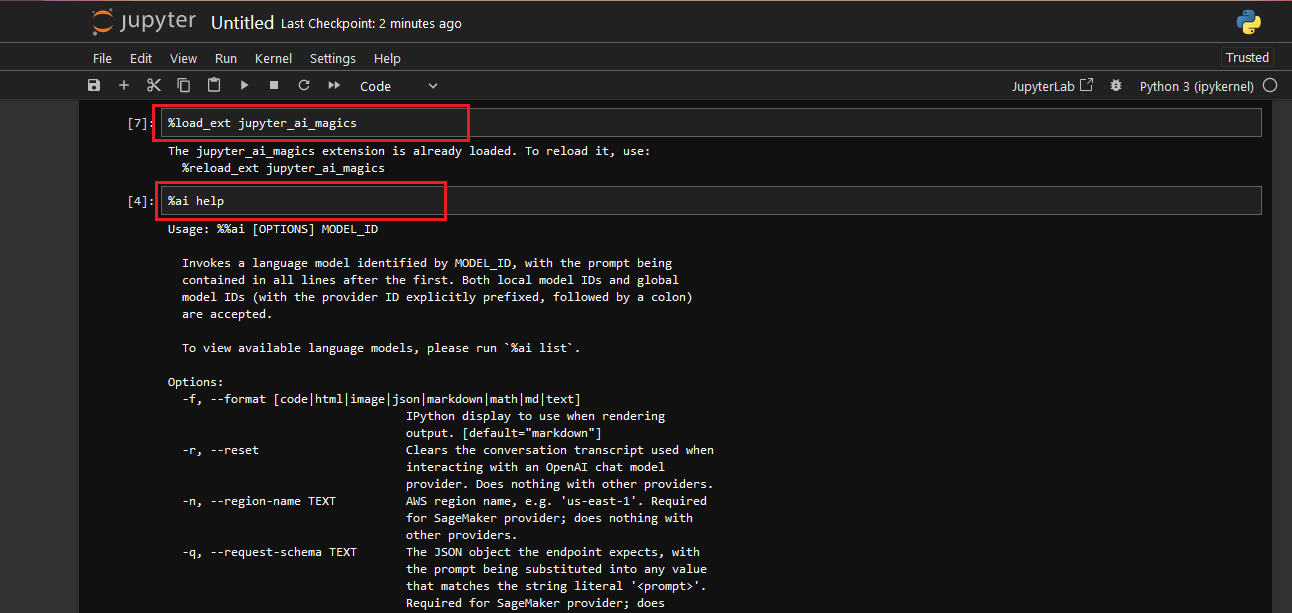
This VM also comes with the magics package jupyter_ai_magics installed out of the box. These magic commands %%ai and %ai turns your Jupyter into a generative AI playground anywhere the IPython kernel runs.
Before you send your first prompt to an AI model, load the IPython extension by running the following code in a notebook cell or IPython shell: -
%load_ext jupyter_ai_magics
To use these magic commands, open Jupyter Notebook. Run %ai help for help with syntax.
%ai help
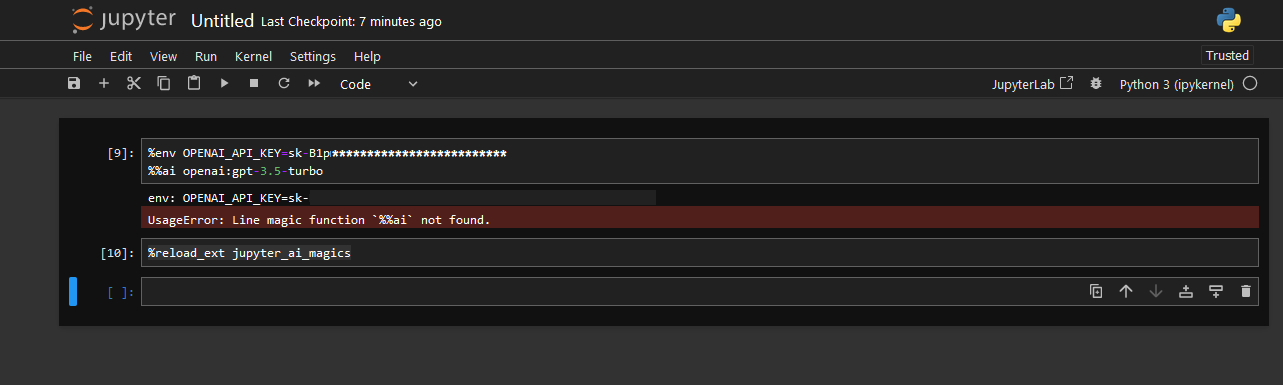
The %%ai cell magic allows you to invoke a language model of your choice with a given prompt.The model is identified with a global model ID, which is a string with the syntax provider-id:local-model-id, where provider-id is the ID of the provider and local-model-id is the ID of the model scoped to that provider Set your model API keys using environment variable and your model of choice as shown below. Reload the IPython extension.
  %env OPENAI_API_KEY=Your API Key
  %%ai <provider-id>:<local-model-id>
  %reload_ext jupyter_ai_magics
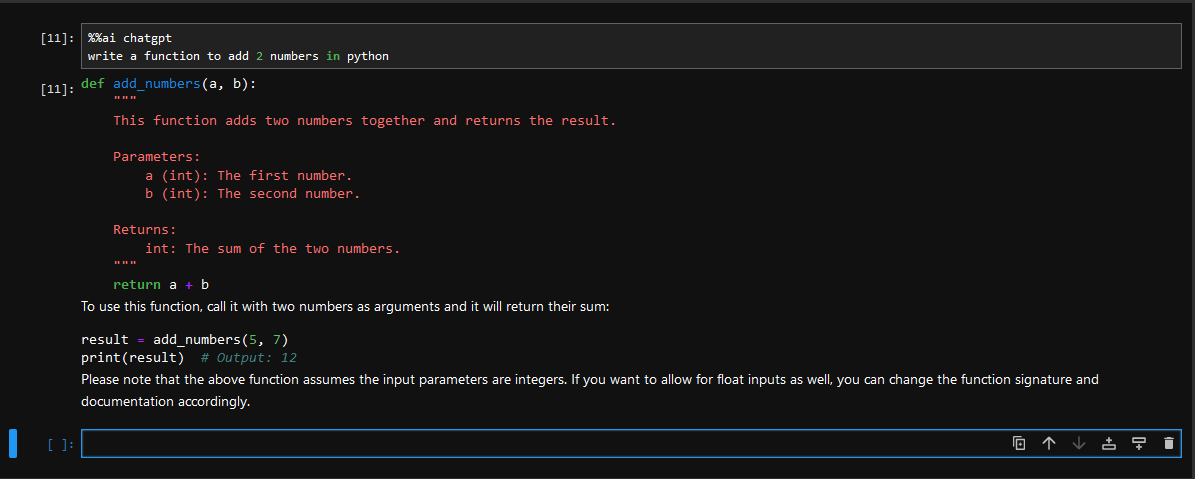
Now you can invoke a model as follows. The prompt begins on the second line of the cell.
   %%ai model
   Your prompt here
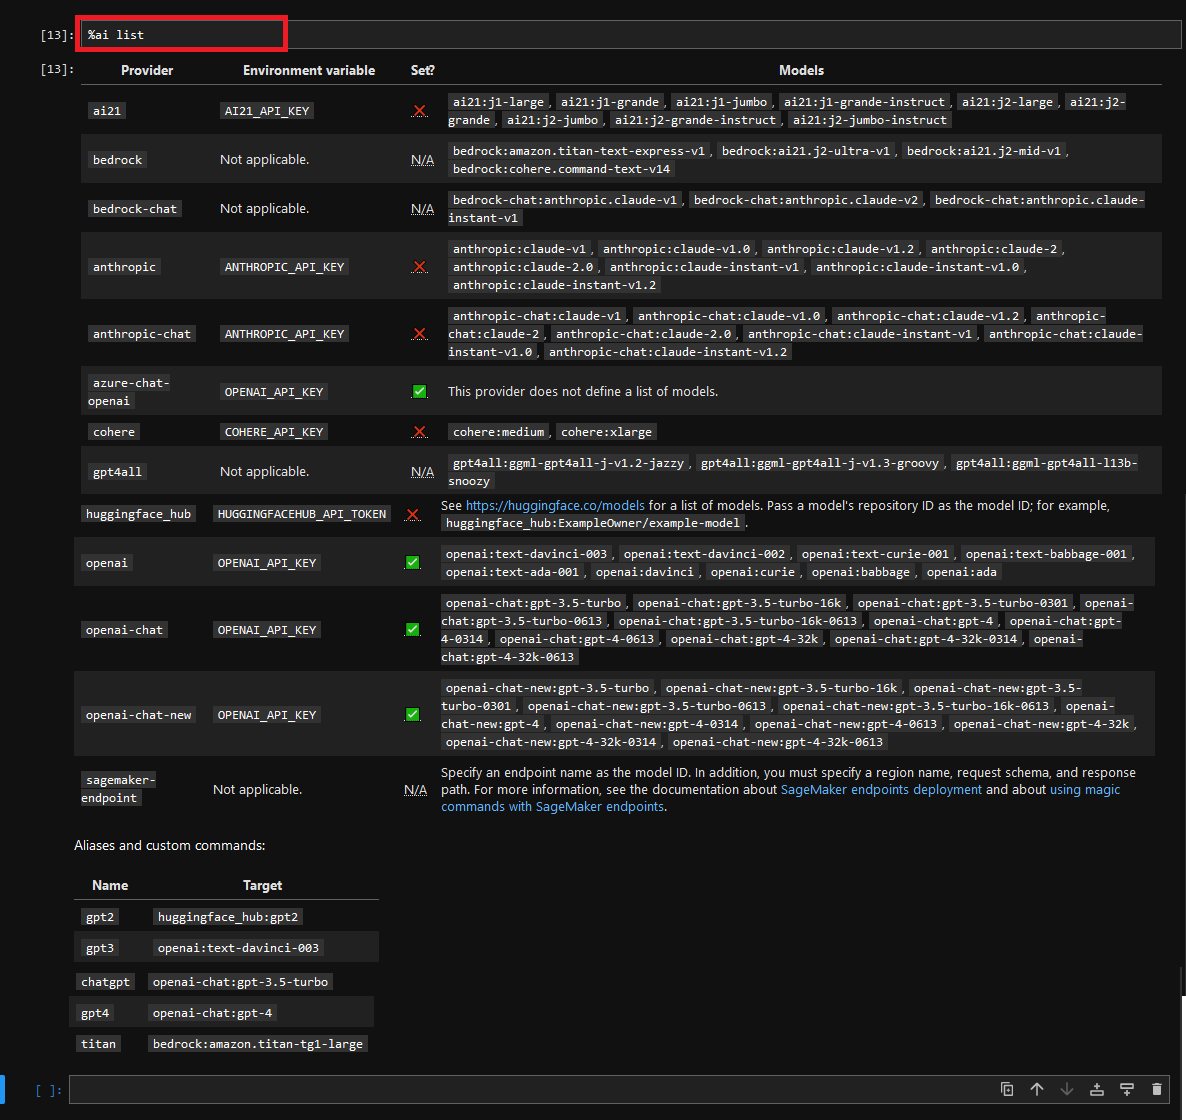
Jupyter AI also includes multiple subcommands, which may be invoked via the %ai line magic.
The %ai list subcommand prints a list of available providers and models.