
This section describes how to launch and connect toTechlatest Stable Diffusion with InvokeAI Web Interface on Amazon Web Services (AWS).
Note: Stable diffusion requires a lot of processing, so a GPU instance is recommended. If you want to use a CPU instance due to the high price of GPU instances, you should use instances with a higher CPU.
GPU’s are not available in some zones and for some instance types.
Below are recommended VM configuration requirements:
For CPU, its the minimum spec but more cpu is preferred. Instances with AMD GPU are not recommended.
Note: GPU instance will perform 10 times or more faster when processing request compared to CPU instance . Typical GPU instance will take few seconds to render the images compared to 7-10 minutes by CPU instance, hence GPU instances are preferred.
NOTE: While deploying the instance on GPU, if you encounter the quota exhaust error or you are unable to deploy the instance on GPU VM then please refer to our Request Quota on AWS Cloud Platform
Login with your credentials and follow the instruction.
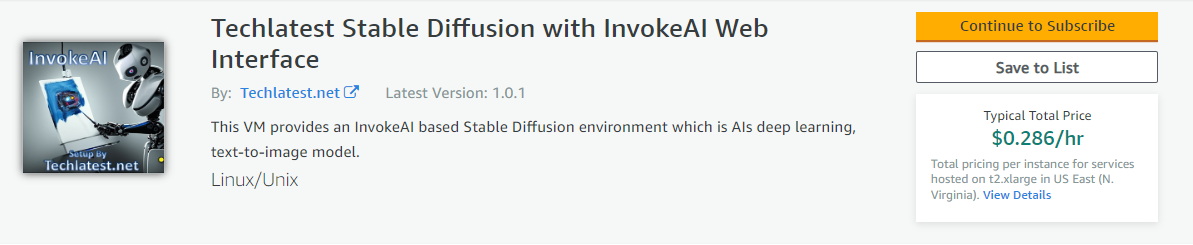
Subscribe to the product and click on Continue to configuration button.
Select a Region where you want to launch the VM(such as US East (N.Virginia))
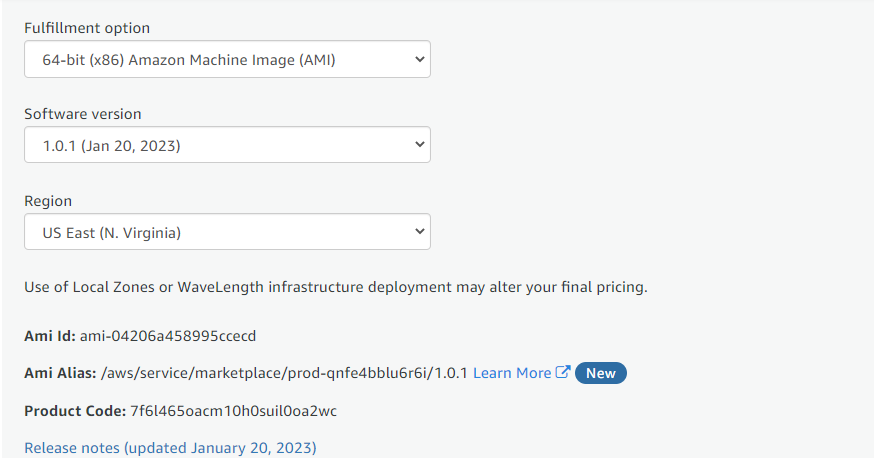 Click on Continue to Launch Button
Choose Action: You can launch it through EC2 or from Website.(Let’s choose Launch from website)
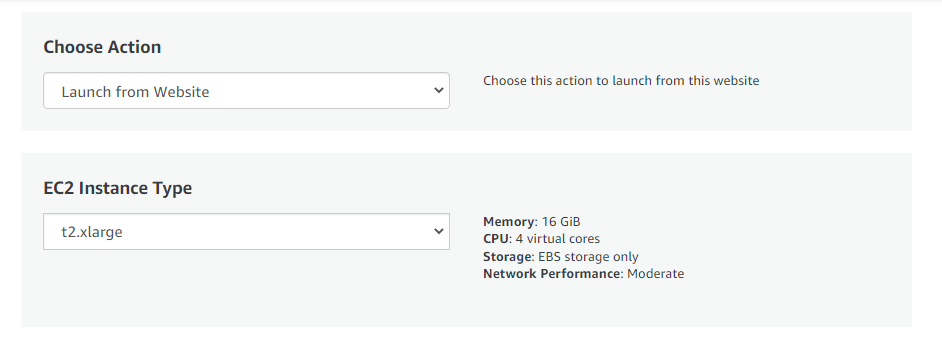
Optionally change the EC2 instance type. (This defaults to t2.xlarge instance type, 4 vCPUs and 16 GB RAM.)
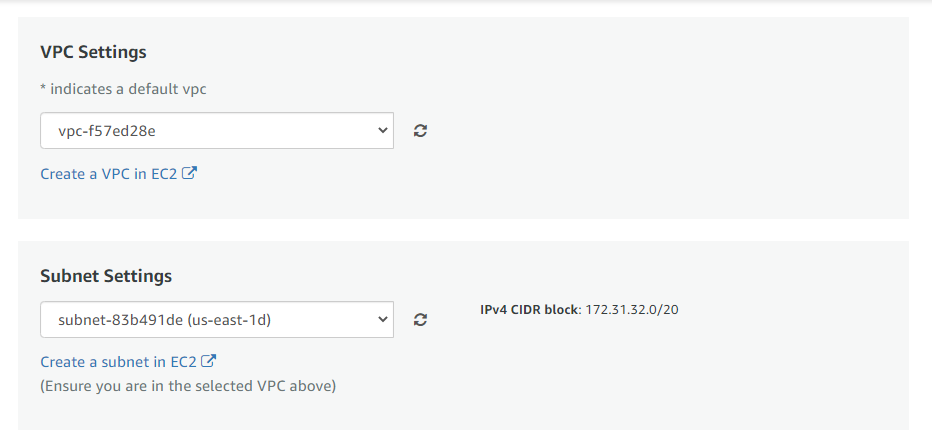
Optionally change the network name and subnetwork names.
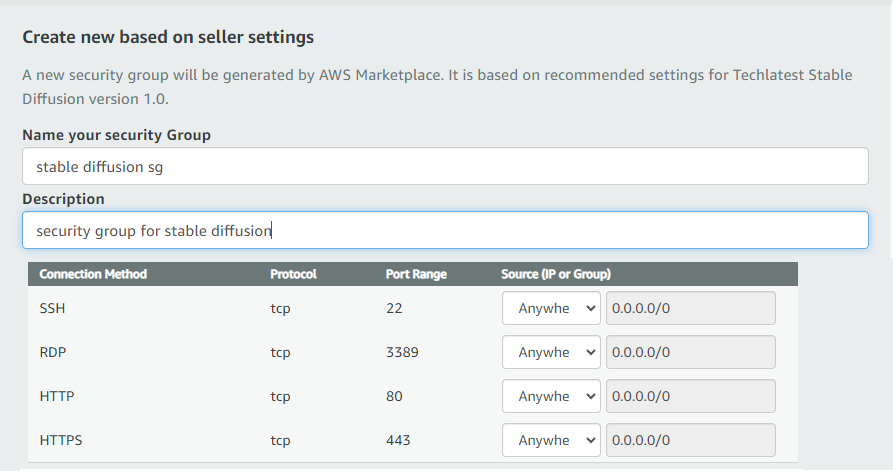
Select the Security Group. Be sure that whichever Security Group you specify have ports 22 (for SSH), 3389 (for RDP) and 80 (for HTTP) exposed.
Be sure to download the key-pair which is available by default, or you can create the new key-pair and download it.
Click on Launch.
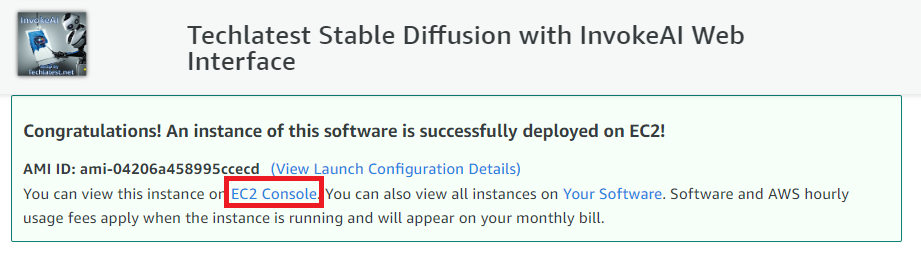
Techlatest Stable Diffusion with InvokeAI Web Interface will begin deploying.
sudo passwd ubuntu
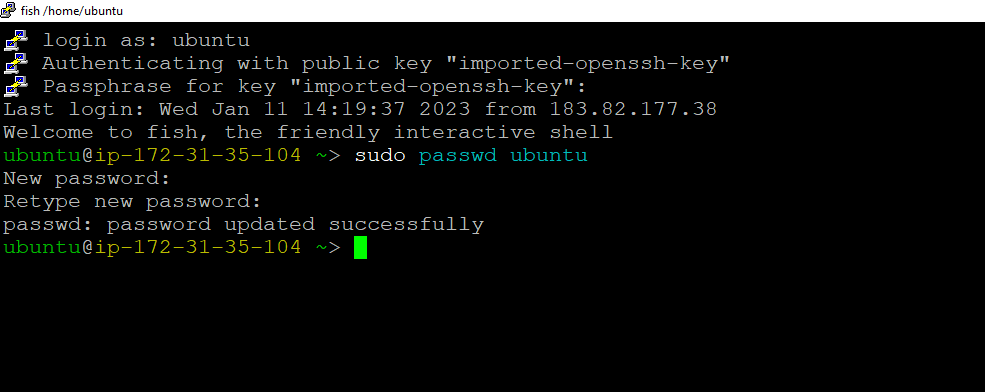
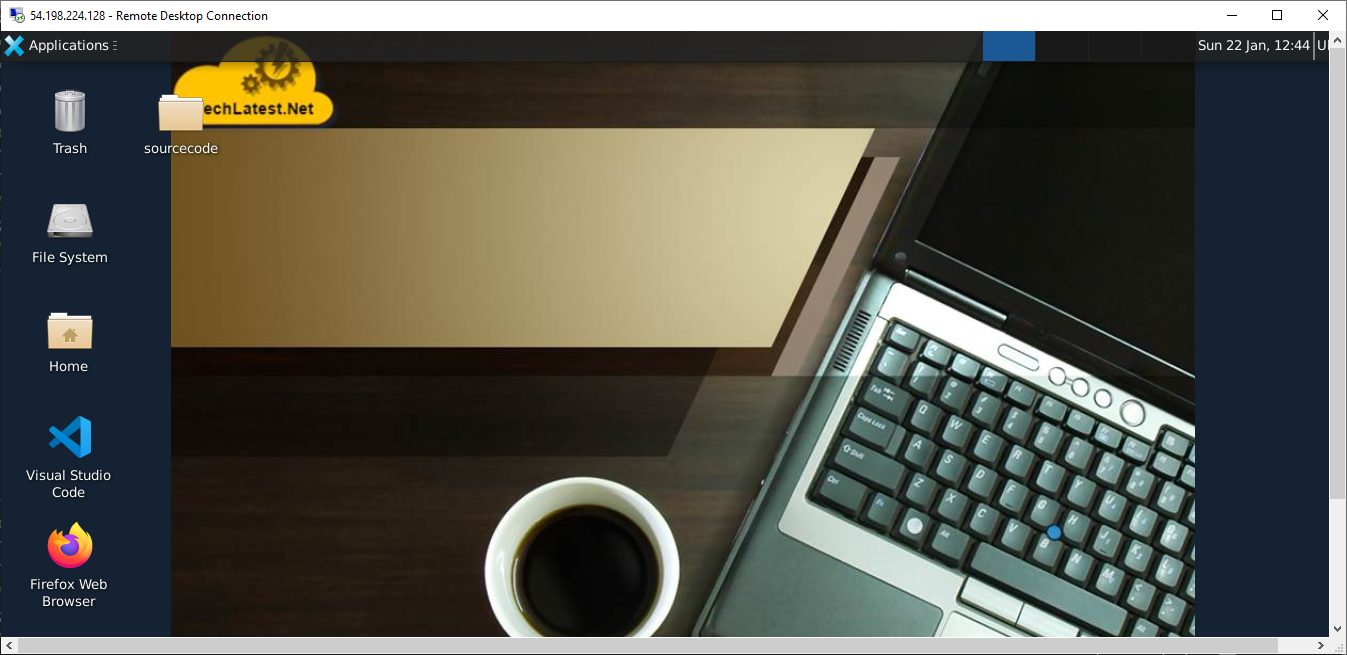
Now the password for ubuntu user is set, you can connect to the VM’s desktop environment from any local Windows Machine using RDP protocol or Linux Machine using Remmina.
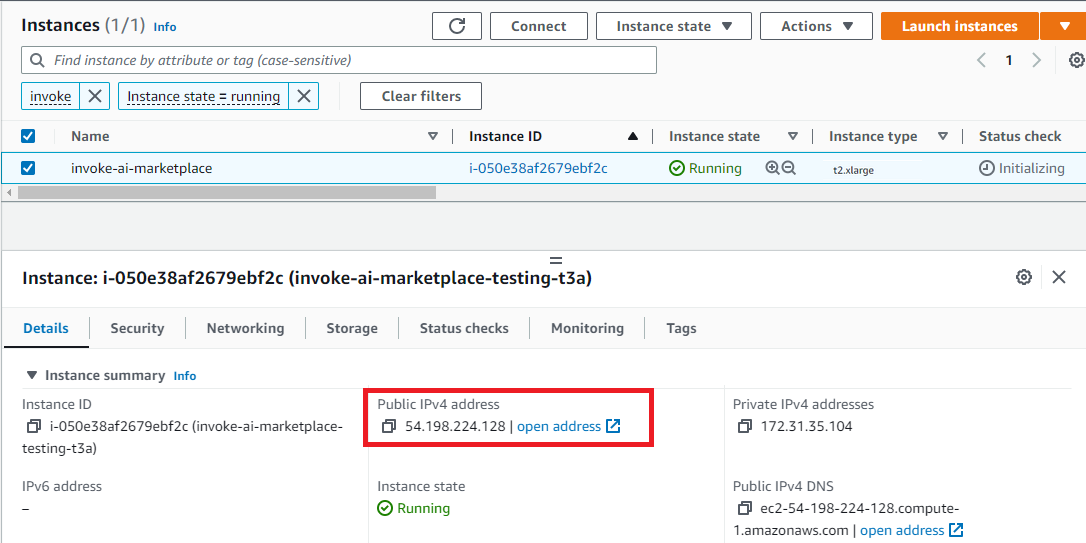
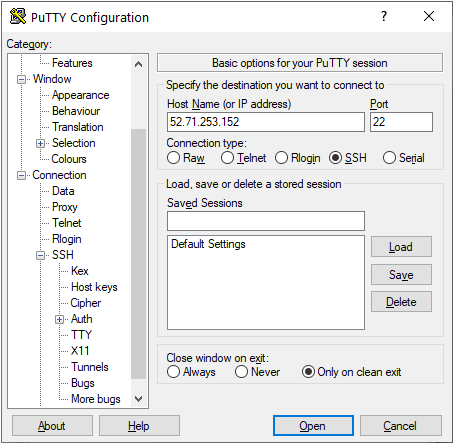
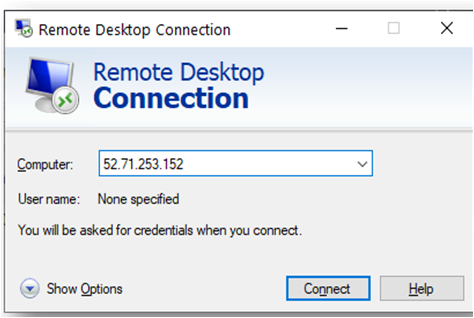
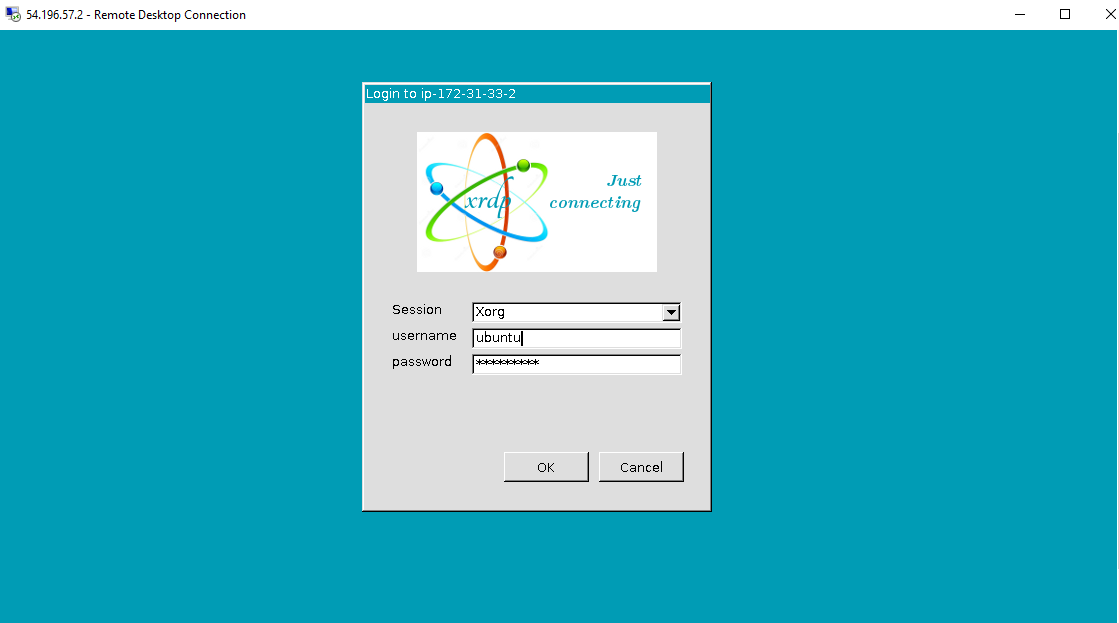
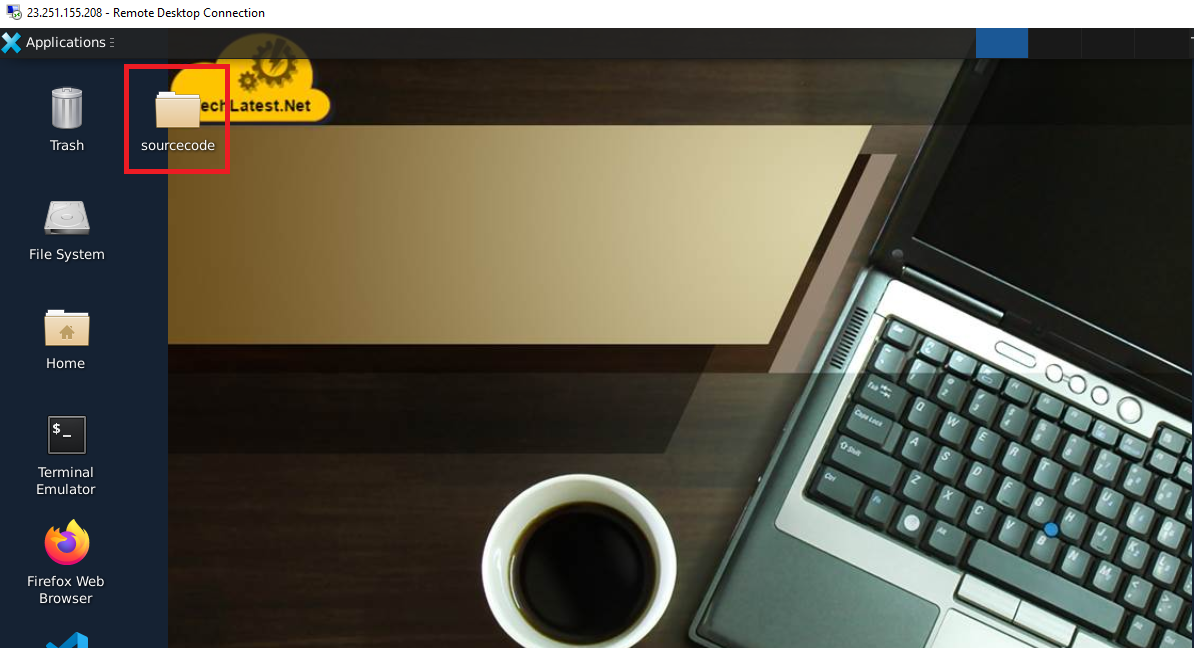
From your local windows machine, goto “start” menu, in the search box type and select “Remote desktop connection”. In the “Remote Desktop connection” wizard, copy the public IP address and click connect
To connect using RDP via Linux machine, first note the external IP of the VM from VM details page,then from your local Linux machine, goto menu, in the search box type and select “Remmina”.
Note: If you don’t have Remmina installed on your Linux machine, first Install Remmina as per your linux distribution.


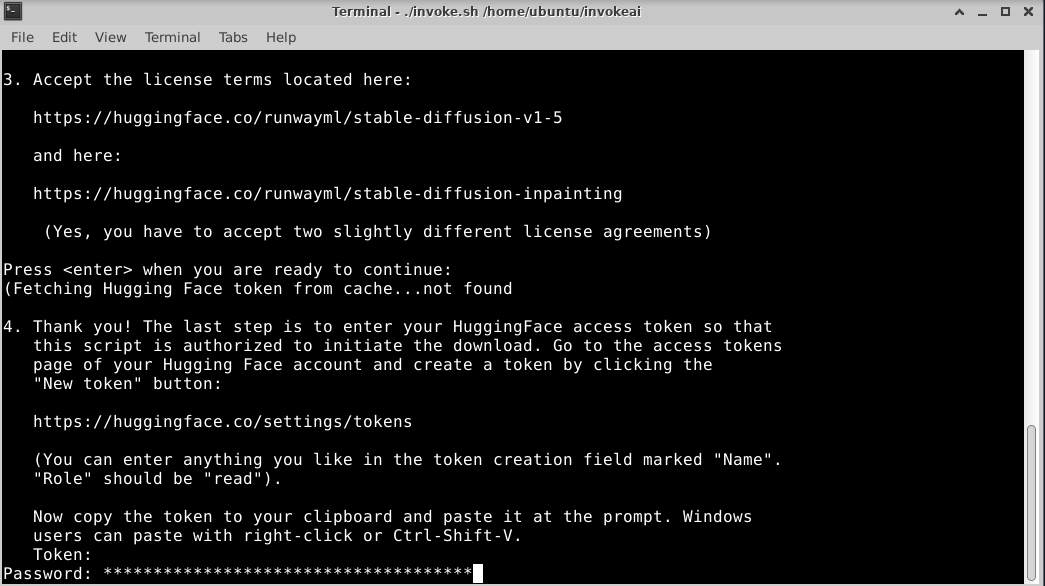
Setting up a huggingface account.
Create an account on https://huggingface.co/join, complete the registration and verify your email.
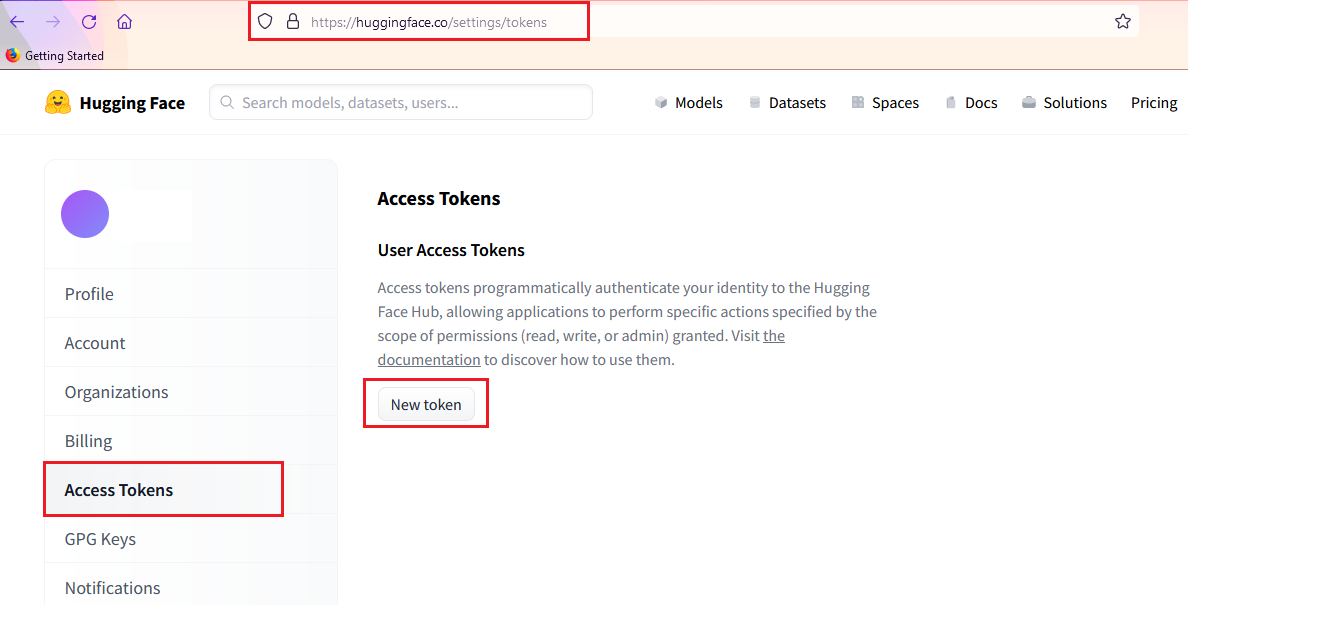
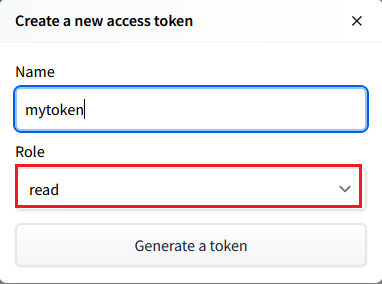
Then goto https://huggingface.co/settings/tokens and click on “Access Tokens” link on left and create a token with “Read” role. Keep the token handy.
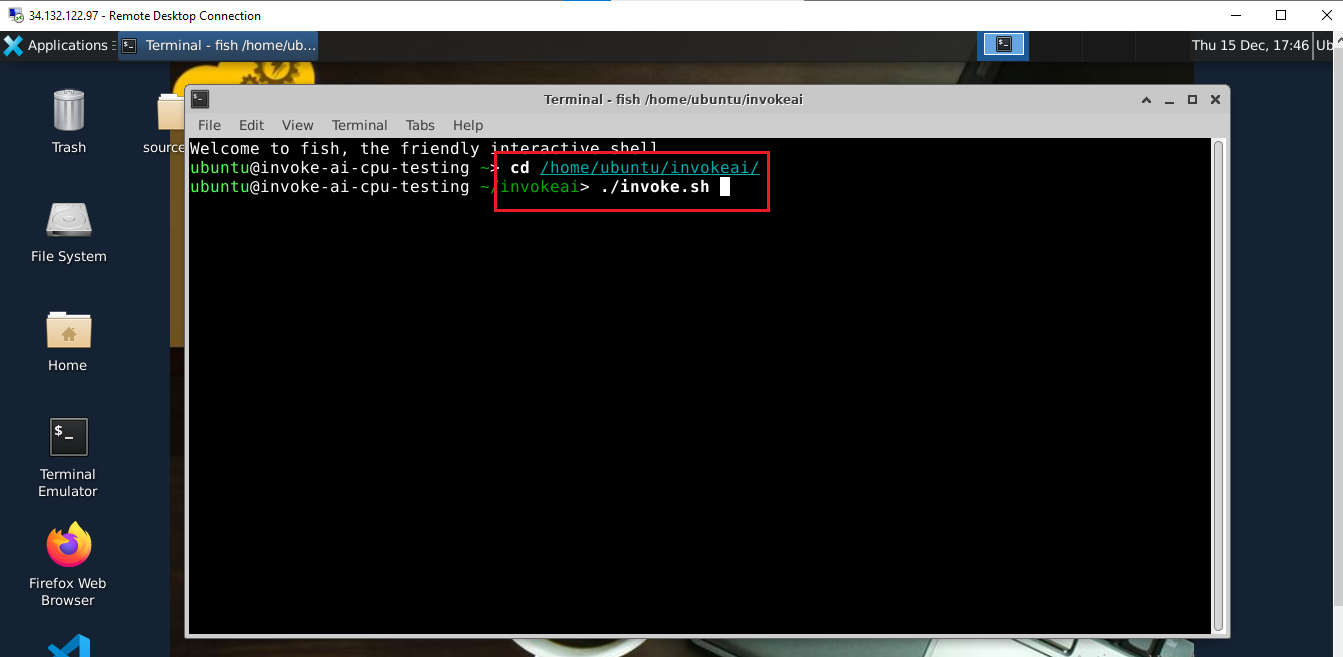
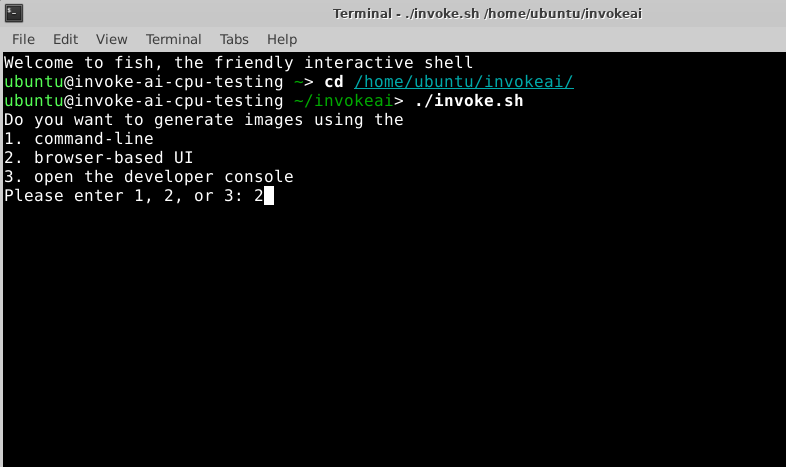
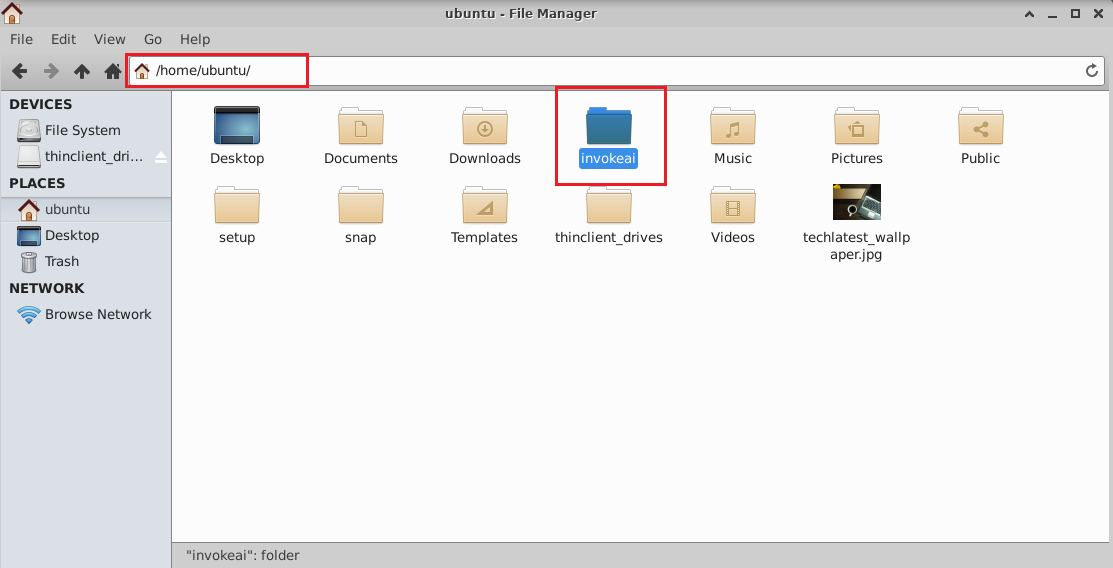
cd /home/ubuntu/invokeai
./invoke.sh

After VM launch for the first time, GPU instances will take 2-5 minutes and CPU instances will take 5-10 minutes to launch the app in the browser.
Wait for 2-5 or 5-10 minutes depending on if your VM is GPU or CPU based and then access the InvokeAI GUI via browser by copying the public IP of the VM from the VM’s overview page and paste it in the browser and then hit enter.
Note: Please use http and not https in the URL when accessing InvokeAI interface in GUI, for eg. http://vm_public_ip.
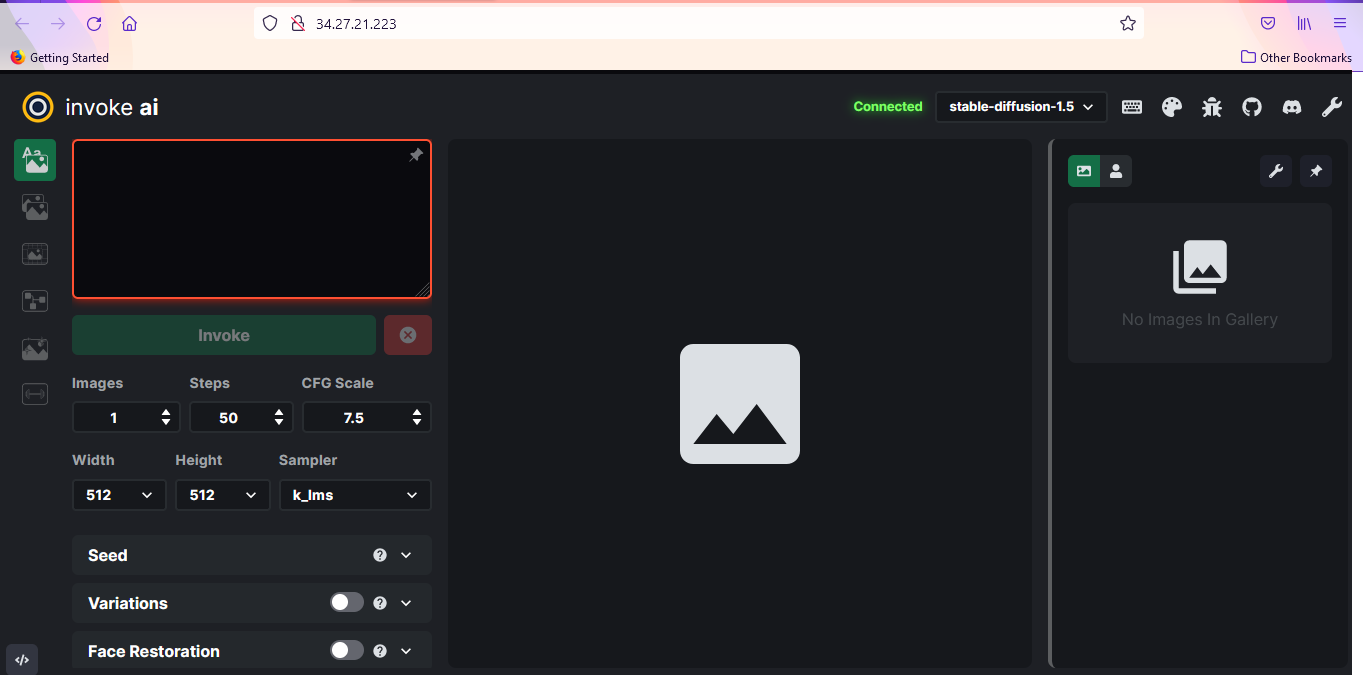
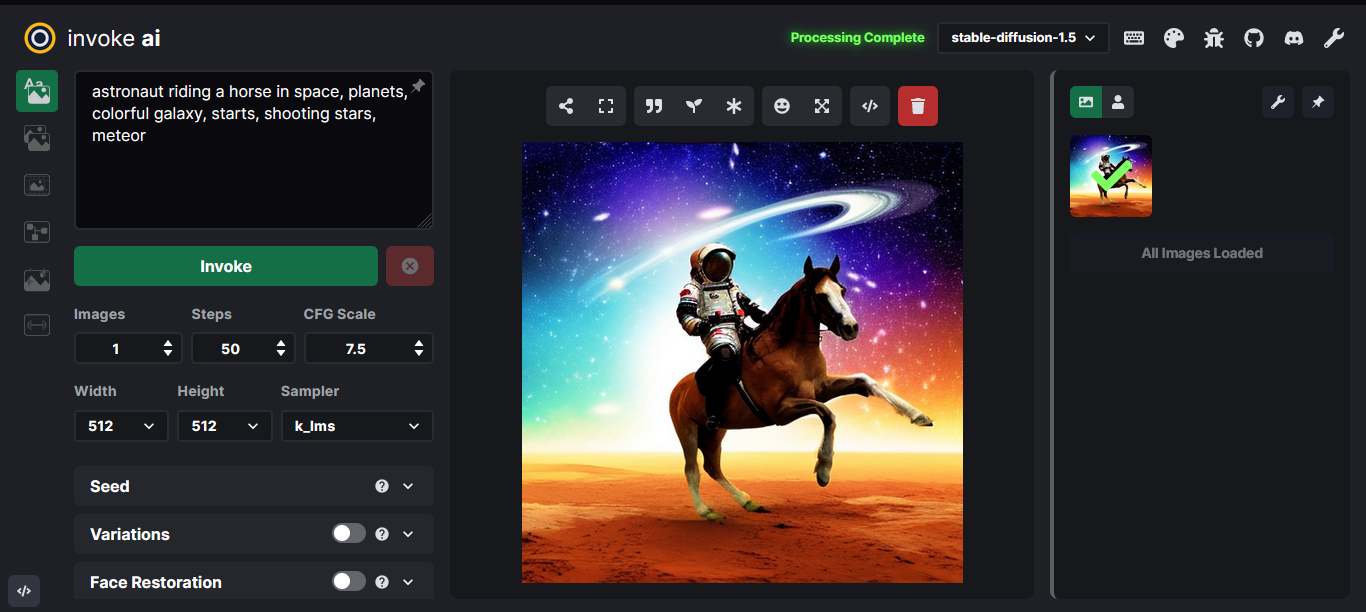
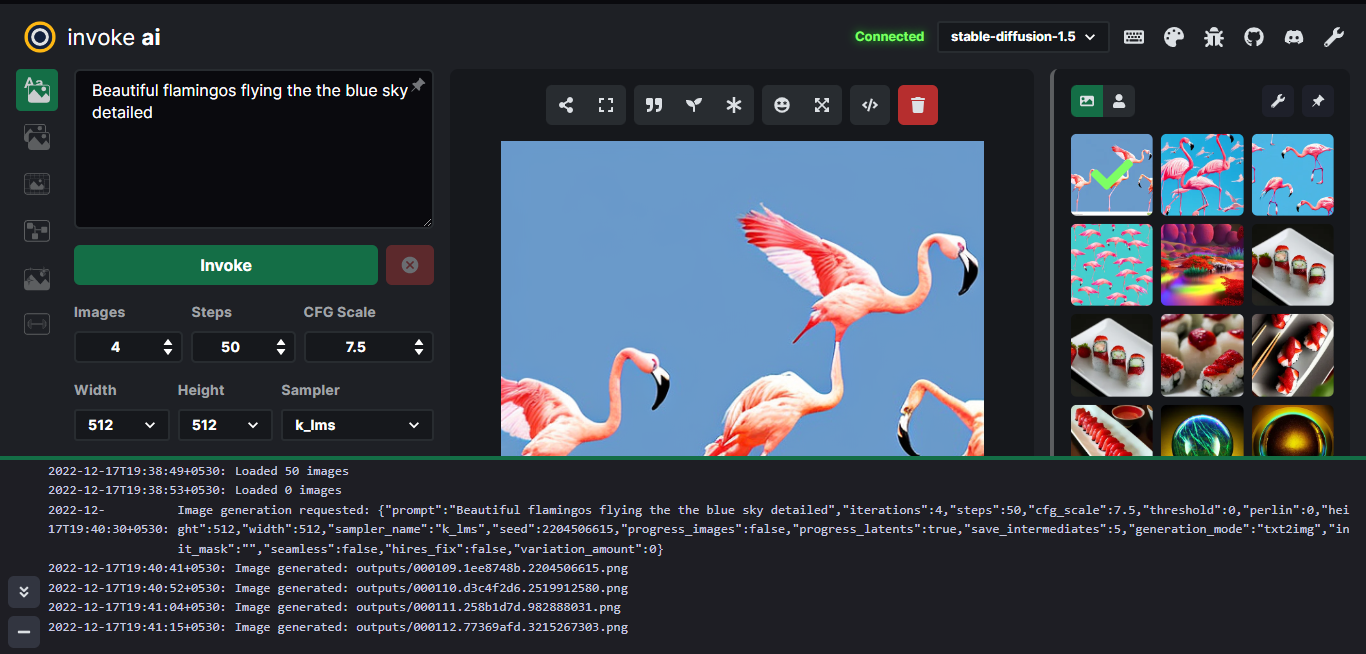
The Stable Diffusion InvokeAI GUI comes with lots of options and settings. The first window shows text to image page.There are three main sections.
A control panel on the left, which contains various settings for text to image generation.
The current image section in the middle, which shows a large format version of the image you are currently working on. 3. A gallery section on the right that contains a history of the images you have generated.

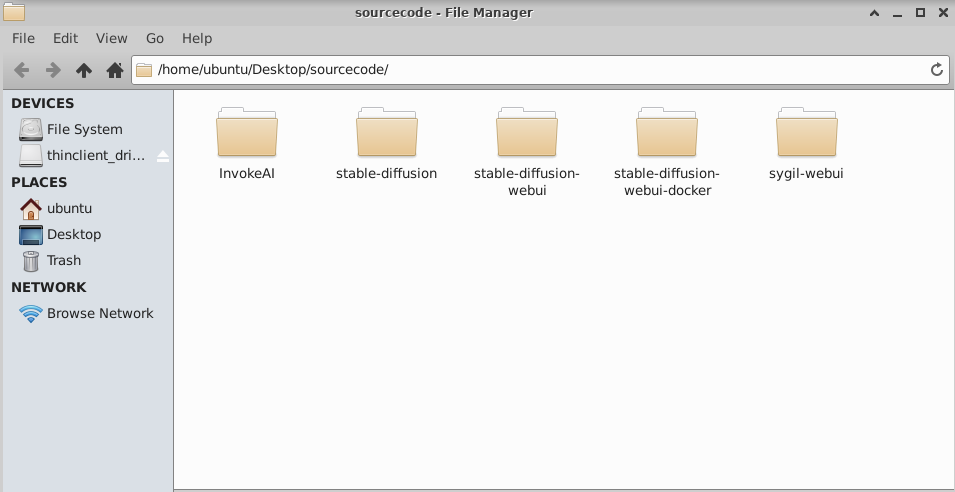
https://github.com/CompVis/stable-diffusion.git
https://github.com/AbdBarho/stable-diffusion-webui-docker
https://github.com/AUTOMATIC1111/stable-diffusion-webui
https://github.com/Sygil-Dev/sygil-webui
https://github.com/invoke-ai/InvokeAI
https://invoke-ai.github.io/InvokeAI/other/CONTRIBUTORS/