How to get TensorFlow production & development Kit on GCP (Google Cloud Platform)
This section describes how to launch and connect toTensorFlow production & development Kit in a Google Compute environment.
- Open Tensorflow Production and Developement Kit from GCP Marketplace
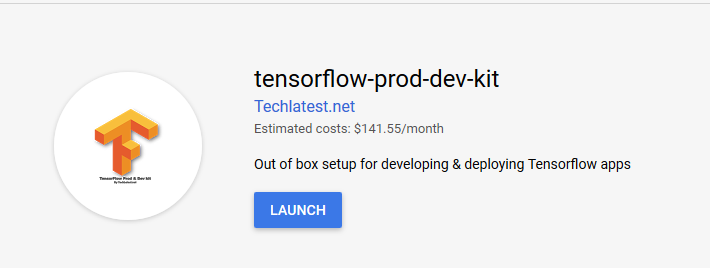
- Click on Launch.
-
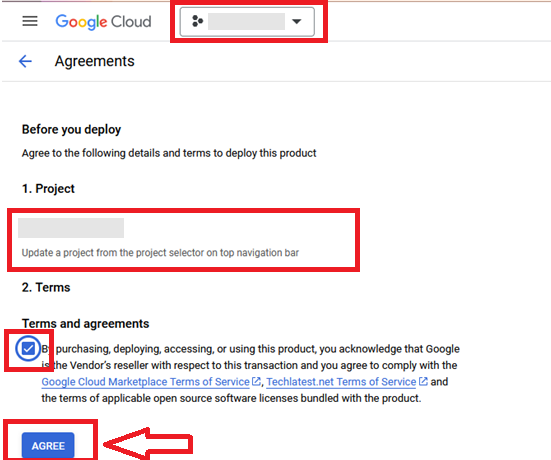
It will take you to the agreement page. On this page, you can change the project from the project selector on top navigator bar as shown in the below screenshot.
-
Accept the Terms and agreements by ticking the checkbox and clicking on the AGREE button.
-
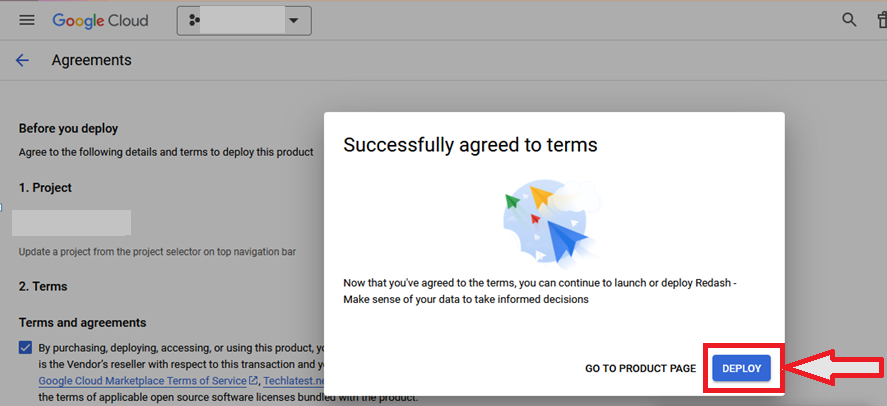
It will show you the successfully agreed popup page. Click on Deploy.
-
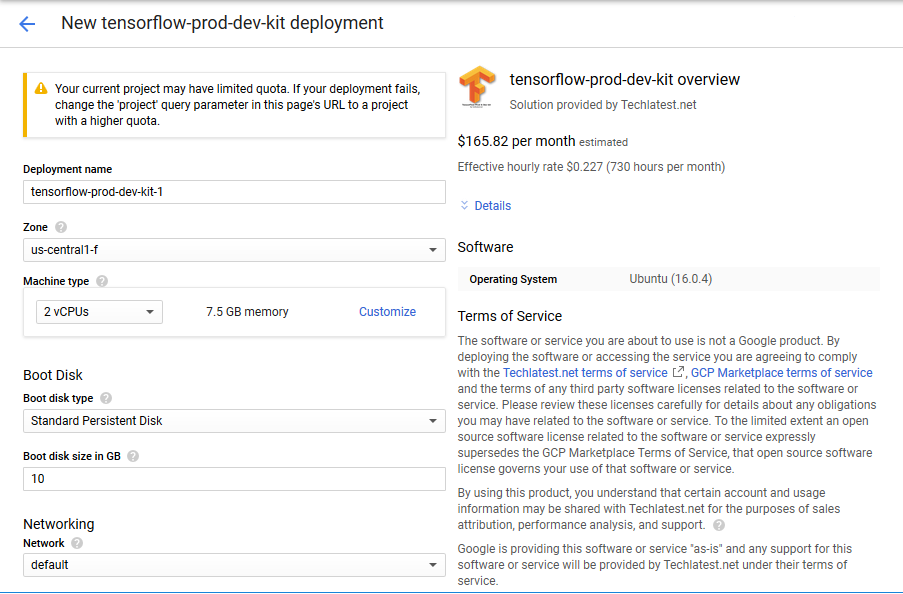
On deployment page, give a name to your deployment.
- In Deployment Service Account section, click on Existing radio button and Choose a service account from the Select a Service Account dropdown.
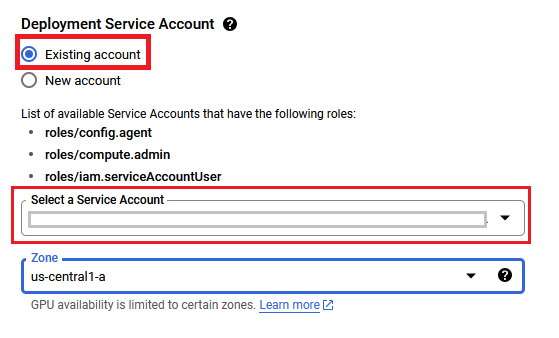
- If you don't see any service account in dropdown, then change the radio button to New Account and create the new service account here.
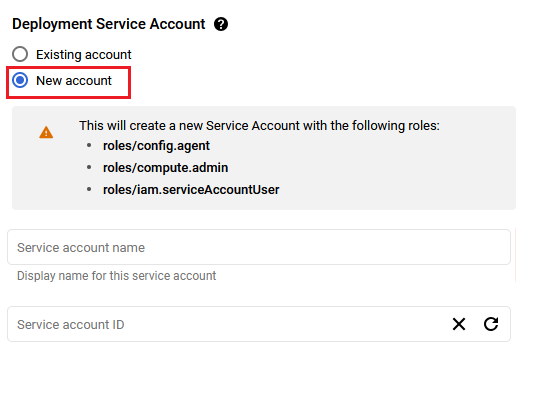
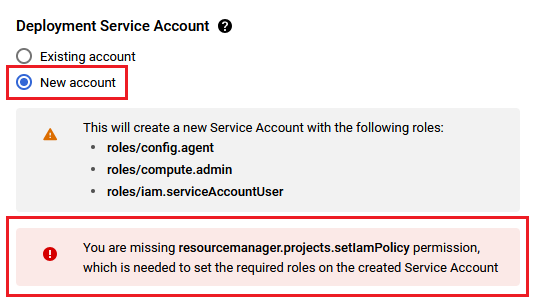
- If after selecting New Account option, you get below permission error message then please reach out to your GCP admin to create service account by following Step by step guide to create GCP Service Account and then refresh this deployment page once the service account is created, it should be available in the dropdown.
You are missing resourcemanager.projects.setIamPolicy permission, which is needed to set the required roles on the created Service Account
- Select a zone where you want to launch the VM(such as us-east1-)
- Optionally change the number of cores and amount of memory. (This defaults to 2 vCPUs and 7.5 GB ram.)
- Optionally change the boot disk type and size. (This defaults to “Standard Persistent Disk” and 10 GB respectively)
- Optionally change the network name and subnetwork names. Be sure that whichever network you specify has ports 22 (for ssh), 3389 (for RDP) and 80 (for HTTP) exposed.
- Click Deploy when you are done. TensorFlow Production & Development Kit will begin deploying.
-
A summary page displays when the compute engine is successfully deployed. Click on the Instance link to go to the instance page .
-
On the instance page, click on the “SSH” button, select “Open in browser window”.
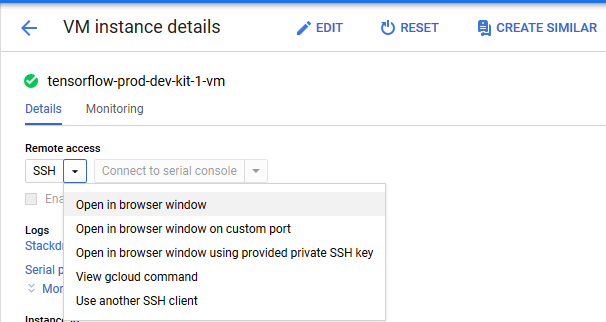
- This will open SSH window in a browser.
- Run below command to set the password for “ubuntu” user
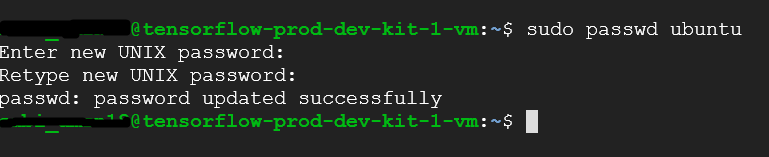
-
Now the password for ubuntu user is set, you can connect to the VM’s desktop environment from any local windows machine using RDP protocol or linux machine using Remmina.
-
To connect using RDP via Windows Machine, first note the external IP of the VM from VM details page as highlighted below
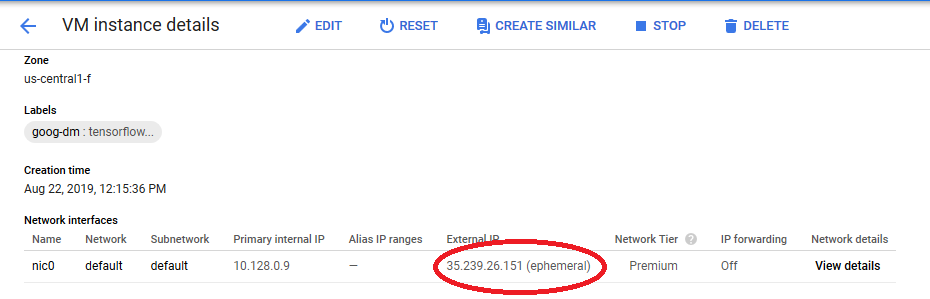
-
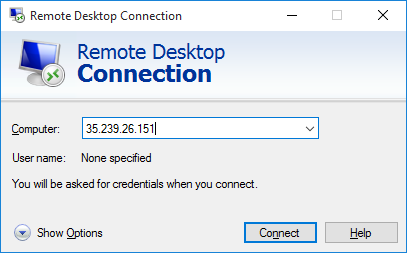
Then From you local windows machine, goto “start” menu, in the search box type and select “Remote desktop connection”
-
In the “Remote Desktop connection” wizard, copy the external ip and click connect
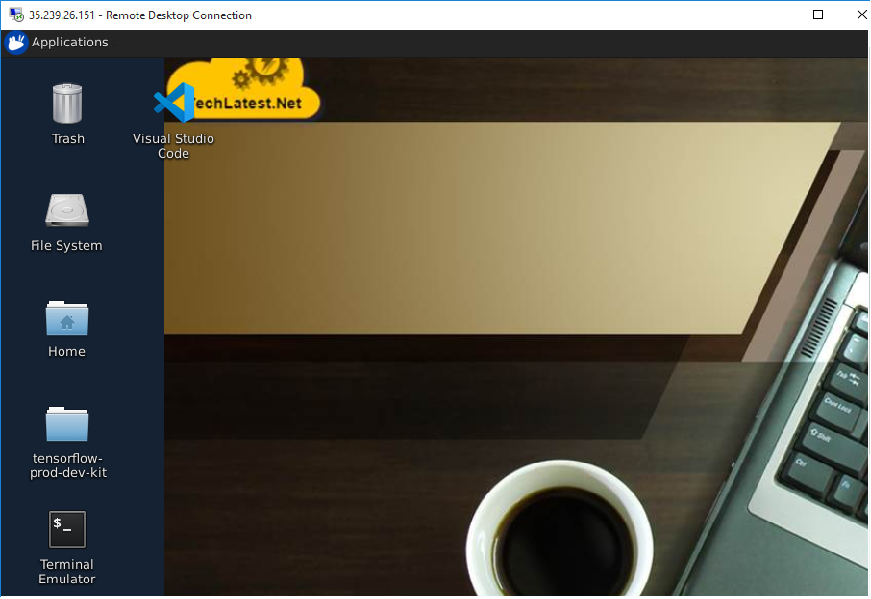
- This will connect you to the VM’s desktop environment. Provide “ubuntu” as the userid and the password set in step 6 to authenticate. Click OK
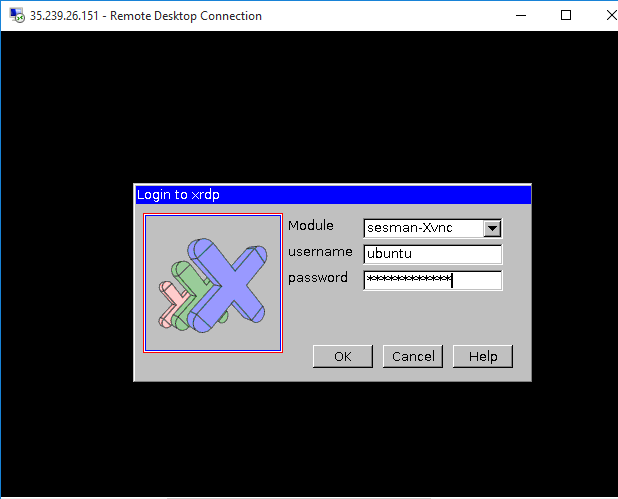
- Now you are connected to the out of box TensorFlow Production and Development environment via Windows Machine.
-
To connect using RDP via Linux machine, first note the external IP of the VM from VM details page,then from your local Linux machine, goto menu, in the search box type and select “Remmina”.
Note: If you don’t have Remmina installed on your Linux machine, first Install Remmina as per your linux distribution.

- In the “Remmina Remote Desktop Client” wizard, select the RDP option from dropdown and paste the external ip and click enter.

- This will connect you to the VM’s desktop environment. Provide “ubuntu” as the userid and the password set in step 6 to authenticate. Click OK

- Now you are connected to the out of box Tensorflow Production and Development environment via Linux machine.
- You can use the remote desktop you connected in above step for using the VM, however, more convenient and better method is to use the Jupyter/Ipython notebook which comes with the VM .
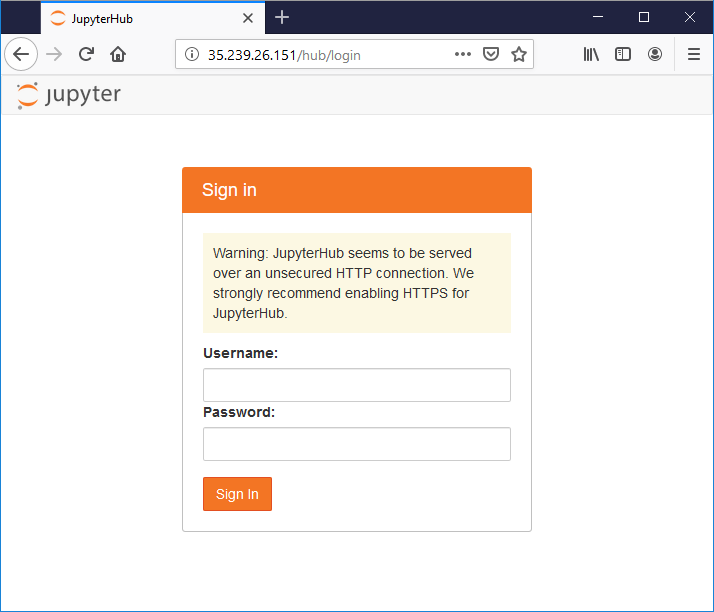
The Notebook is available on the same public IP you used for remote desktop and accessible via any browser. Just open the browser and type the public IP address (in this case http:// 35.232.87.128 ) and you will get below screen for login . Use “ubuntu” as username and the password you set in step 8 to login.
Note: Make sure you use “http” and not “https” in the url
- To know how to use the developer kit, please refer to the video tutorial series available on TensorFlow Production and Development kit Support.