R development using Jupyter
This section explains you how to use Jupyter for R-Development.
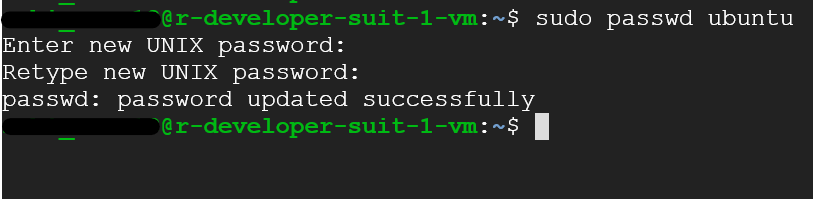
- Once the VM is up and running, SSH to VM and run below command to set the password for ubuntu user.
- To access jupyter go to http://VM_Public_IP . Login using ubuntu user and provide password set in the above step.
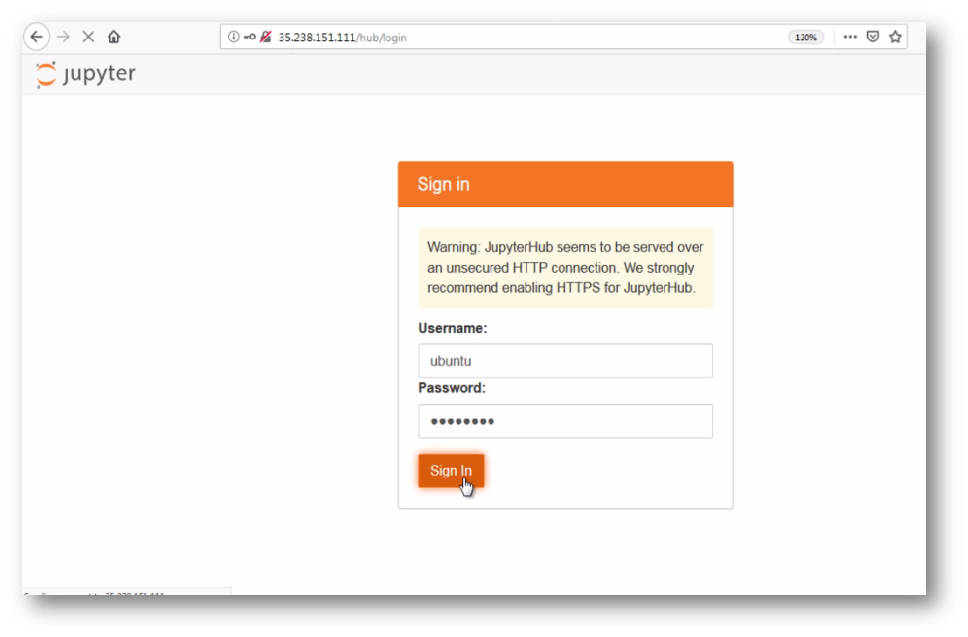
- This will log you as an ubuntu user to the jupyter notebook.
- You can create new R Notebooks and run your code. To create new Notebook, click on New and select R from dropdown menu.
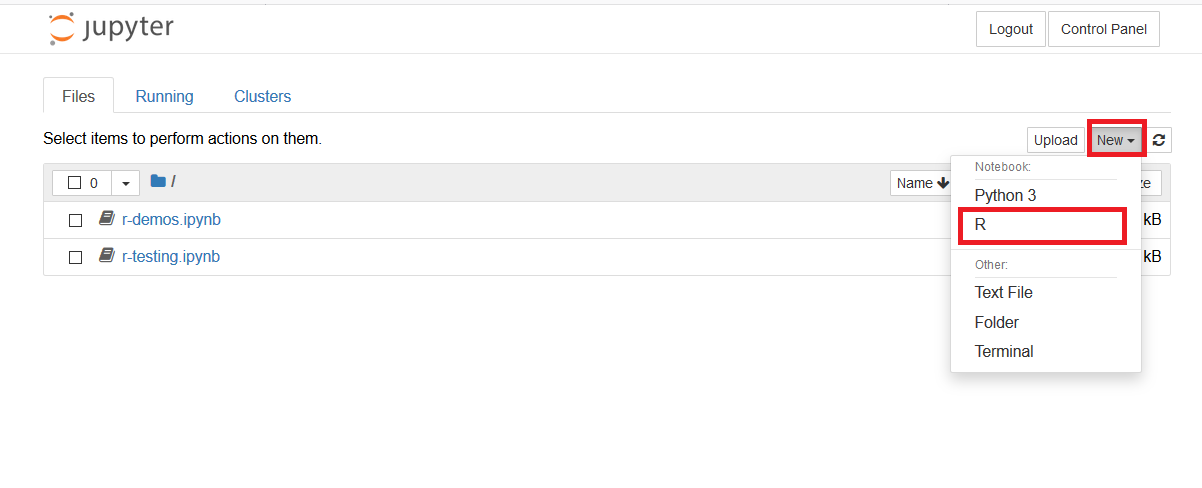
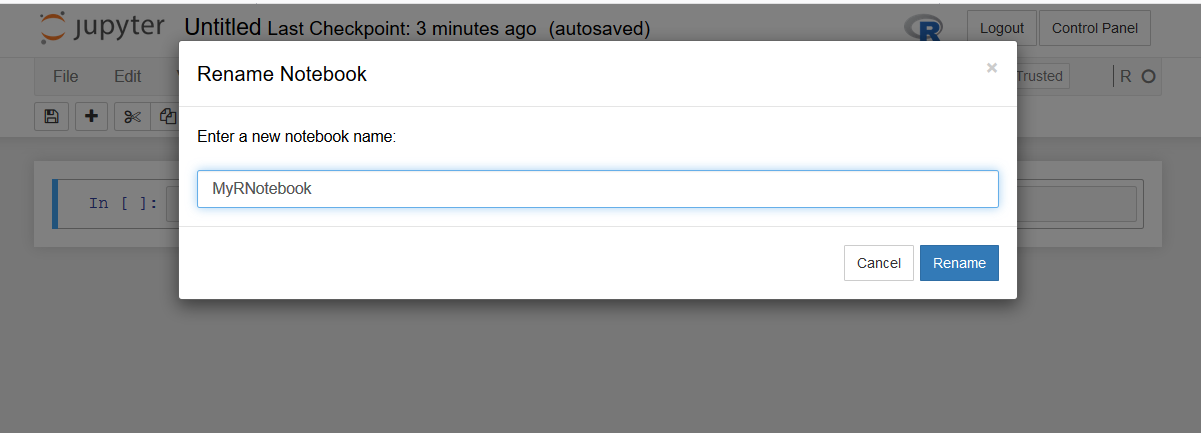
- It will create untitled Notebook in new tab. Click on Untitled to rename this Notebook
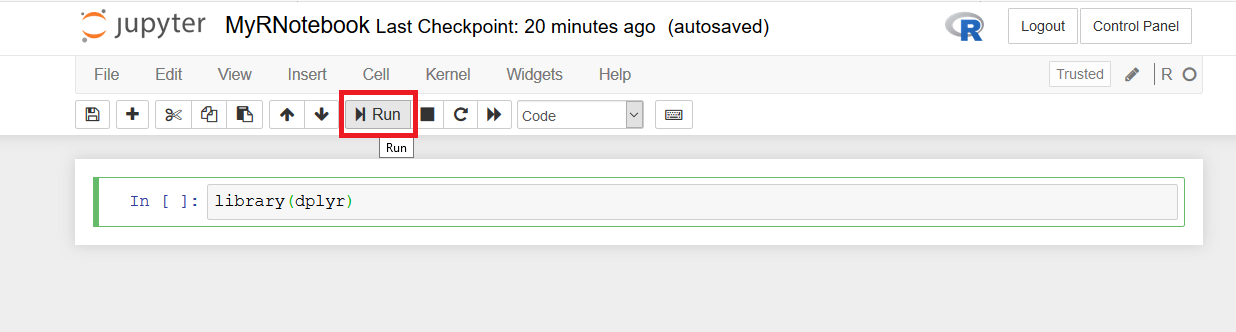
- Write your code in the cell.To run the code, select the cell then select Run or use the keyboard shortcut CTRL+ENTR
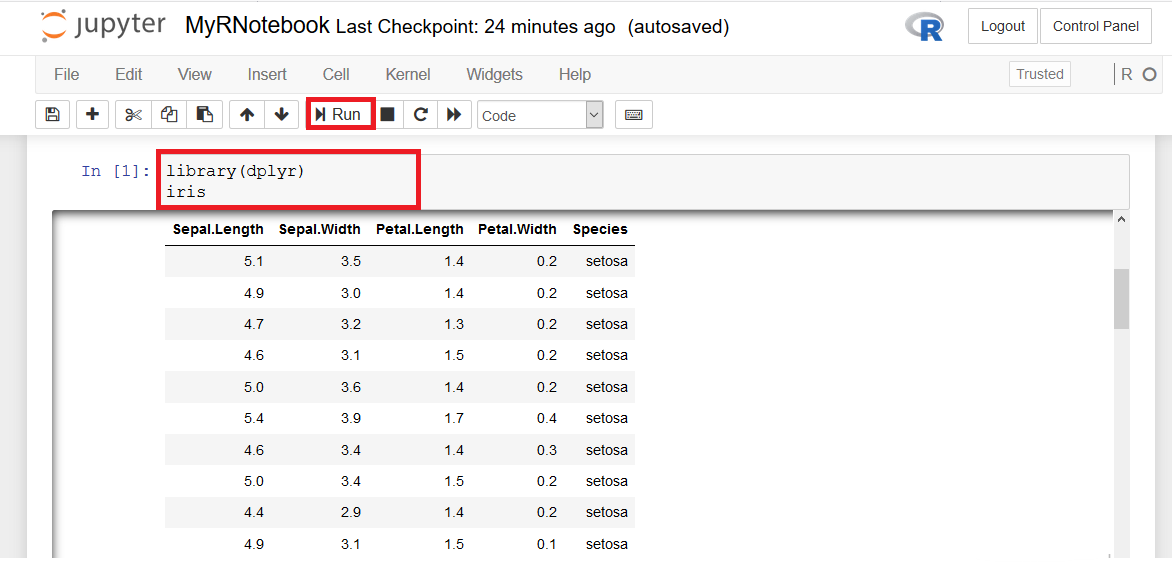
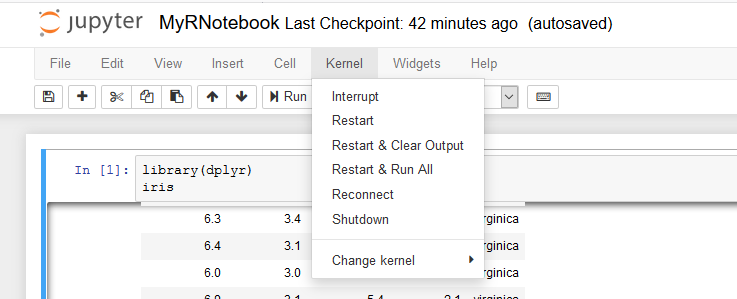
- Let’s display iris table with the library(dplyr)
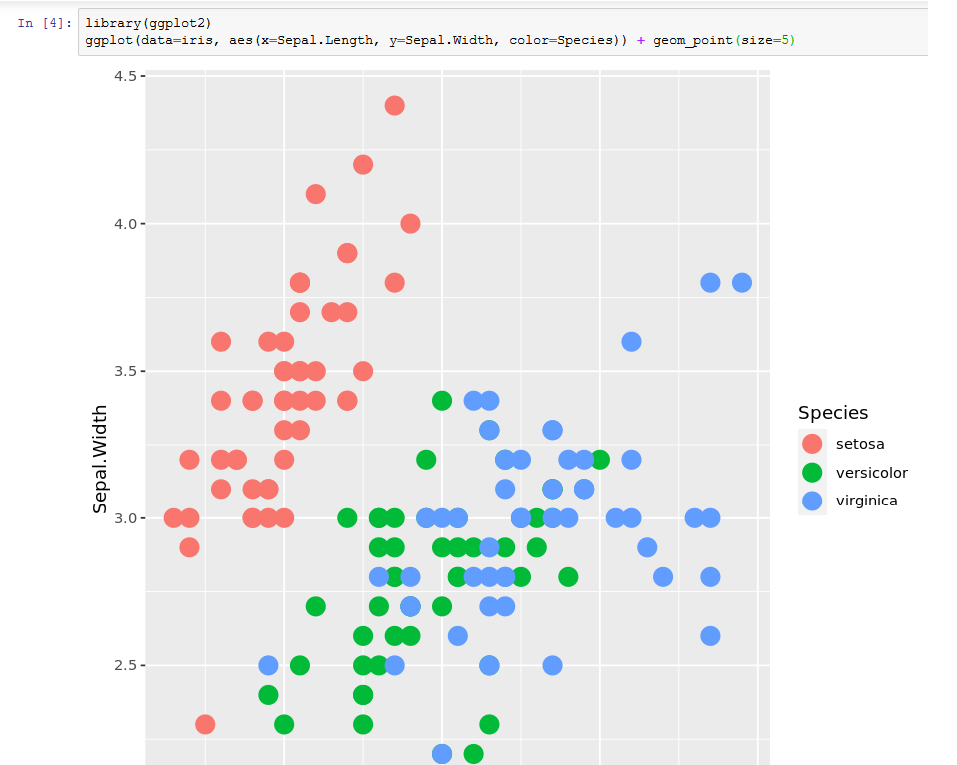
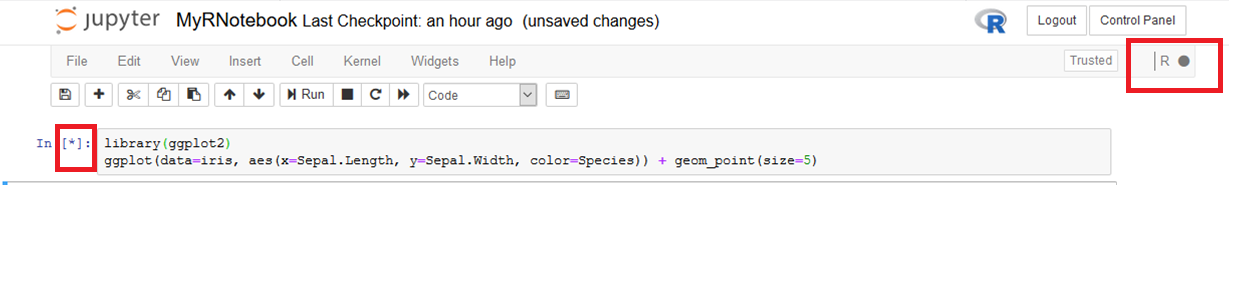
- We can create scatter plot using ggplot2 library.
- You have different option to stop, restart, run all, shutdown kernel in the kernel dropdown menu.
- asterisk (*) in any cell shows that cell is running. Solid cirlce next to R shows that kernel is busy.
This way you can create your own R Notebooks in jupyter and run the code.