My Cloudbox Getting Started Guide
This VM give you Dropbox like functionality to sync your data across devices, collaborate with teams and extend it with the apps ecosystem to include video chat, calendar, address books and lot more.
Follow below steps to get started with this VM on AWS
- Getting Started with this VM on Azure
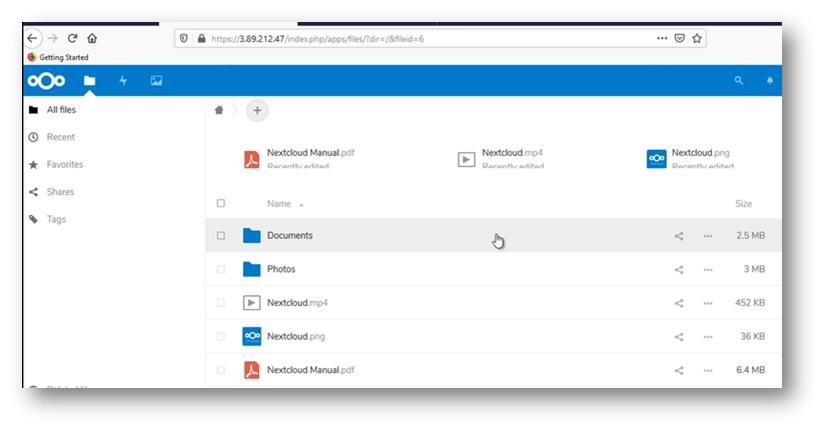
- Copy the IP address of VM and paste it in your browser address-bar.The browser will show SSL certificate error which you need to accept.

- Create your My-Cloudbox admin account here by giving username and password.
- click on Finish Setup
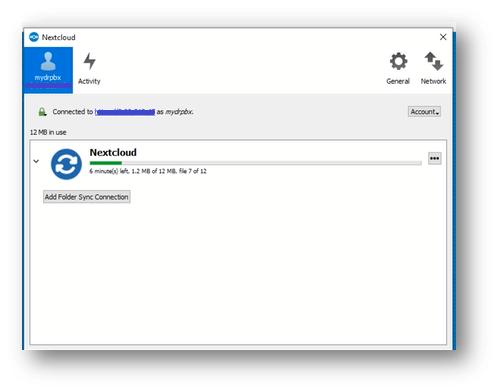
- Install Desktop Client on your local system(desktop/laptop/mobile)
- For desktop and laptop, Go to Desktop Client, install the client as per your system’s configuration
- After installing the Client, configure it using the IP address,username and password created in step 2.
- For mobile,Install nextcloud mobile app from playstore/appstore
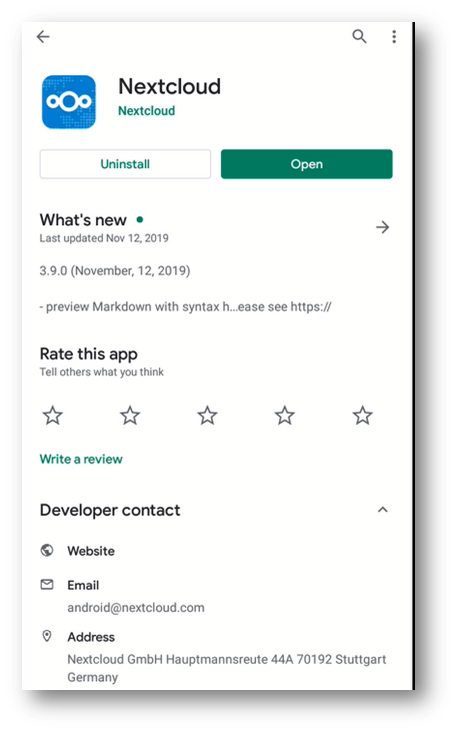
- Open the nextcloud mobile app and enter the username and password set in the above step to login.Below screen will show up.
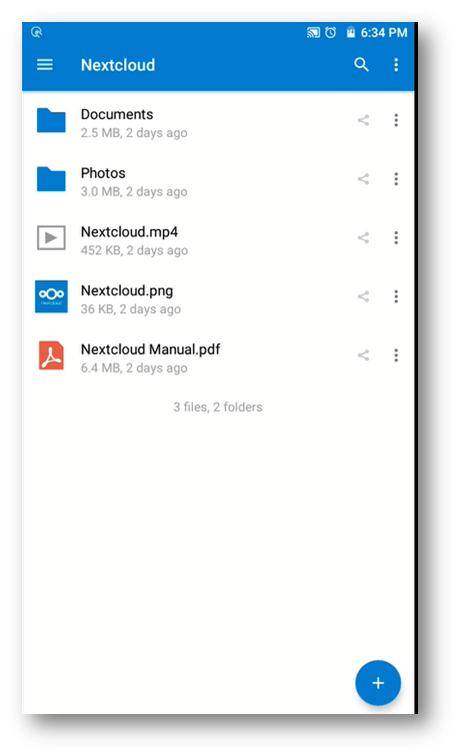
- now you can sync any file from your mobile to server you own.
Follow below steps to get started with this VM on Azure
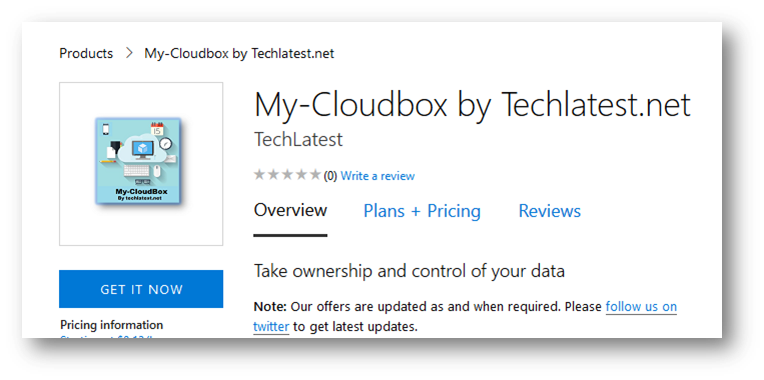
- Go to the Azure marketplace and search for My-Cloudbox by techlatest.net. Select the offer and click on GET IT NOW and follow the instructions.
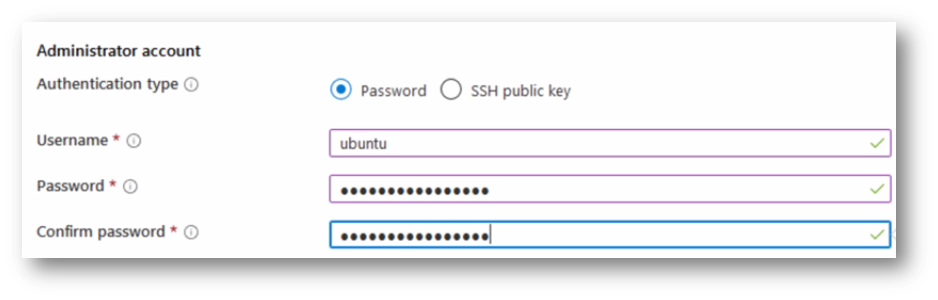
- It will navigate you to the Virtual Machine creation page. On this page fill up all the details required and select Password in Authentication Type. Provide ubuntu as a username and give Password of your choice.
- Select the disk type on next page. By default it shows Premium SSD.You can change it to Standard HDD.
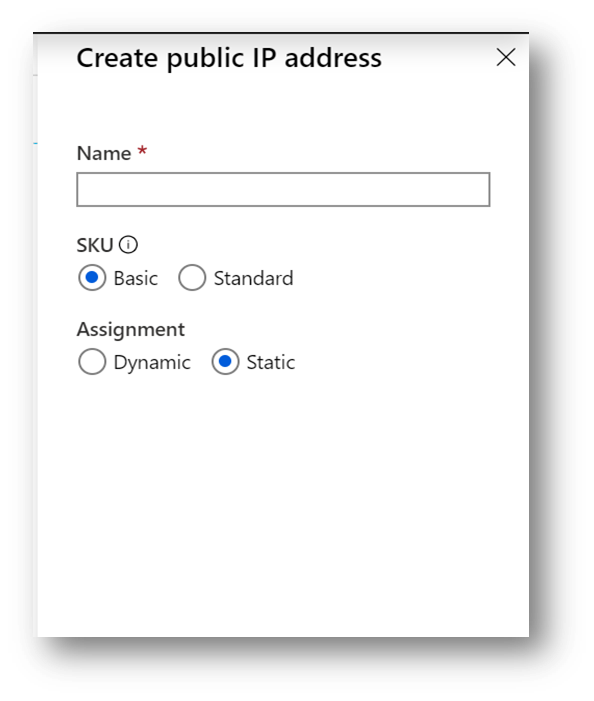
- On Network Interface Page,assign static IP to this virtual machine.For this, click on Create new option below public IP field.
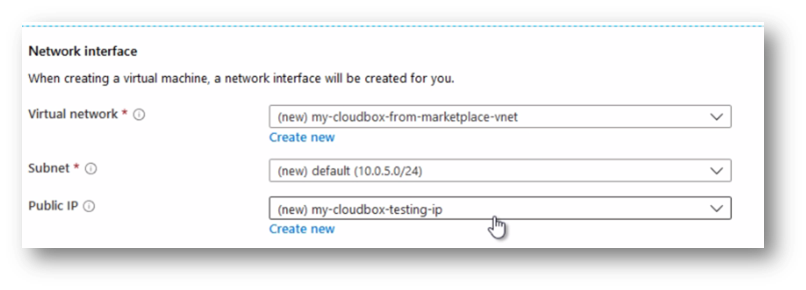
- Select SKU as Basic and Assignment as static.
- For other option go with the default settings and create the vm
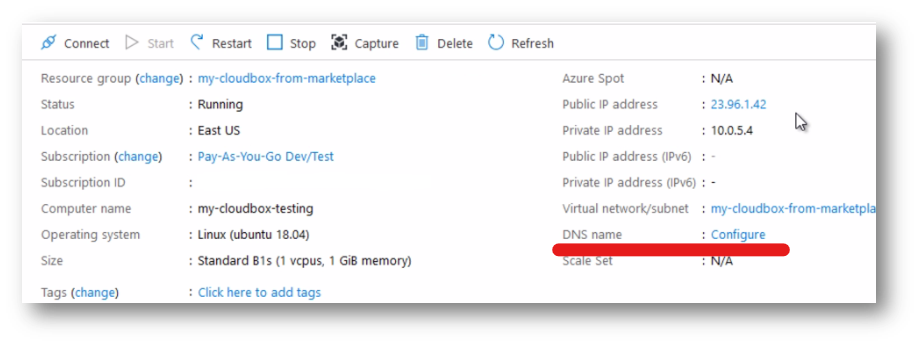
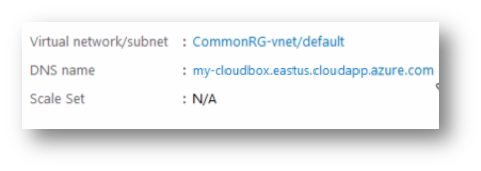
- Once the VM is up and running configure DNS for it.To configure DNS click on configure on VM overview page.
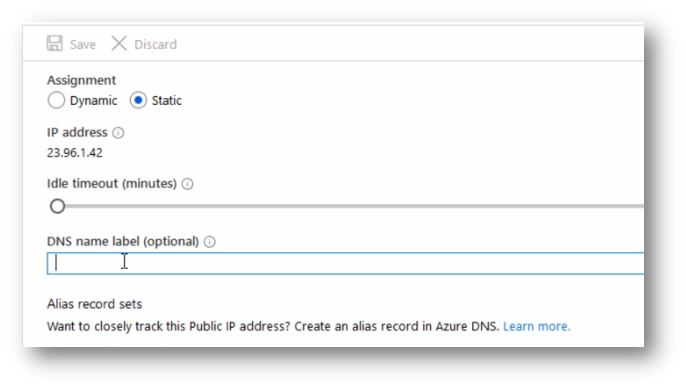
- Enter DNS name label and Save the changes and refresh the VM overview page to see the DNS name.
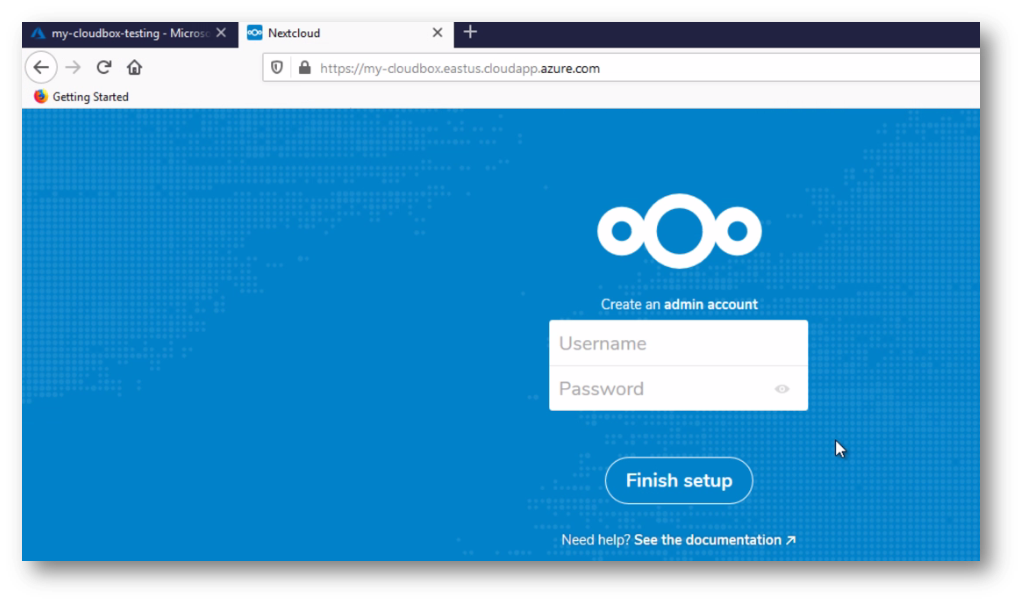
- Now this VM is ready to use.Copy DNS name and paste it on browser address bar and create an Admin account here.
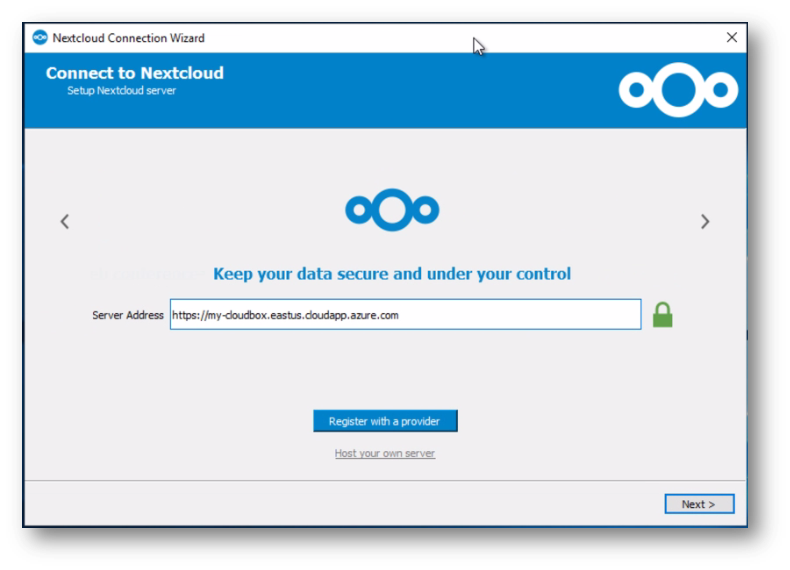
- To install Nextcloud Desktop/laptop Client and mobile app follow this steps.
- Configure Nextcloud Desktop/laptop Client and mobile app using same DNS name.
Now you have ownership and full control of your data by having your own File Syncing server using My-Cloudbox VM.You can sync your data from client to cloud and vice versa in your own server.