Login with your credentials and follow the instruction.
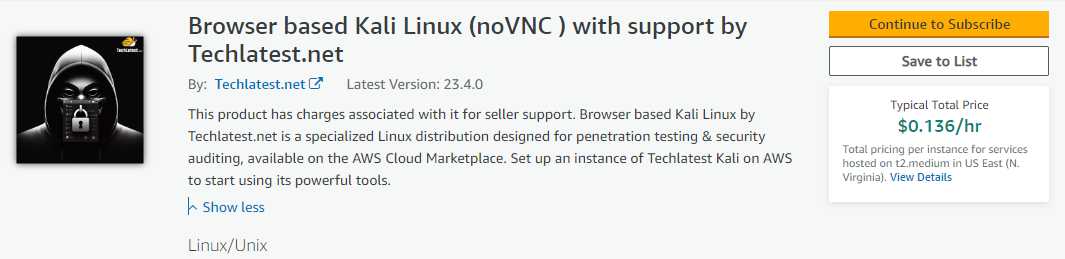
Subscribe to the product and click on Continue to configuration button.
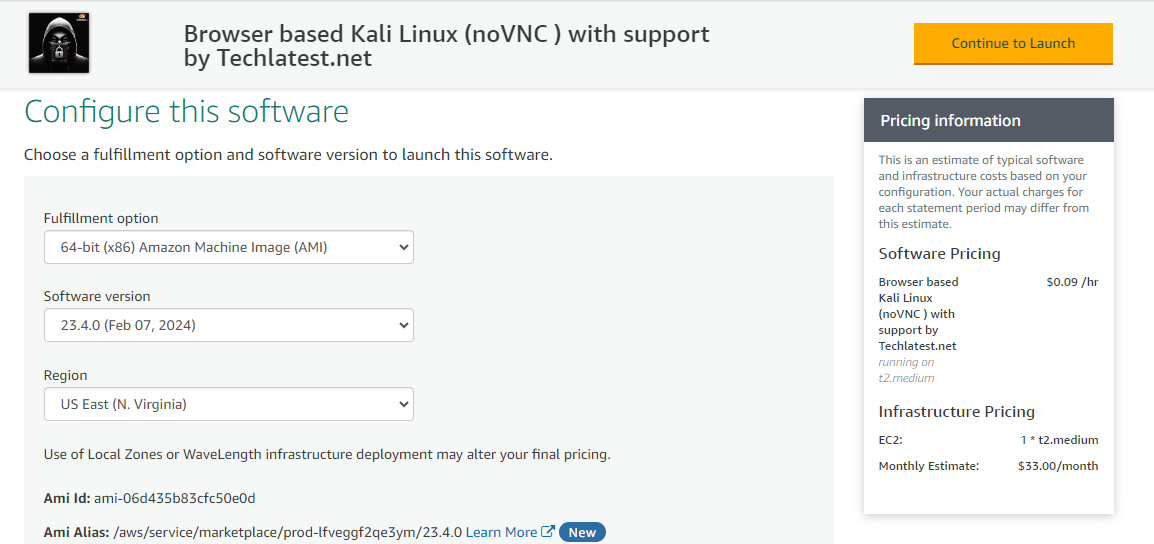
Select a Region where you want to launch the VM(such as US East (N.Virginia))
Click on Continue to Launch Button.
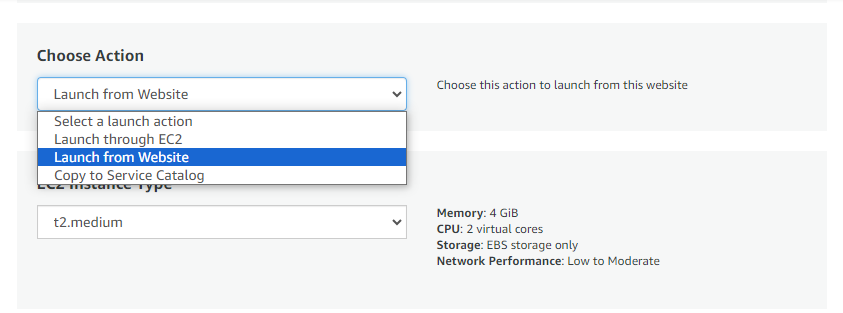
Choose Action: You can launch it through EC2 or from Website.(Let’s choose Launch from website)
Optionally change the EC2 instance type. (This defaults to t2.medium instance type, 2 vCPUs and 4 GB RAM)
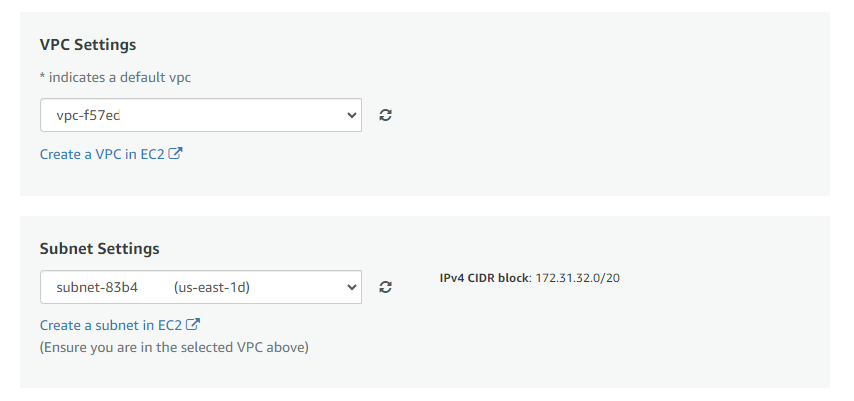
Optionally change the network name and subnetwork names.
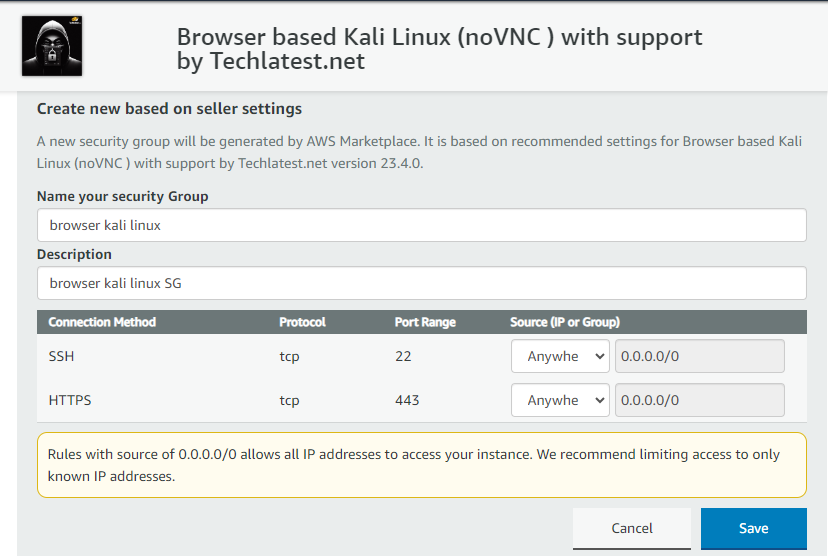
Select the Security Group. Be sure that whichever Security Group you specify have ports 22 (for ssh) and 443 (for HTTPS) exposed.
Be sure to download the key-pair which is available by default, or you can create the new key-pair and download it.
Click on Launch..
Browser based Kali Linux (noVNC) will begin deploying.
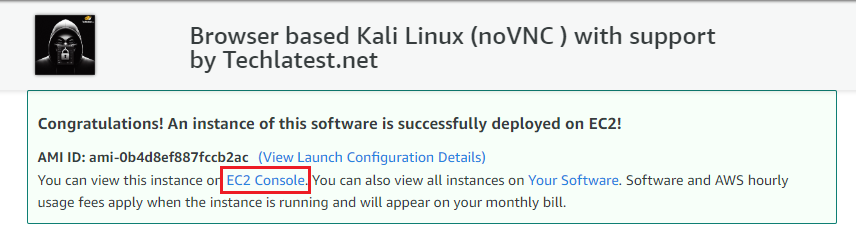
A summary page displays. To see this instance on EC2 Console click on EC2 Console link.
To access the Kali Linux GUI via browser, Copy the Public IP address of the VM from the VM’s overview page and enter the address as https://vm_public_ip/vnc.html in the browser. Hit enter.
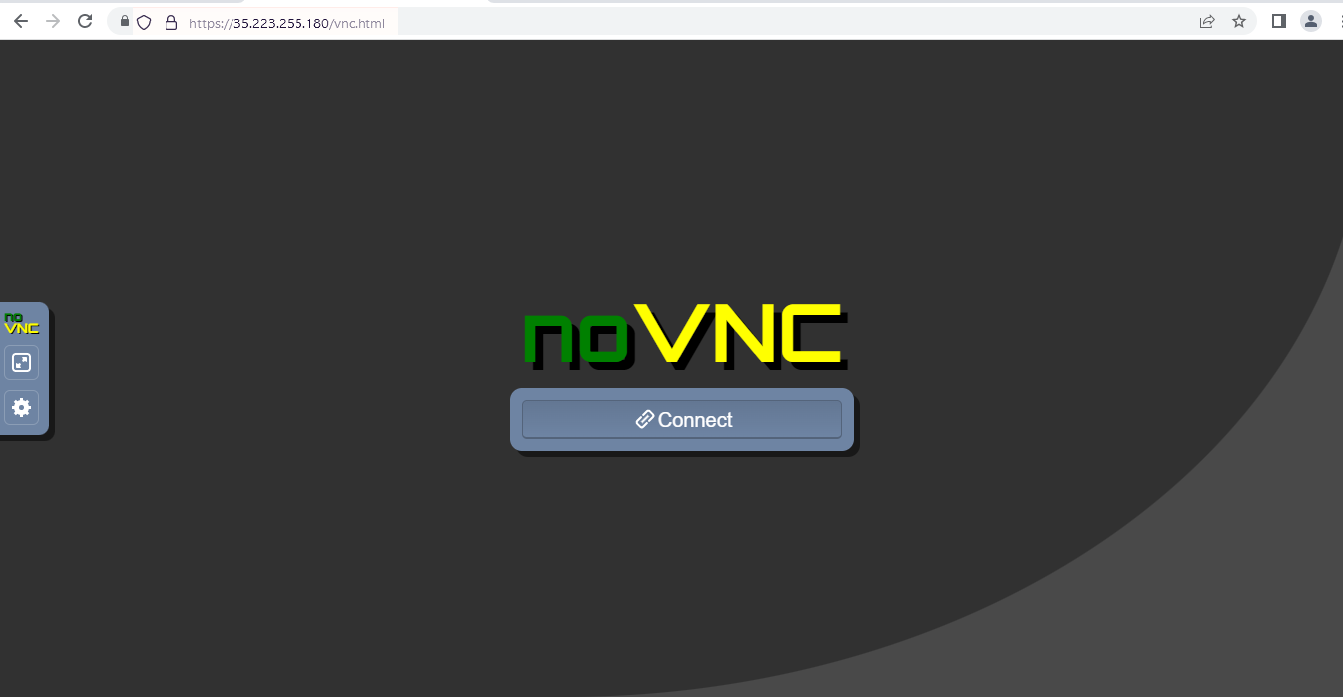
Note: Please use https and not http in the URL when accessing Kali Linux GUI in Browser, e.g. https ://35.223.255.180/vnc.html
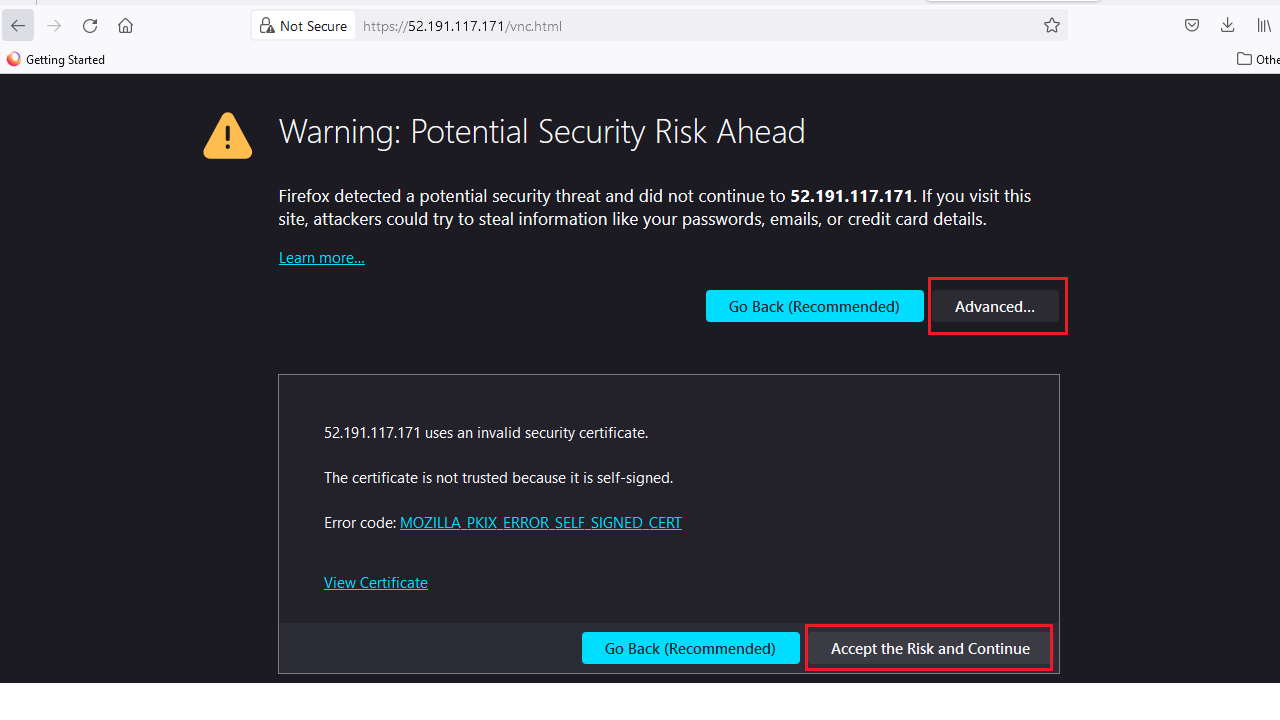
While accessing GUI via browser, ssl certification warning will be shown. Click on Advanced and then select Accept the risk and Continue
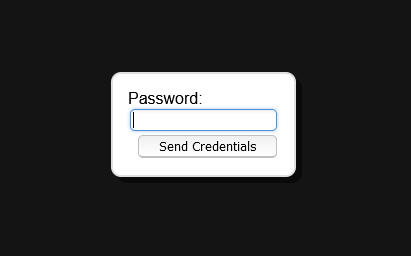
After accepting the ssl certification warning it will show you the below screen. Please click on Connect button.
Now you are connected to out of box Kali GUI Linux environment via Browser.
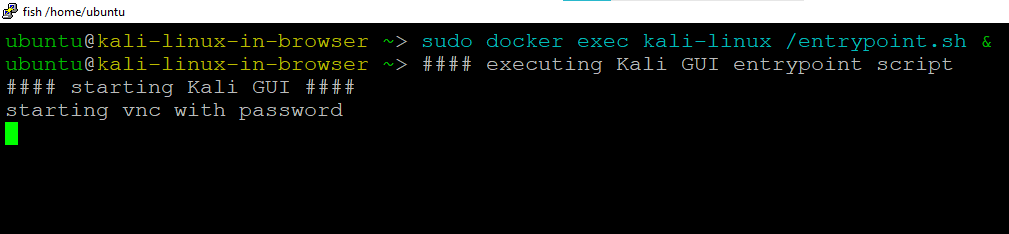
Note: If your Kali Linux GUI environment is not comming or you are getting timeout error in browser then please follow from Step 11 onwards to restart the kali-linux container from terminal.
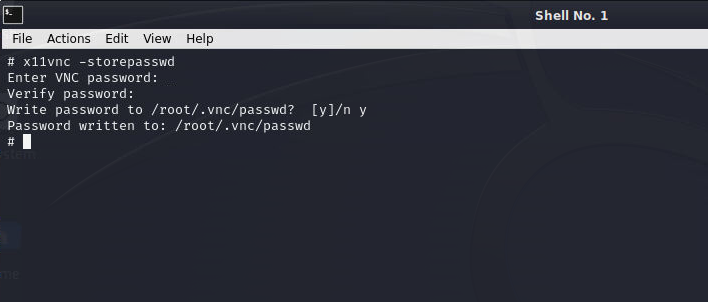
After your first login, Open terminal and run below command to change the root user password.
x11vnc -storepasswd
Once the password is set, reboot the vm and re-login with root user and new password. -
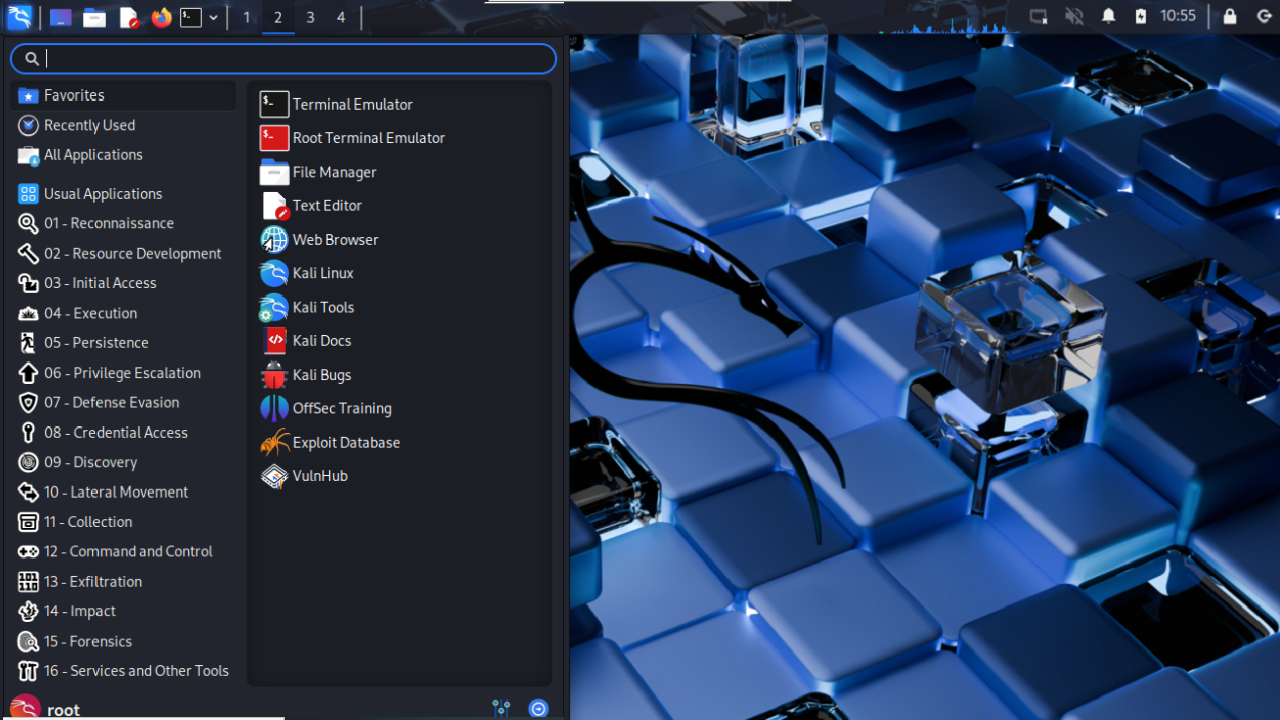
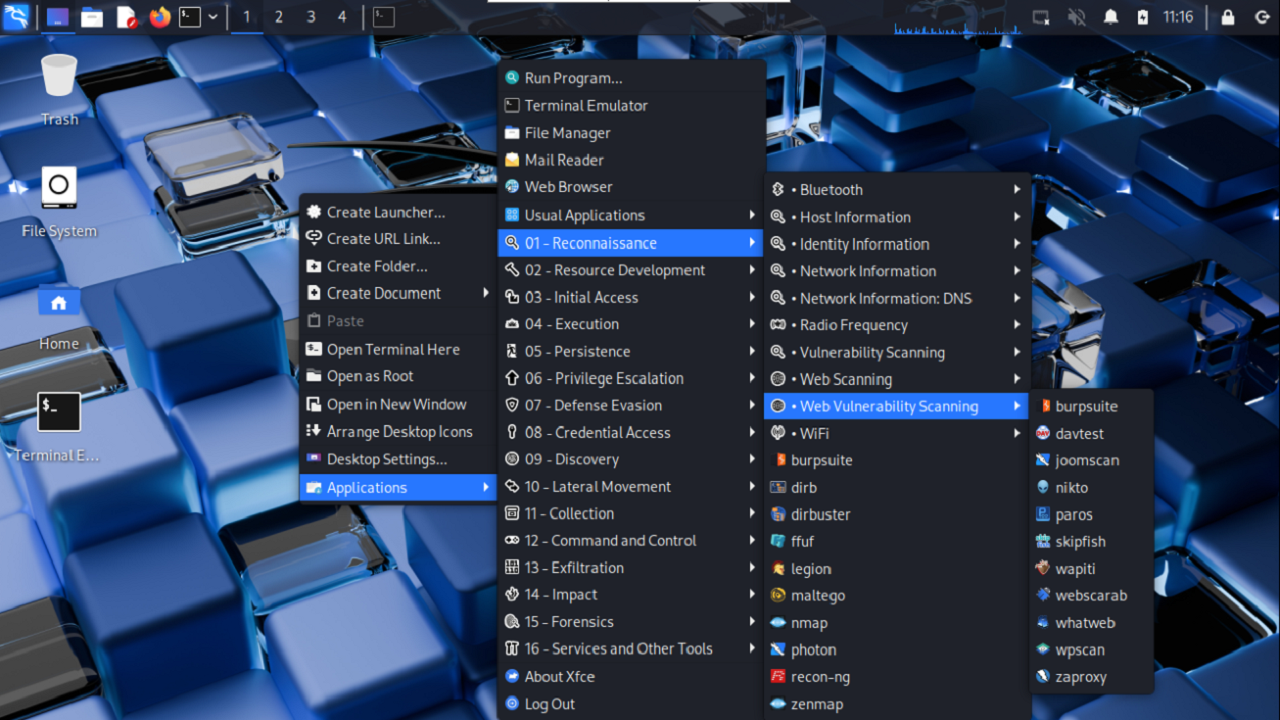
Now your are connected to out of box Kali GUI Linux via browser which comes with preinstalled kali tools and apps.
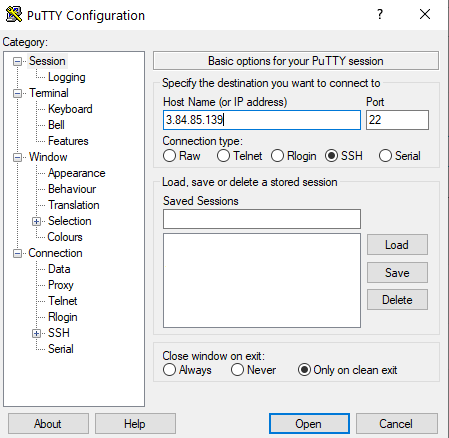
To connect to this instance through putty, copy the IPv4 Public IP Address from the VMs details page.
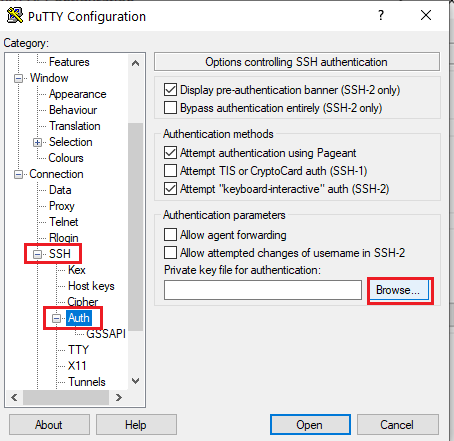
Open putty, paste the IP address and browse your private key you downloaded while deploying the VM, by going to SSH- >Auth -> Credentials, click on Open.
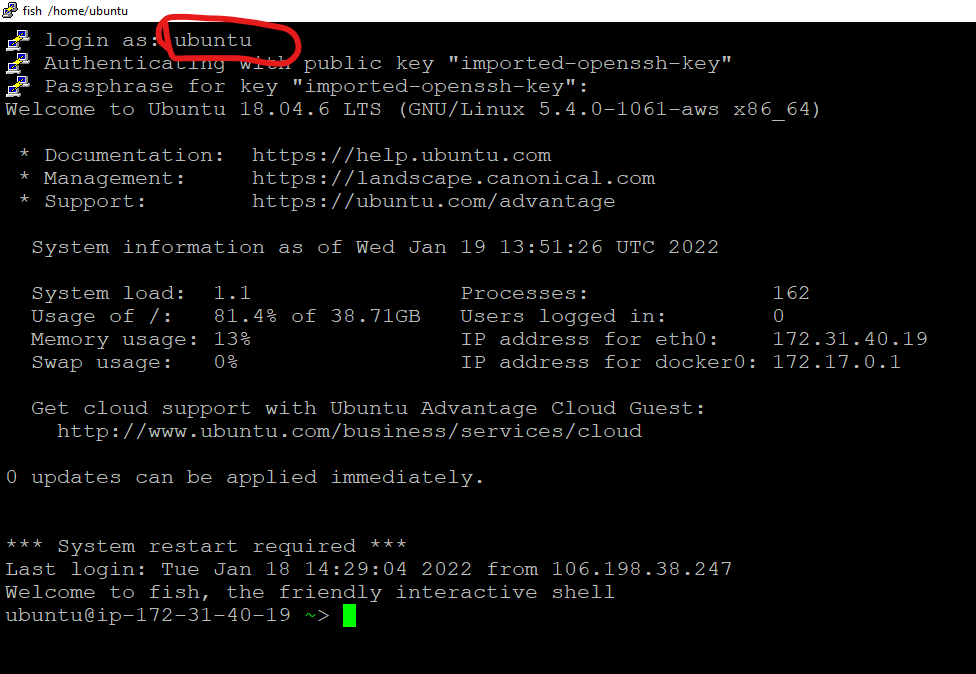
Login as ubuntu.
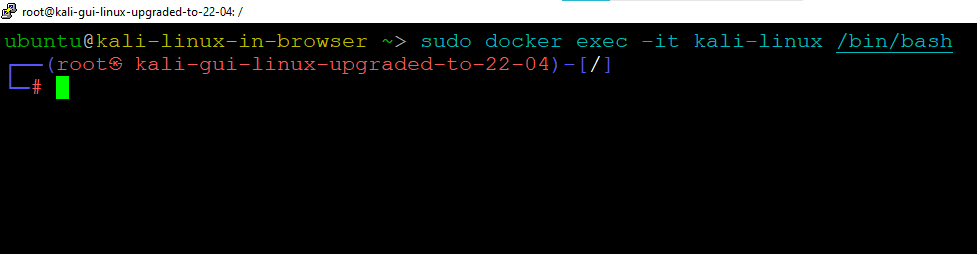
To connect to Kali command line, run below command
sudo docker exec -it kali-linux /bin/bash
If above command returns “Error response from daemon:” error or if you see docker command not found error as shown below then wait for few minutes and run below commands to start the kali container and then run above command again.