How to get Ethereum Full Node on AZURE
This section describes how to launch and connect to Ethereum Full Node in Azure.
- Open Ethereum Full Node with PoS VM listing on Azure Marketplace
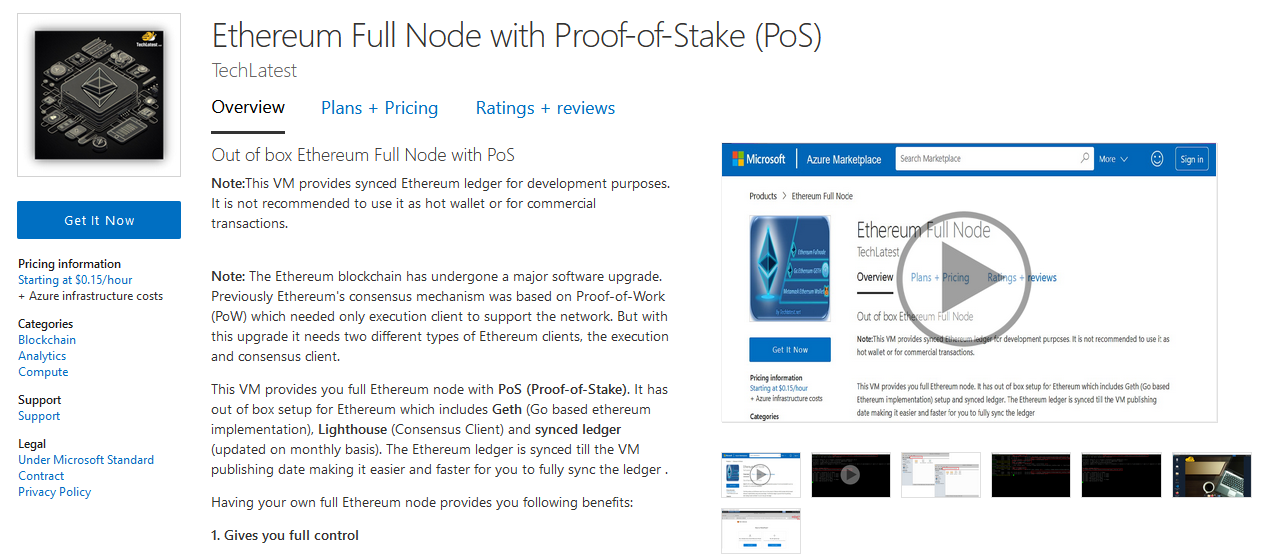
- Click on Get It Now
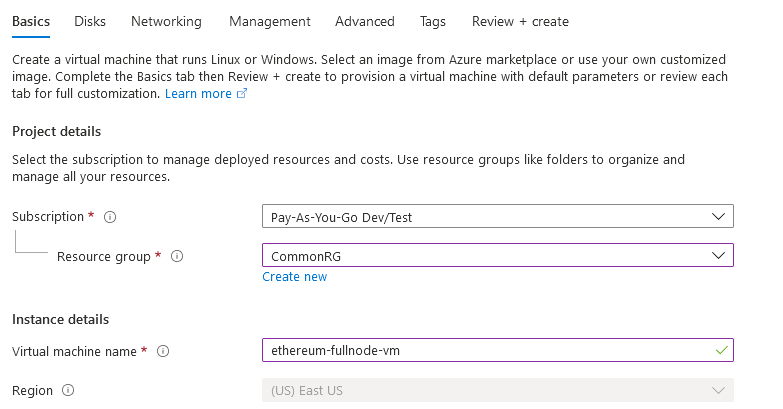
- Select a Resource group for your virtual machine
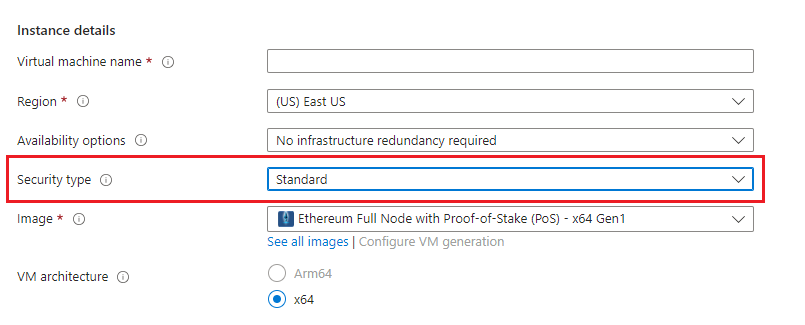
- Select a Region where you want to launch the VM(such as East US)
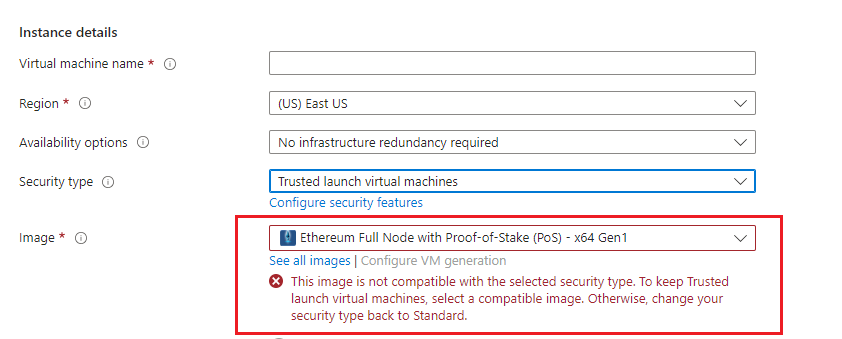
- Note: If you see “This image is not compatible with selected security type. To keep trusted launch virtual machines, select a compatible image. Otherwise change your security type back to Standard” error message below the Image name as shown in the screenshot below then please change the Security type to Standard.
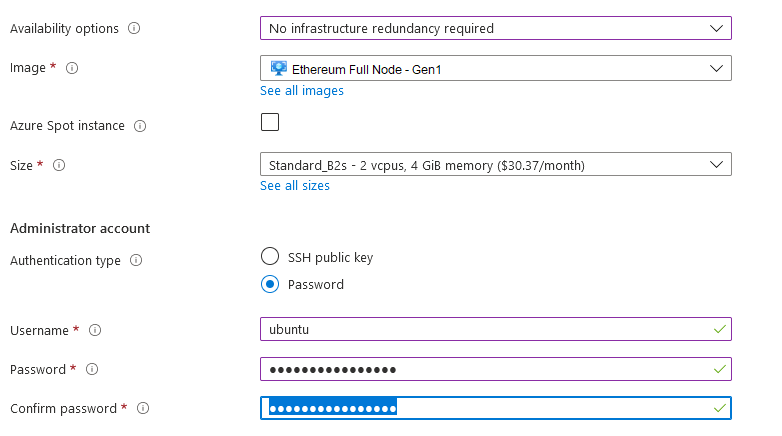
- Optionally change the number of cores and amount of memory.
Select the Authentication type as Password and enter Username as ubuntu and Password of your choice.
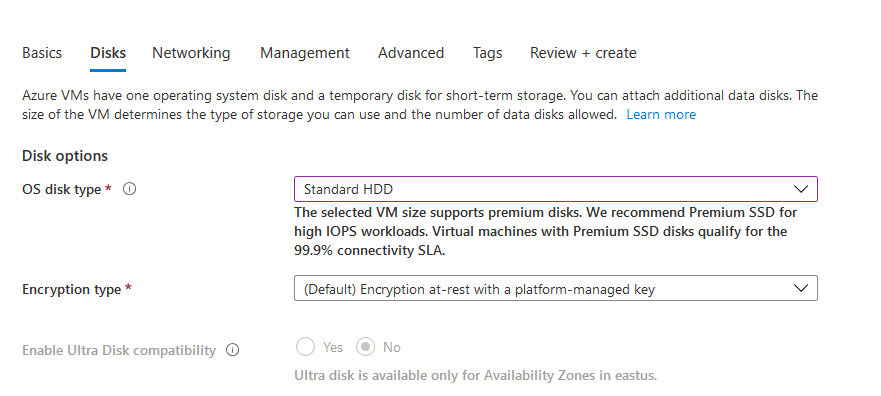
- Optionally change the OS disk type.
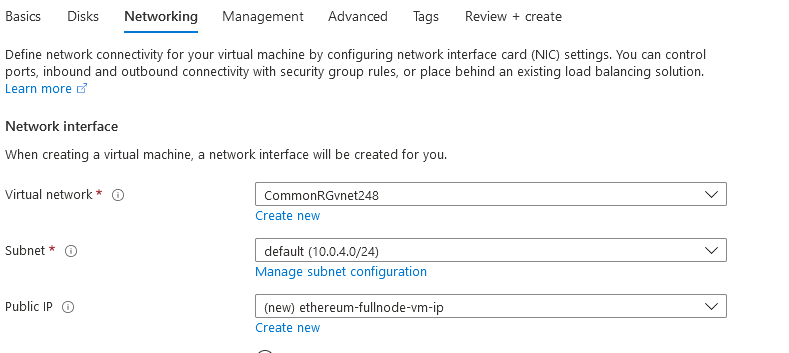
- Optionally change the network and subnetwork names.Be sure that whichever network you specify has ports 22 (for ssh) and 3389 (for RDP) exposed.
- Optionally go to the Management, Advanced and Tags tabs for any advance settings you want for the VM.
- Click on Review + create and then click on Create when you are done.
Virtual Machine will begin deploying.
- A summary page displays when the virtual machine is successfully created. Click on Go to resource link to go to the resource page. It will open an overview page of virtual machine.
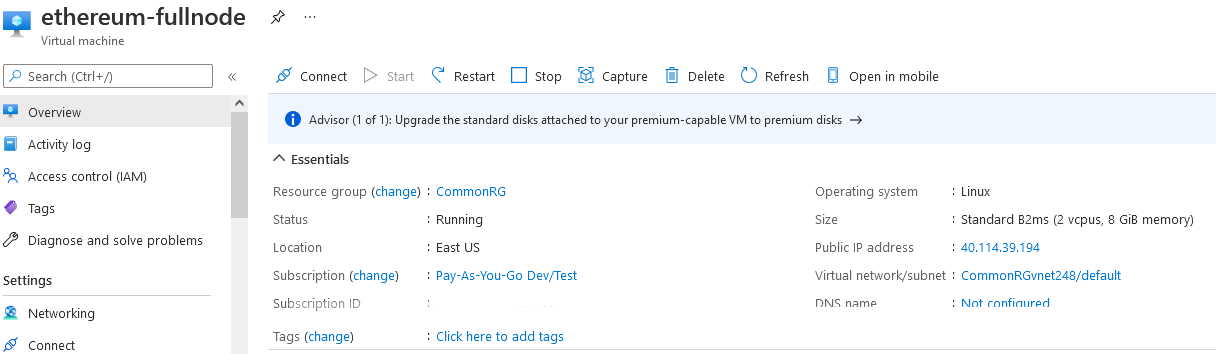
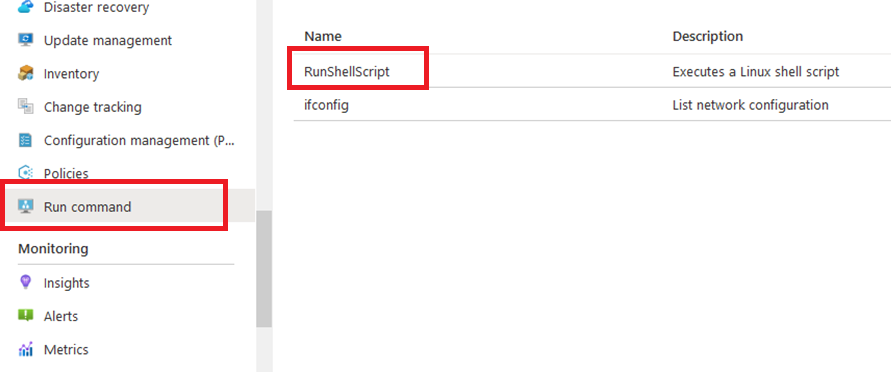
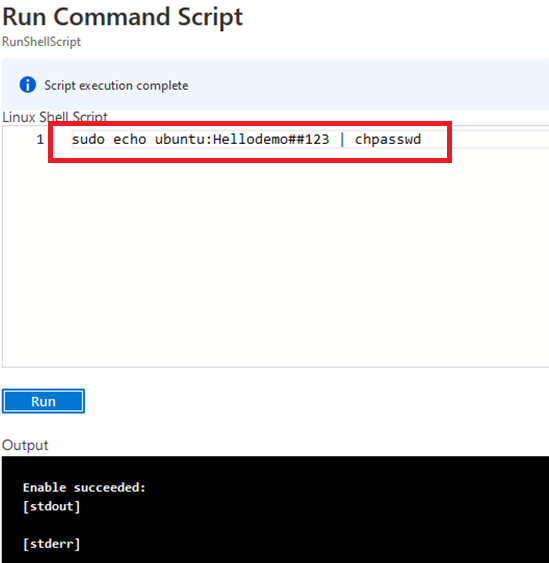
- In the left navigation pane, select Run command, select RunShellScript and enter following command to change the password of the vm .
sudo echo ubuntu:yourpassword | chpasswd
-
Now the password for ubuntu user is set, you can connect to the VM’s desktop environment from any local windows machine using RDP protocol or local linux machine using Remmina.
-
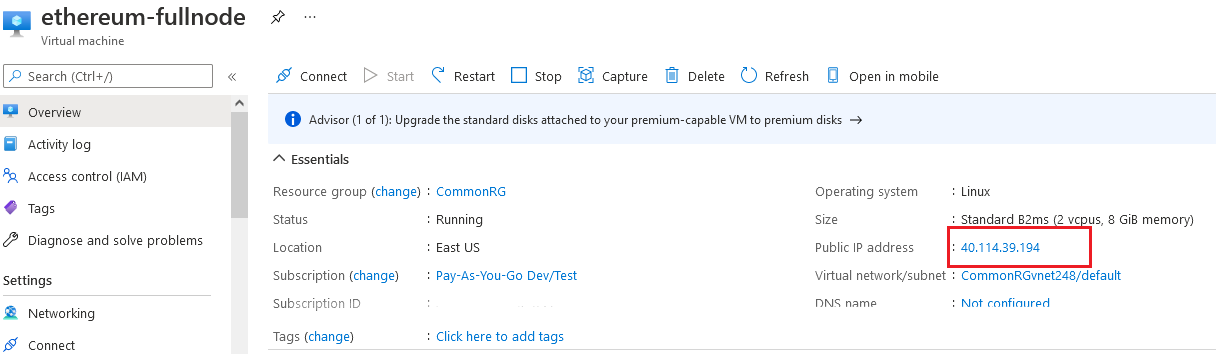
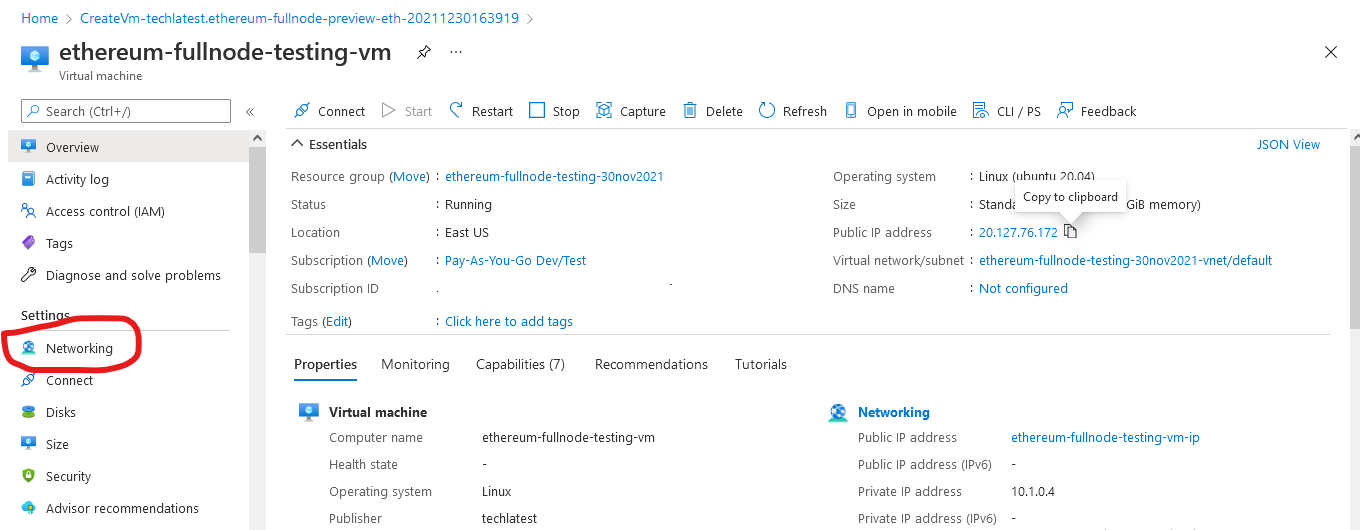
To connect using RDP via Windows Machine, first note the public IP address of the VM from VM details page as highlighted below
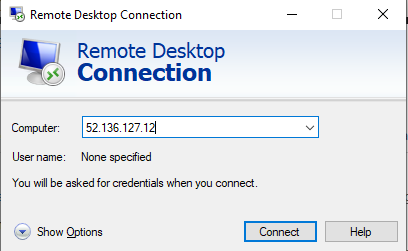
- Then From you local windows machine, goto “start” menu, in the search box type and select “Remote desktop connection”.
In the “Remote Desktop connection” wizard, copy the public IP address and click connect
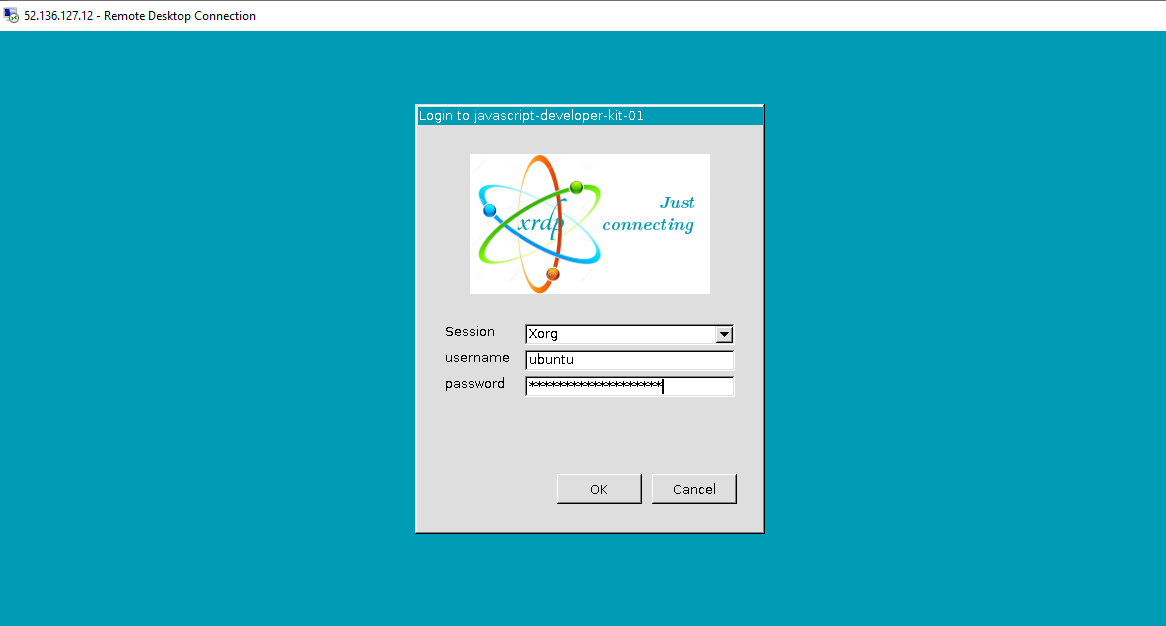
- This will connect you to the VM’s desktop environment. Provide the username (e.g “ubuntu”) and the password set in the step4 to authenticate. Click OK
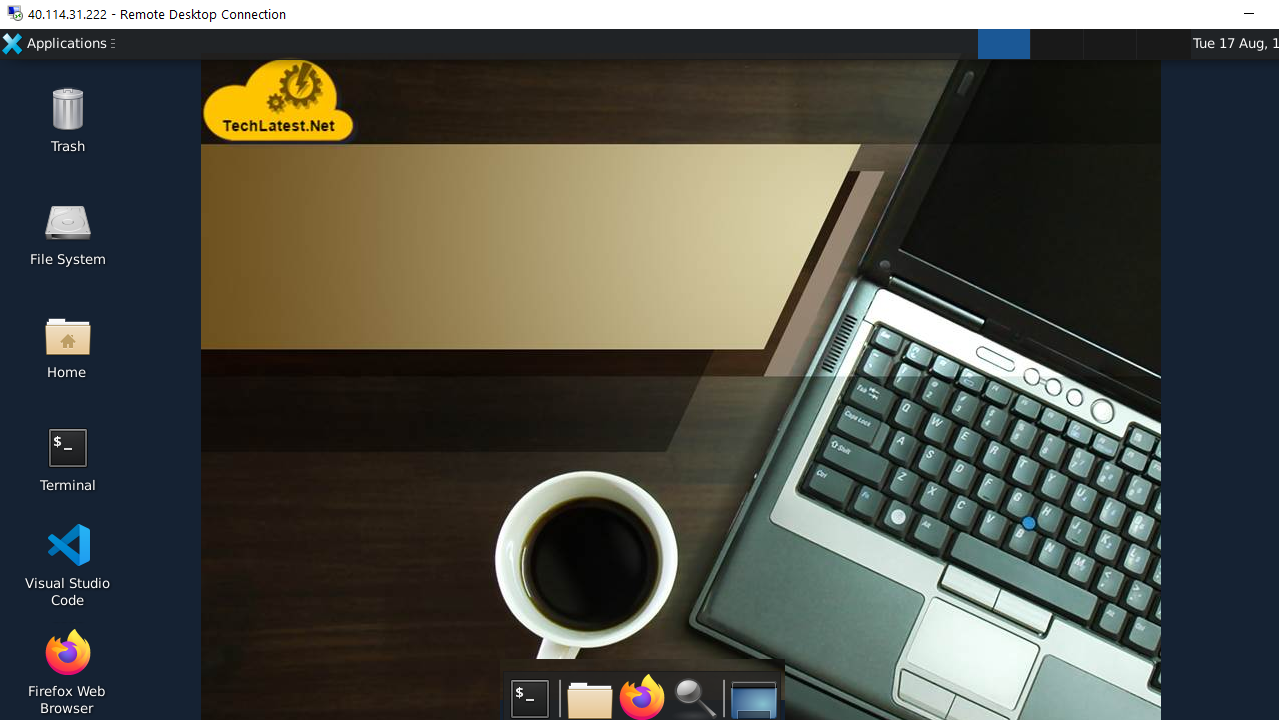
- Now you are connected to the out of box Ethereum Full Node with PoS environment via Windows Machine.
- To connect using RDP via Linux machine, first note the external IP of the VM from VM details page,then from your local Linux machine, goto menu, in the search box type and select “Remmina”.
Note: If you don’t have Remmina installed on your Linux machine, firstInstall Remmina as per your linux distribution.
 11. In the “Remmina Remote Desktop Client” wizard, select the RDP option from dropdown and paste the external ip and click enter.
 12. This will connect you to the VM’s desktop environment. Provide “ubuntu” as the userid and the password set in above reset password step to authenticate. Click OK
 13. Now you are connected to out of box Ethereum Full Node with PoS environment via Linux machine.
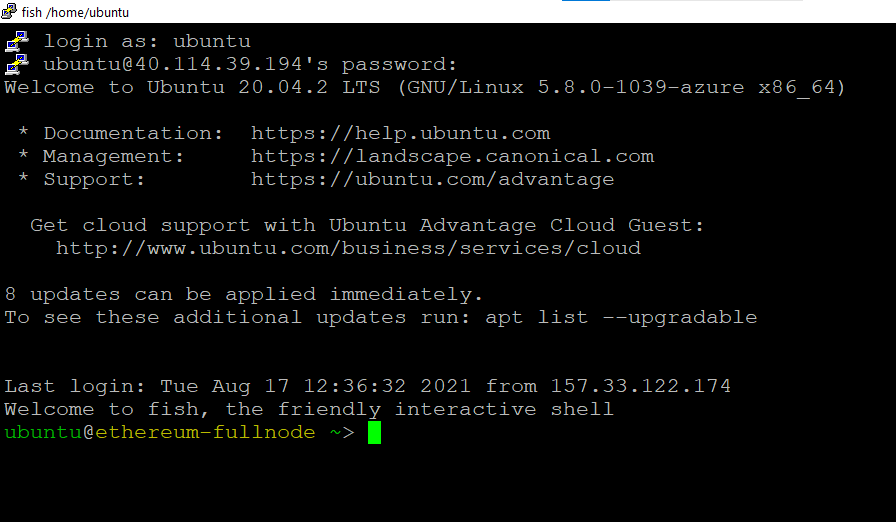
- To SSH to the VM, Open putty paste the IP address and click on Open.
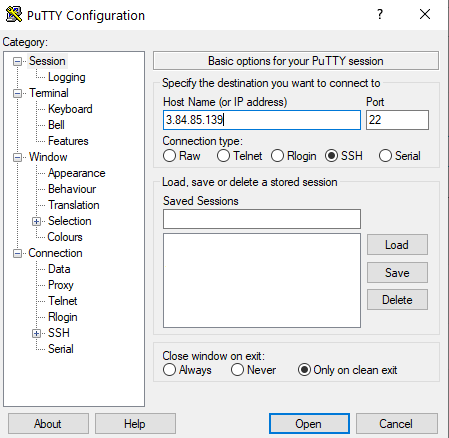
- login as ubuntu and provide the password for ‘ubuntu’ user
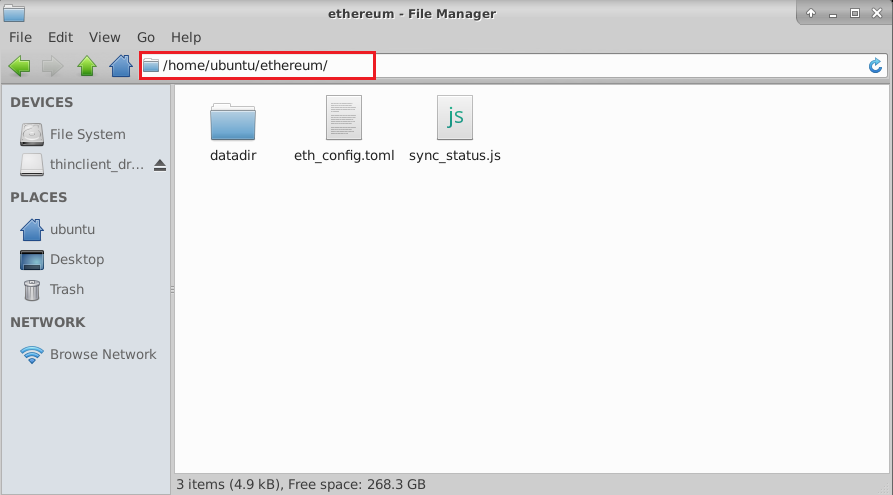
- Ethereum Full Node directories:
Ethereum home directory location is /home/ubuntu/ethereum
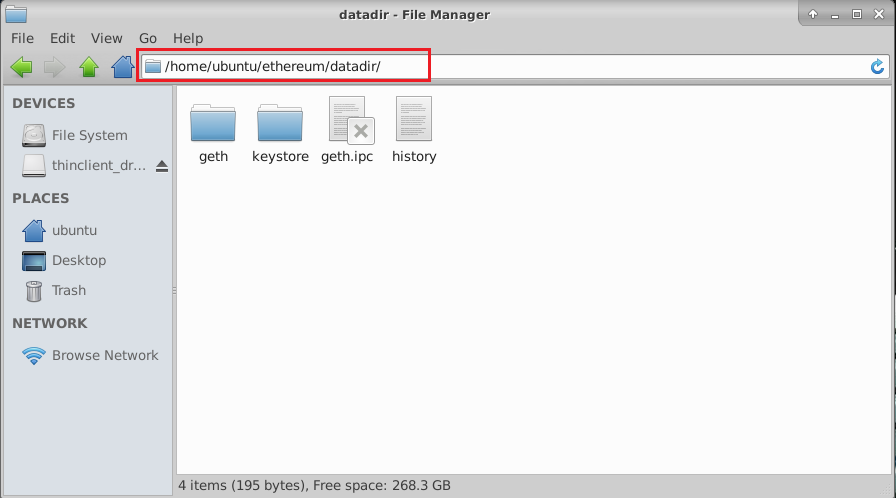
Data directory location is /home/ubuntu/ethereum/datadir
- Monitoring and managing node sync process :
The VM automatically starts the sync process on startup. To verify if the sync is in progress, run below commands
If sync is in progress, you will see the below highlighted process running

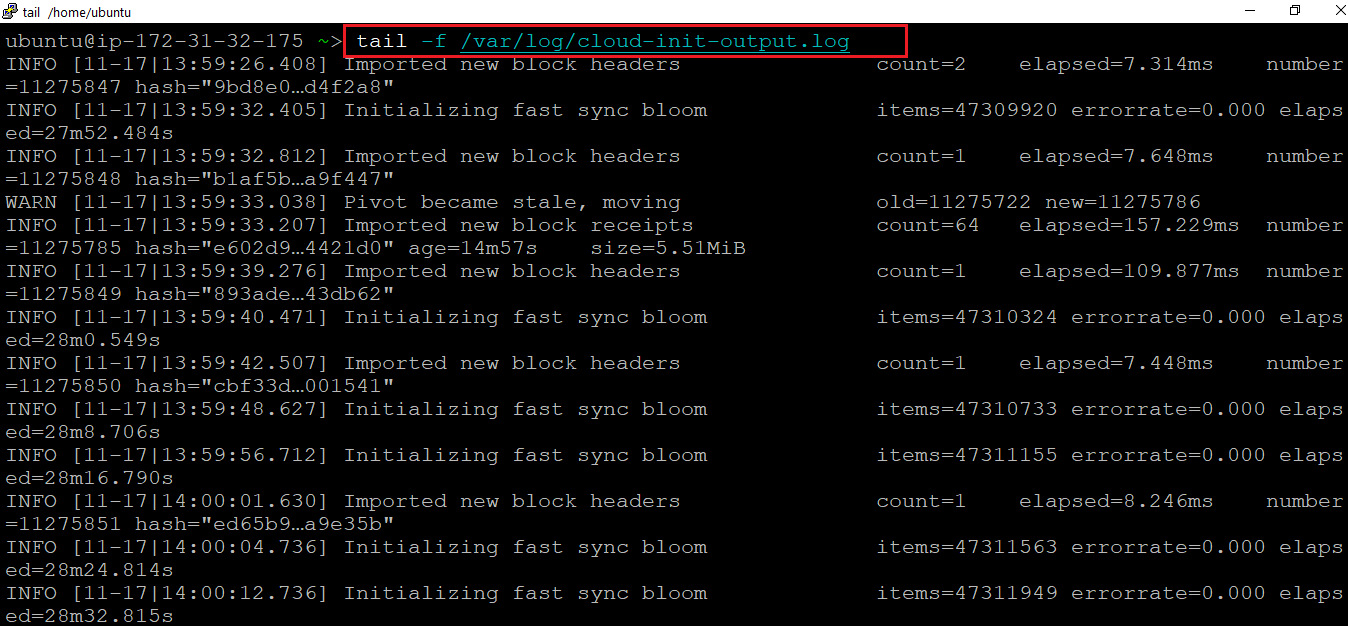
You can also verify the sync process by monitoring the sync log as shown below
tail -f /var/log/cloud-init-output.log
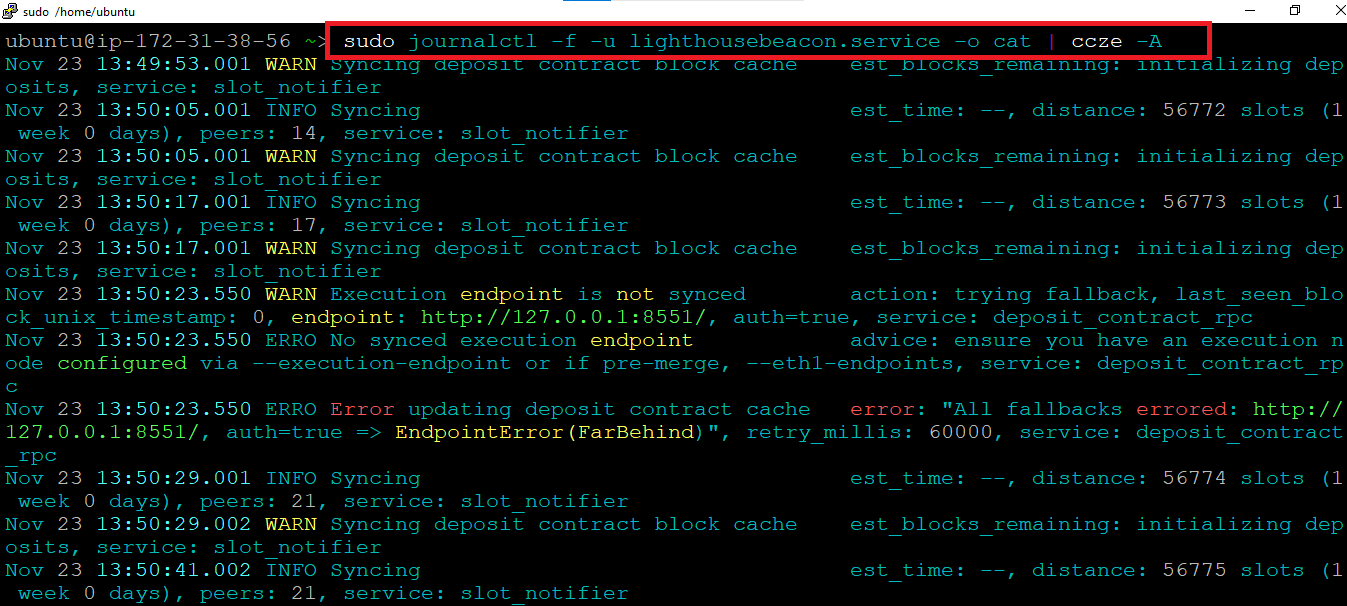
You can monitor the lighthouse logs by running -
Note: If you encounter JWT authorization error or connection refused error while running the below command, please follow Lighthouse Troubleshooting Guide. to fix them.
sudo journalctl -f -u lighthousebeacon.service -o cat | ccze -A
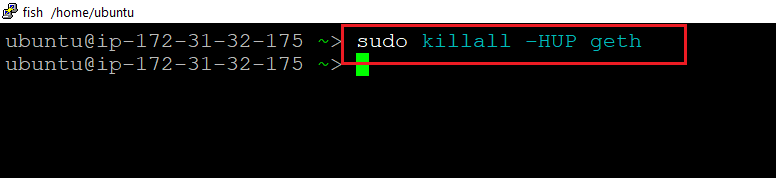
To stop the sync process, simply run below command :
To restart the sync process, run below command .
Note: Make sure below command is executed from terminal inside Remote desktop GUI to avoid process termination
sudo nohup geth --http --http.addr "0.0.0.0" --http.port "8545" --http.corsdomain "*" --config /home/ubuntu/ethereum/eth_config.toml >> /var/log/cloud-init-output.log 2>&1 &

- Tracking sync progress
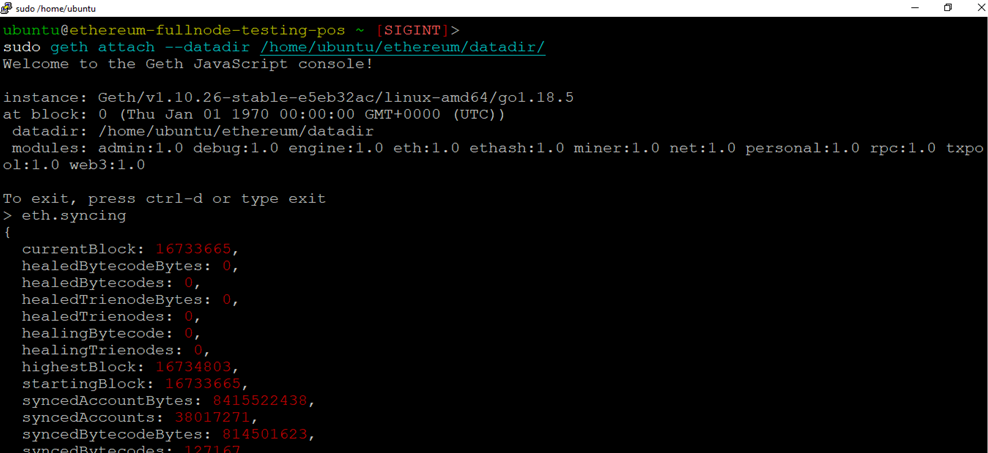
You can track the sync progress by attaching to the running geth console and running the monitoring script as shown below . Note that if the progress is shown 99% then the node is mostly synced:
sudo geth attach --datadir /home/ubuntu/ethereum/datadir/
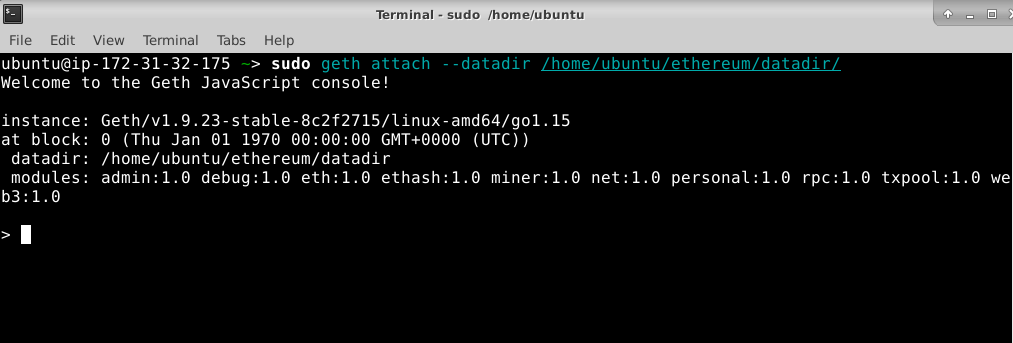
this will connect to the console, then run
loadScript("/home/ubuntu/ethereum/sync_status.js")
- Accessing Metamask Ethereum wallet
The VM comes with Metamask the most popular Ethereum wallet, preinstalled in Firefox browser.
Connect to the VM via Remote desktop, open the Firefox Browser and you will see metamask plugin in the browser
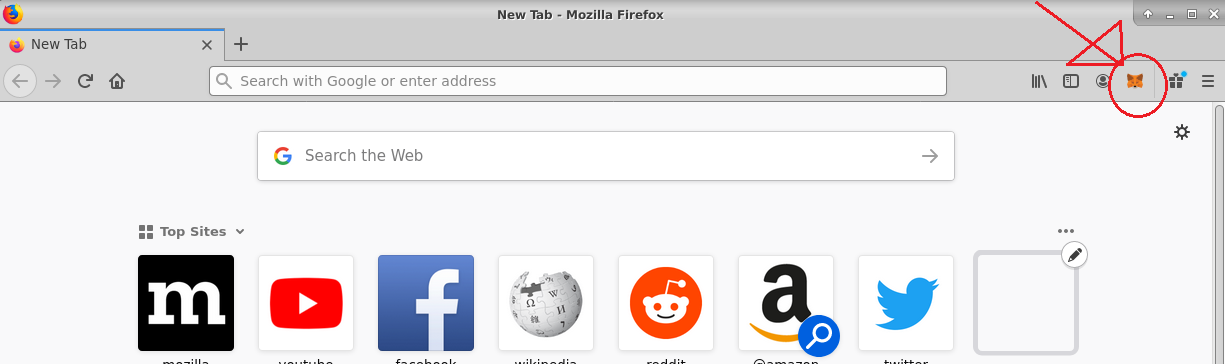
- Click on the Metamask icon, complete the configuration by following the instructions.
Once the Metamask is configured, you wil see Metamask is running on Ethereum Mainnet Network.
- If you want to connect Metamask on localhost, select localhost 8545 from Metamask Network dropdown. You should be able to connect to localhost as shown:

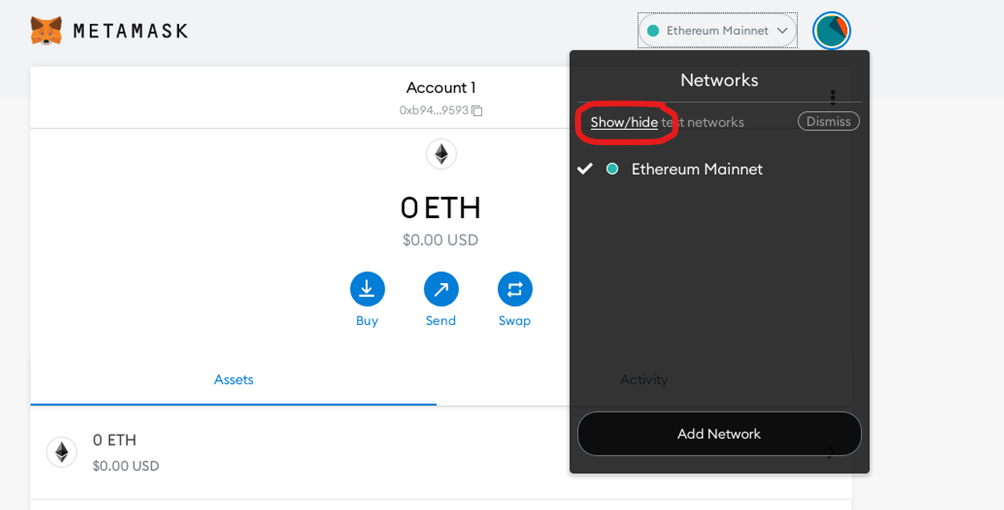
- If you don’t see localhost and other testnetwork options under network dropdown, please click on show/hide link as shown below-
- It will take you to setting menu. Here you enable show test network option and save the changes.
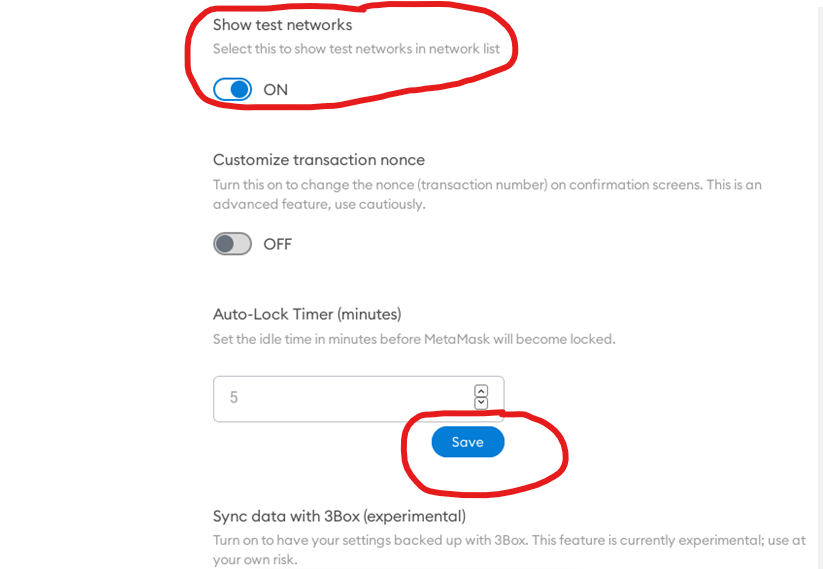
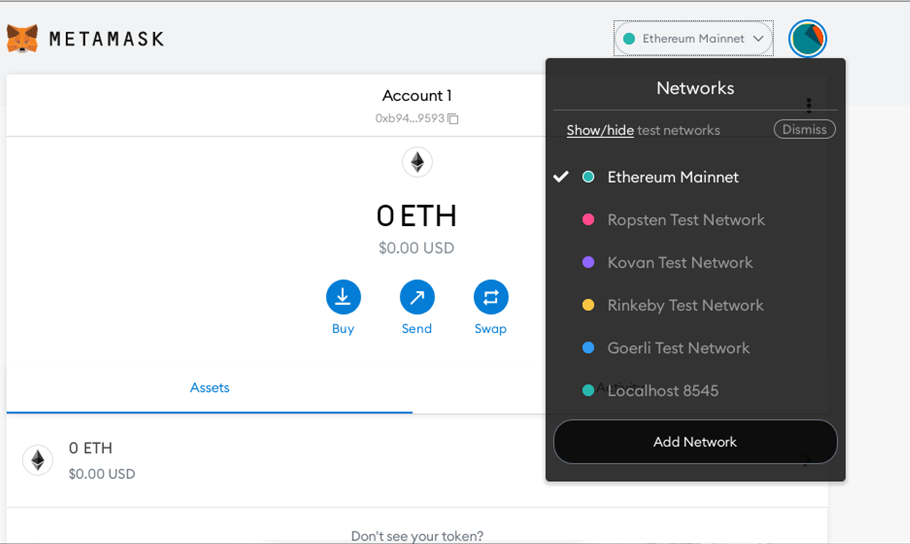
- Close the setting page and reopen network dropdown. Now you should be able to see all the test networks.
- Accessing Metamask Ethereum wallet
The VM comes with Metamask the most popular Ethereum wallet, preinstalled in Firefox browser.
Connect to the VM via Remote desktop, open the Firefox Browser and you will see metamask plugin in the browser
- If you want to connect Metamask on localhost, Please add port 8545 to the Security Group of your VM. Follow below steps to open port 8545:
- On your VM’s detail page, click on networking tab :
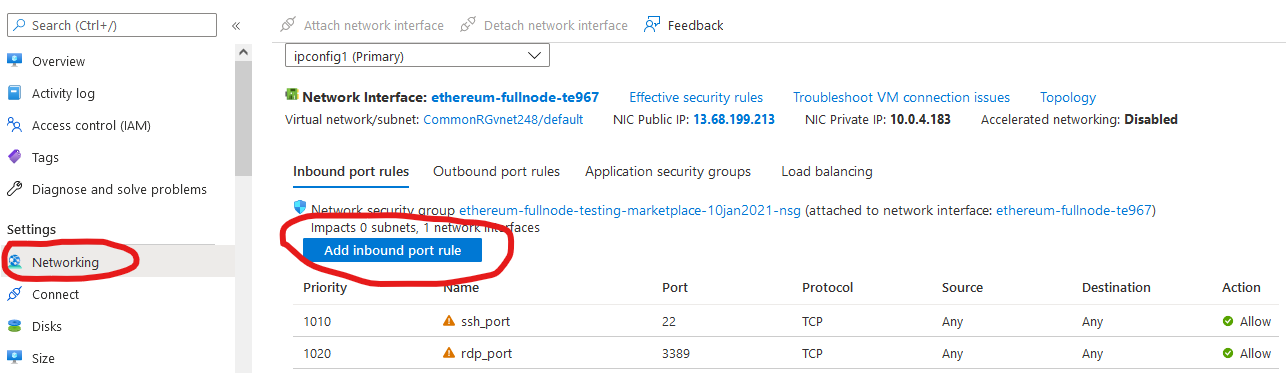
- It will open networking details page. Click on Add inbound port rule.
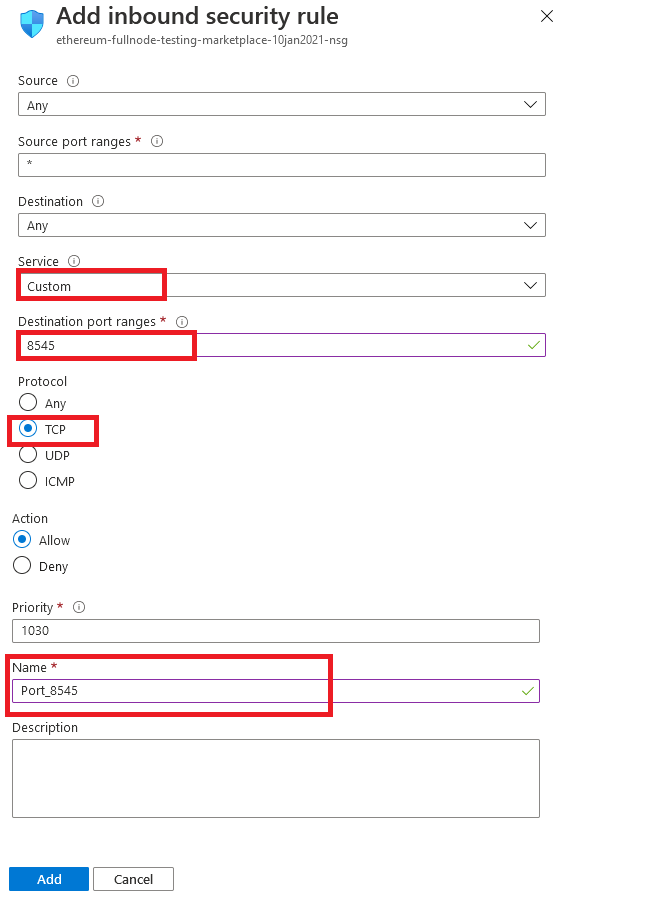
- Make changes to the add inbound security rule page as highlighted below. Once done save the changes and restart your VM.
- Now select localhost 8545 from Metamask Network dropdown. You should be able to connect to localhost as shown:
- If you don’t see localhost and other testnetwork options under network dropdown, please click on show/hide link as shown below-
- It will take you to setting menu. Here you enable show test network option and save the changes.
- Close the setting page and reopen network dropdown. Now you should be able to see all the test networks.
-
This offer now comes with Checkpoint Sync enabled by default. Checkpoint sync prioritises syncing to the head of the chain quickly so that the node can perform its duties. If you need genesis sync then please add –allow-insecure-genesis-sync in lighthousebeacon service file located at /etc/systemd/system/lighthousebeacon.service.
-
The Checkpoint sync doesn’t come with archival node. If you want to run archival node for analysis purpose then follow below steps:
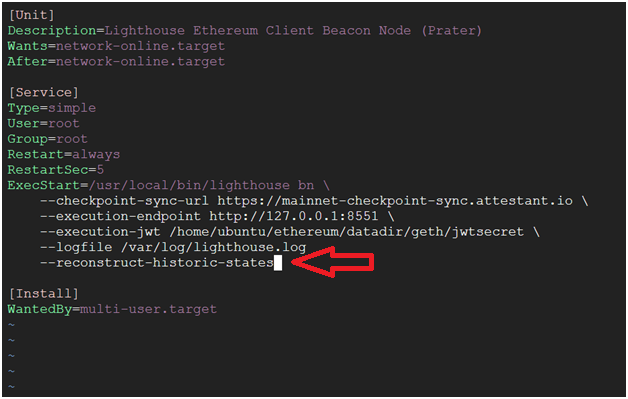
- Open the lighthousebeacon.service file in the vi editor using below commands
sudo vi /etc/systemd/system/lighthousebeacon.service

- Inside the editor click “i” to enable insert mode and add –reconstruct-historic-states flag in the file as shown in below screenshot. Save the file by pressing ESC then :wq keys.
- Once done run below daemon-reload command to reload the changes.
- Make a note of following important points while opting for historic data:
- Reconstructed states will consume several gigabytes or hundreds of gigabytes of disk space
- Reconstruction will only begin once backfill sync has completed and oldest_block_slot is equal to 0.
- While reconstruction is running the node will temporarily pause migrating new data to the freezer database. This will lead to the database increasing in size temporarily
For more information on Checkpoint Sync and Accessing historical blocks please refer to Official Checkpoint Sync documentation