
Individual sats can be inscribed with arbitrary content, creating Bitcoin-native digital artifacts that can be held in a Bitcoin wallet and transferred using Bitcoin transactions. In this guide we will cover how to create, send and receive incriptions using Bitcoin Core and Ord.
Note: Ord can be tested using the following flags to specify the test network.
Regtest doesn’t require downloading the blockchain or indexing ord.
If you are running below guide using above test networks, then please add the test network flags in your command.
e.g
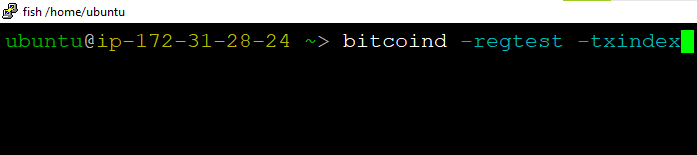
bitcoind -regtest -txindex
ord -r wallet create
For more information on how to run this guide using the test environment please refer to Ordinal Test Environment Guide.
bitcoind -txindex
Note: The VM comes with the bitcoin-qt as well. But for this guide Do NOT use bitcoin-qt.
bitcoin-cli -getinfo
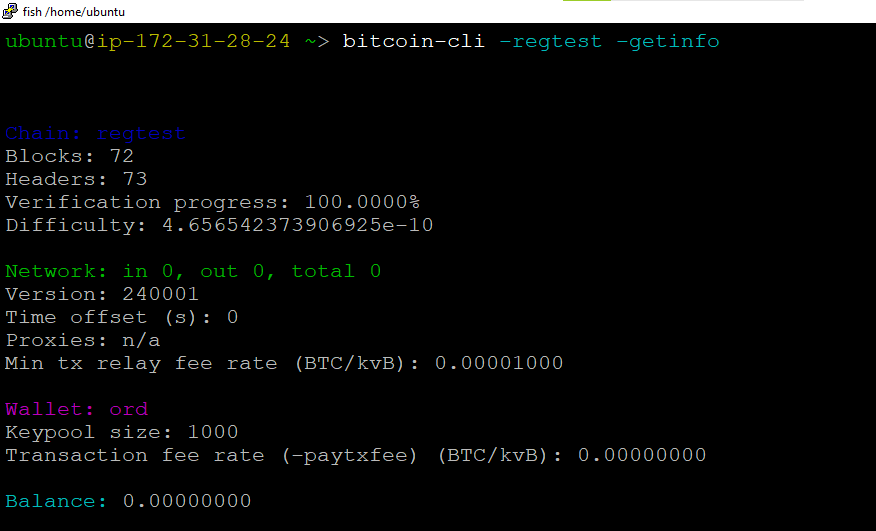
Make sure you can access bitcoind with bitcoin-cli -getinfo and that it is fully synced.
If bitcoin-cli -getinfo returns Could not connect to the server, it means bitcoind is not running.
Make sure rpcuser, rpcpassword, or rpcauth are NOT set in your bitcoin.conf file. ord requires using cookie authentication. Make sure there is a file .cookie in your bitcoin data directory.
If bitcoin-cli -getinfo returns Could not locate RPC credentials, then you must specify the cookie file location. If you are using a custom data directory (specifying the datadir option), then you must specify the cookie location like bitcoin-cli -rpccookiefile=<your_bitcoin_datadir>/.cookie -getinfo. When running ord you must specify the cookie file location with –cookie-file=<your_bitcoin_datadir>/.cookie.
Make sure you do NOT have disablewallet=1 in your bitcoin.conf file. If bitcoin-cli listwallets returns Method not found then the wallet is disabled and you won’t be able to use ord.
Run bitcoin-cli getindexinfo and it should return something like-
{
  "txindex": {
    "synced": true,
    "best_block_height": 802546
  }
}
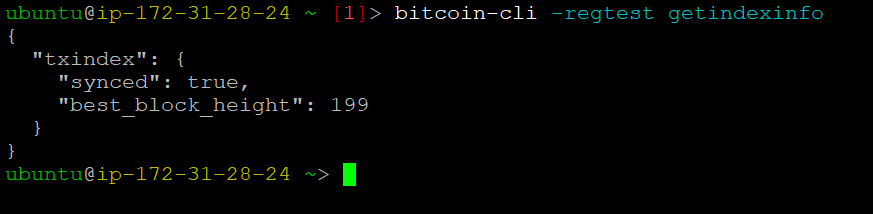
If it only returns {}, txindex is not set. If it returns “synced”: false, bitcoind is still creating the txindex. Wait until “synced”: true before using ord.
ord wallet create
ord wallet --name demo create

ord --cookie-file /home/bitcoin/.cookie wallet create

Inscriptions are made on individual sats, using normal Bitcoin transactions that pay fees in sats, so your wallet will need some sats.
Get a new address from your ord wallet by running below command. And send it some funds.
ord wallet receive

ord wallet transactions

Additionally, inscriptions are included in transactions, so the larger the content, the higher the fee that the inscription transaction must pay.
ord wallet inscribe --fee-rate FEE_RATE --file FILE
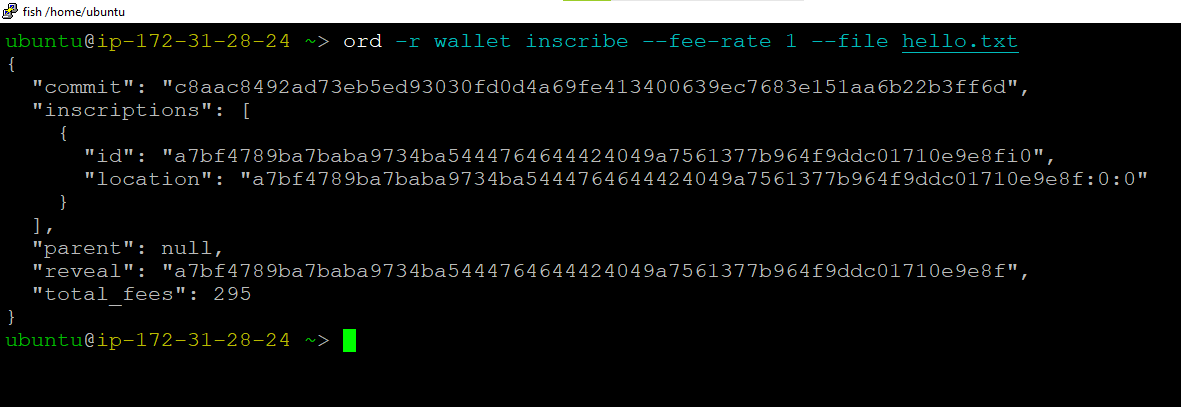
Ord will output two transactions IDs, one for the commit transaction, and one for the reveal transaction, and the inscription ID.
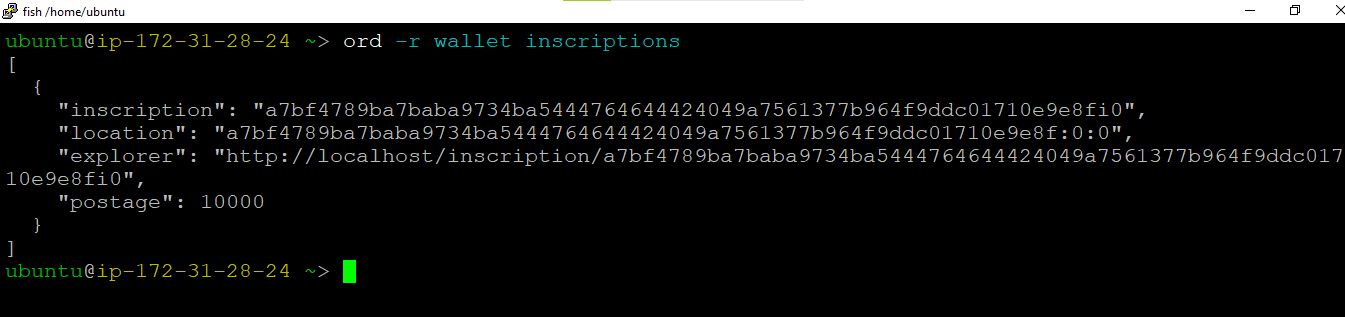
Wait for the reveal transaction to be mined. Once the reveal transaction has been mined, the inscription ID should be printed when you run:
ord wallet inscriptions
ord wallet receive
ord wallet send --fee-rate <FEE_RATE> <ADDRESS> <INSCRIPTION_ID>
ord wallet transactions
ord wallet inscriptions
ord wallet receive
ord wallet send --fee-rate <FEE_RATE> <ADDRESS> <INSCRIPTION_ID>
ord wallet transactions
ord wallet inscriptions