Setting up multiuser Jupyter environment
This section explains you how to use JupyterHub for providing multiuser environment for ipython
Most administration & configuration of the JupyterHub can be done from the web UI directly. Let’s add a few users who can log in!
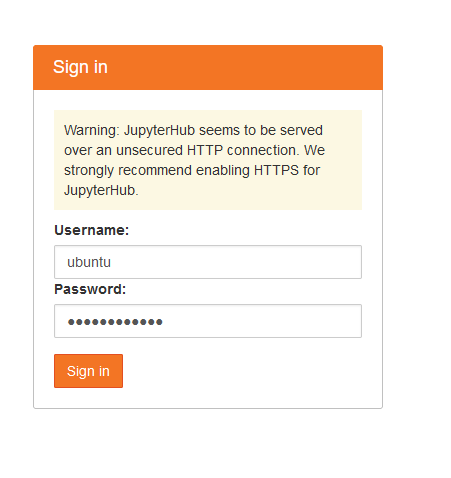
- This VM comes with the default ubuntu as an admin user. So to access the Web UI and to add the more users, Login with ubuntu user and the password you set during the first login to the Jypyter Notebook.
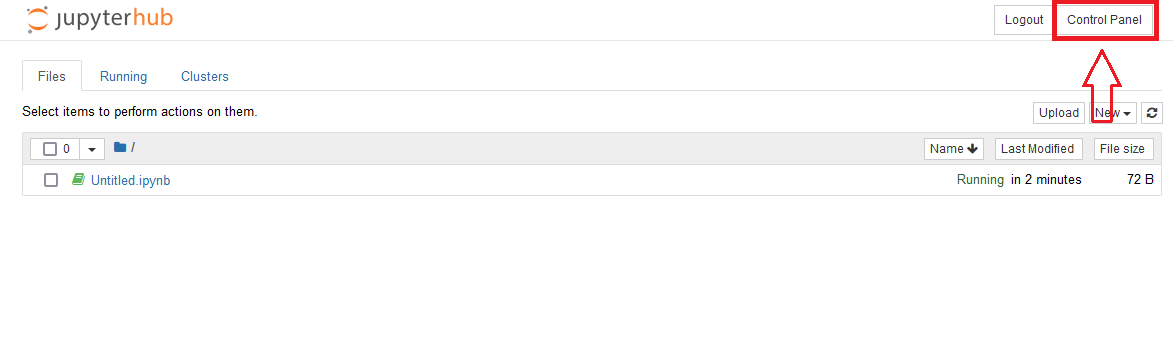
- Open the Control Panel by clicking the control panel button on the top right of your JupyterHub.
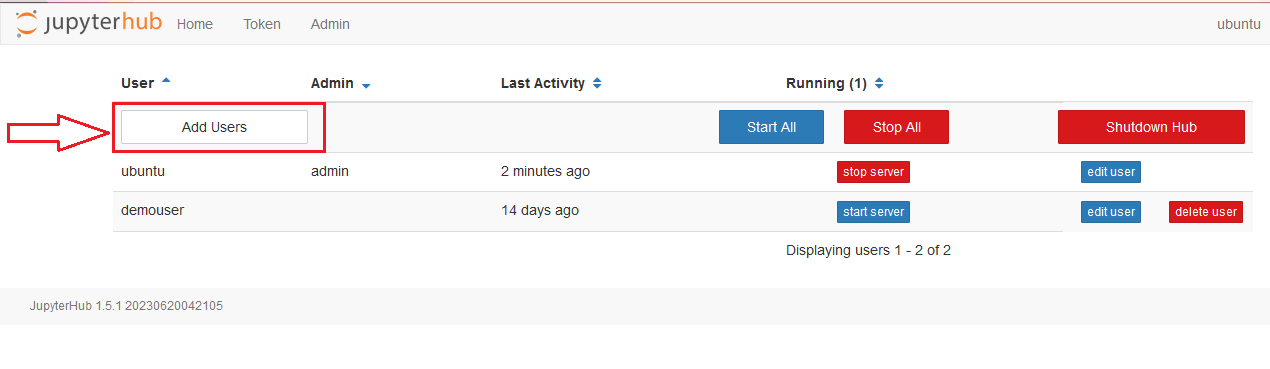
- In the control panel, open the Admin link in the top left.
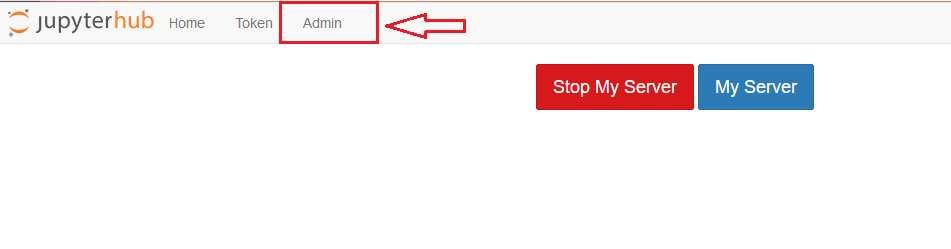
- This opens up the JupyterHub admin page, where you can add / delete users, start / stop peoples’ servers and see who is online. Click the Add Users button on top left. Add Users dialog box opens up.
- Type the names of users you want to add to this JupyterHub in the dialog box, one per line. Tick the Admin checkbox if you want to give admin rights to all these users too.
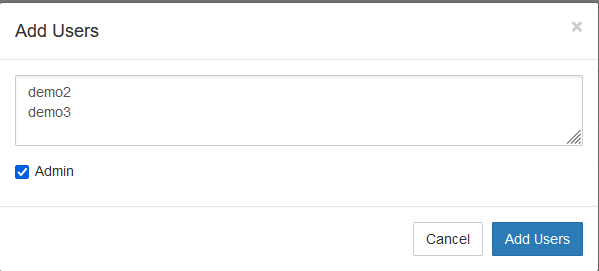
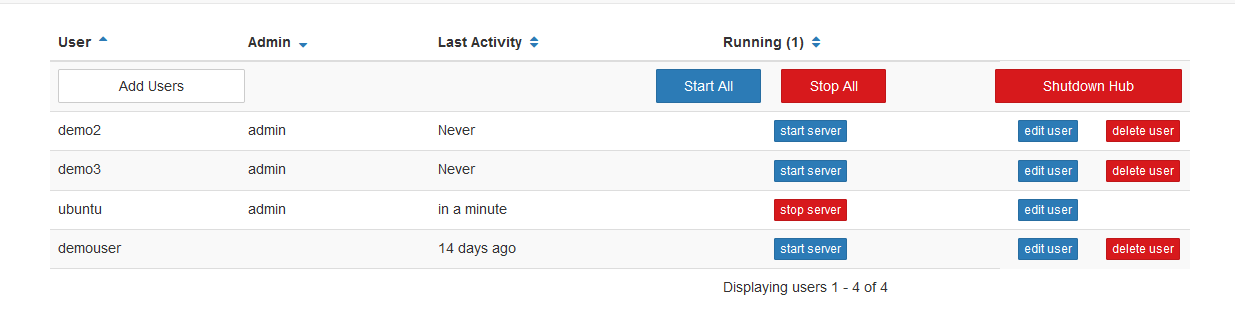
- Save the users by clicking on the Add Users button in the dialog box. Your users are now added to the JupyterHub! When they log in for the first time, they can set their password - and use it to log in again in the future.
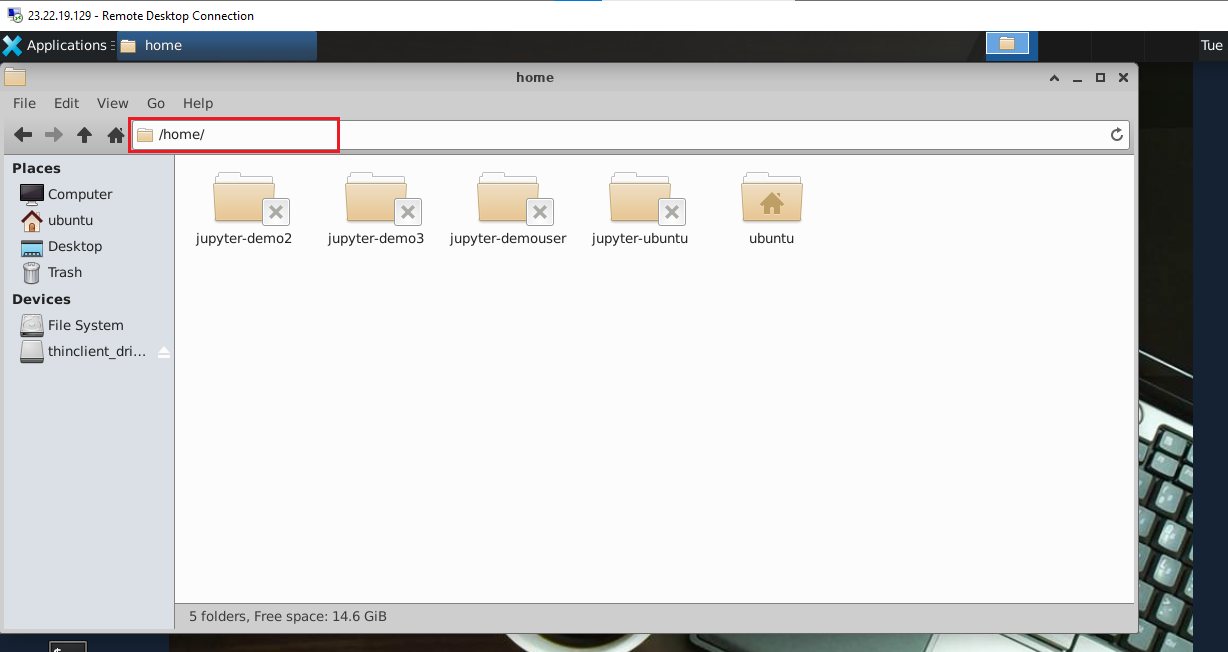
- When new user log in for the first time, home folder gets created under /home/ directory. You can access it by connecting to the VM via RDP connectin.